- The Allure of Smooth Legs: Why Waxing?
- Gathering Your Leg Waxing Essentials
- Step-by-Step Instructions for Easy Leg Waxing at Home
- Tips for a (Relatively) Pain-Free Leg Waxing Experience
- Warnings for Leg Waxing at Home
- Conclusion: Embrace Smooth, Hair-Free Legs
- FAQs: Your Leg Waxing Questions Answered
The Allure of Smooth Legs: Why Waxing?
Achieving smooth, hair-free legs is a timeless beauty goal. While shaving provides quick results, waxing offers a much longer-lasting solution by removing hair from the root, delaying regrowth for several weeks. Looking for best leg wax advice? This guide walks you through leg waxing at home, giving you salon-quality results without leaving your house.
Why settle for frequent shaving when you can enjoy the benefits of long-lasting leg hair removal? Plus, waxing can lead to softer, more refined skin over time, as it exfoliates dead skin cells. Curious about the difference? Check out Why your skin feels smoother after waxing for more insights.
Gathering Your Leg Waxing Essentials
Before diving into your easy leg waxing routine, gather these must-have waxing essentials to ensure a smooth process:
- High-Quality Wax: Opt for best leg wax suited for your skin type—hard wax, soft wax, or pre-made strips.
- Wax Warmer (if applicable): Keeps your wax at the perfect temperature, especially for waxing at home.
- Applicators: Spatulas or wooden sticks for precise application.
- Wax Strips (if using soft wax): Non-woven strips facilitate clean removal.
- Pre-Wax Cleanser: Essential for removing oils and impurities.
- Post-Wax Oil or Lotion: To soothe and hydrate your skin.
- Baby Powder or Talc: Helps absorb excess moisture, making hair removal smoother.

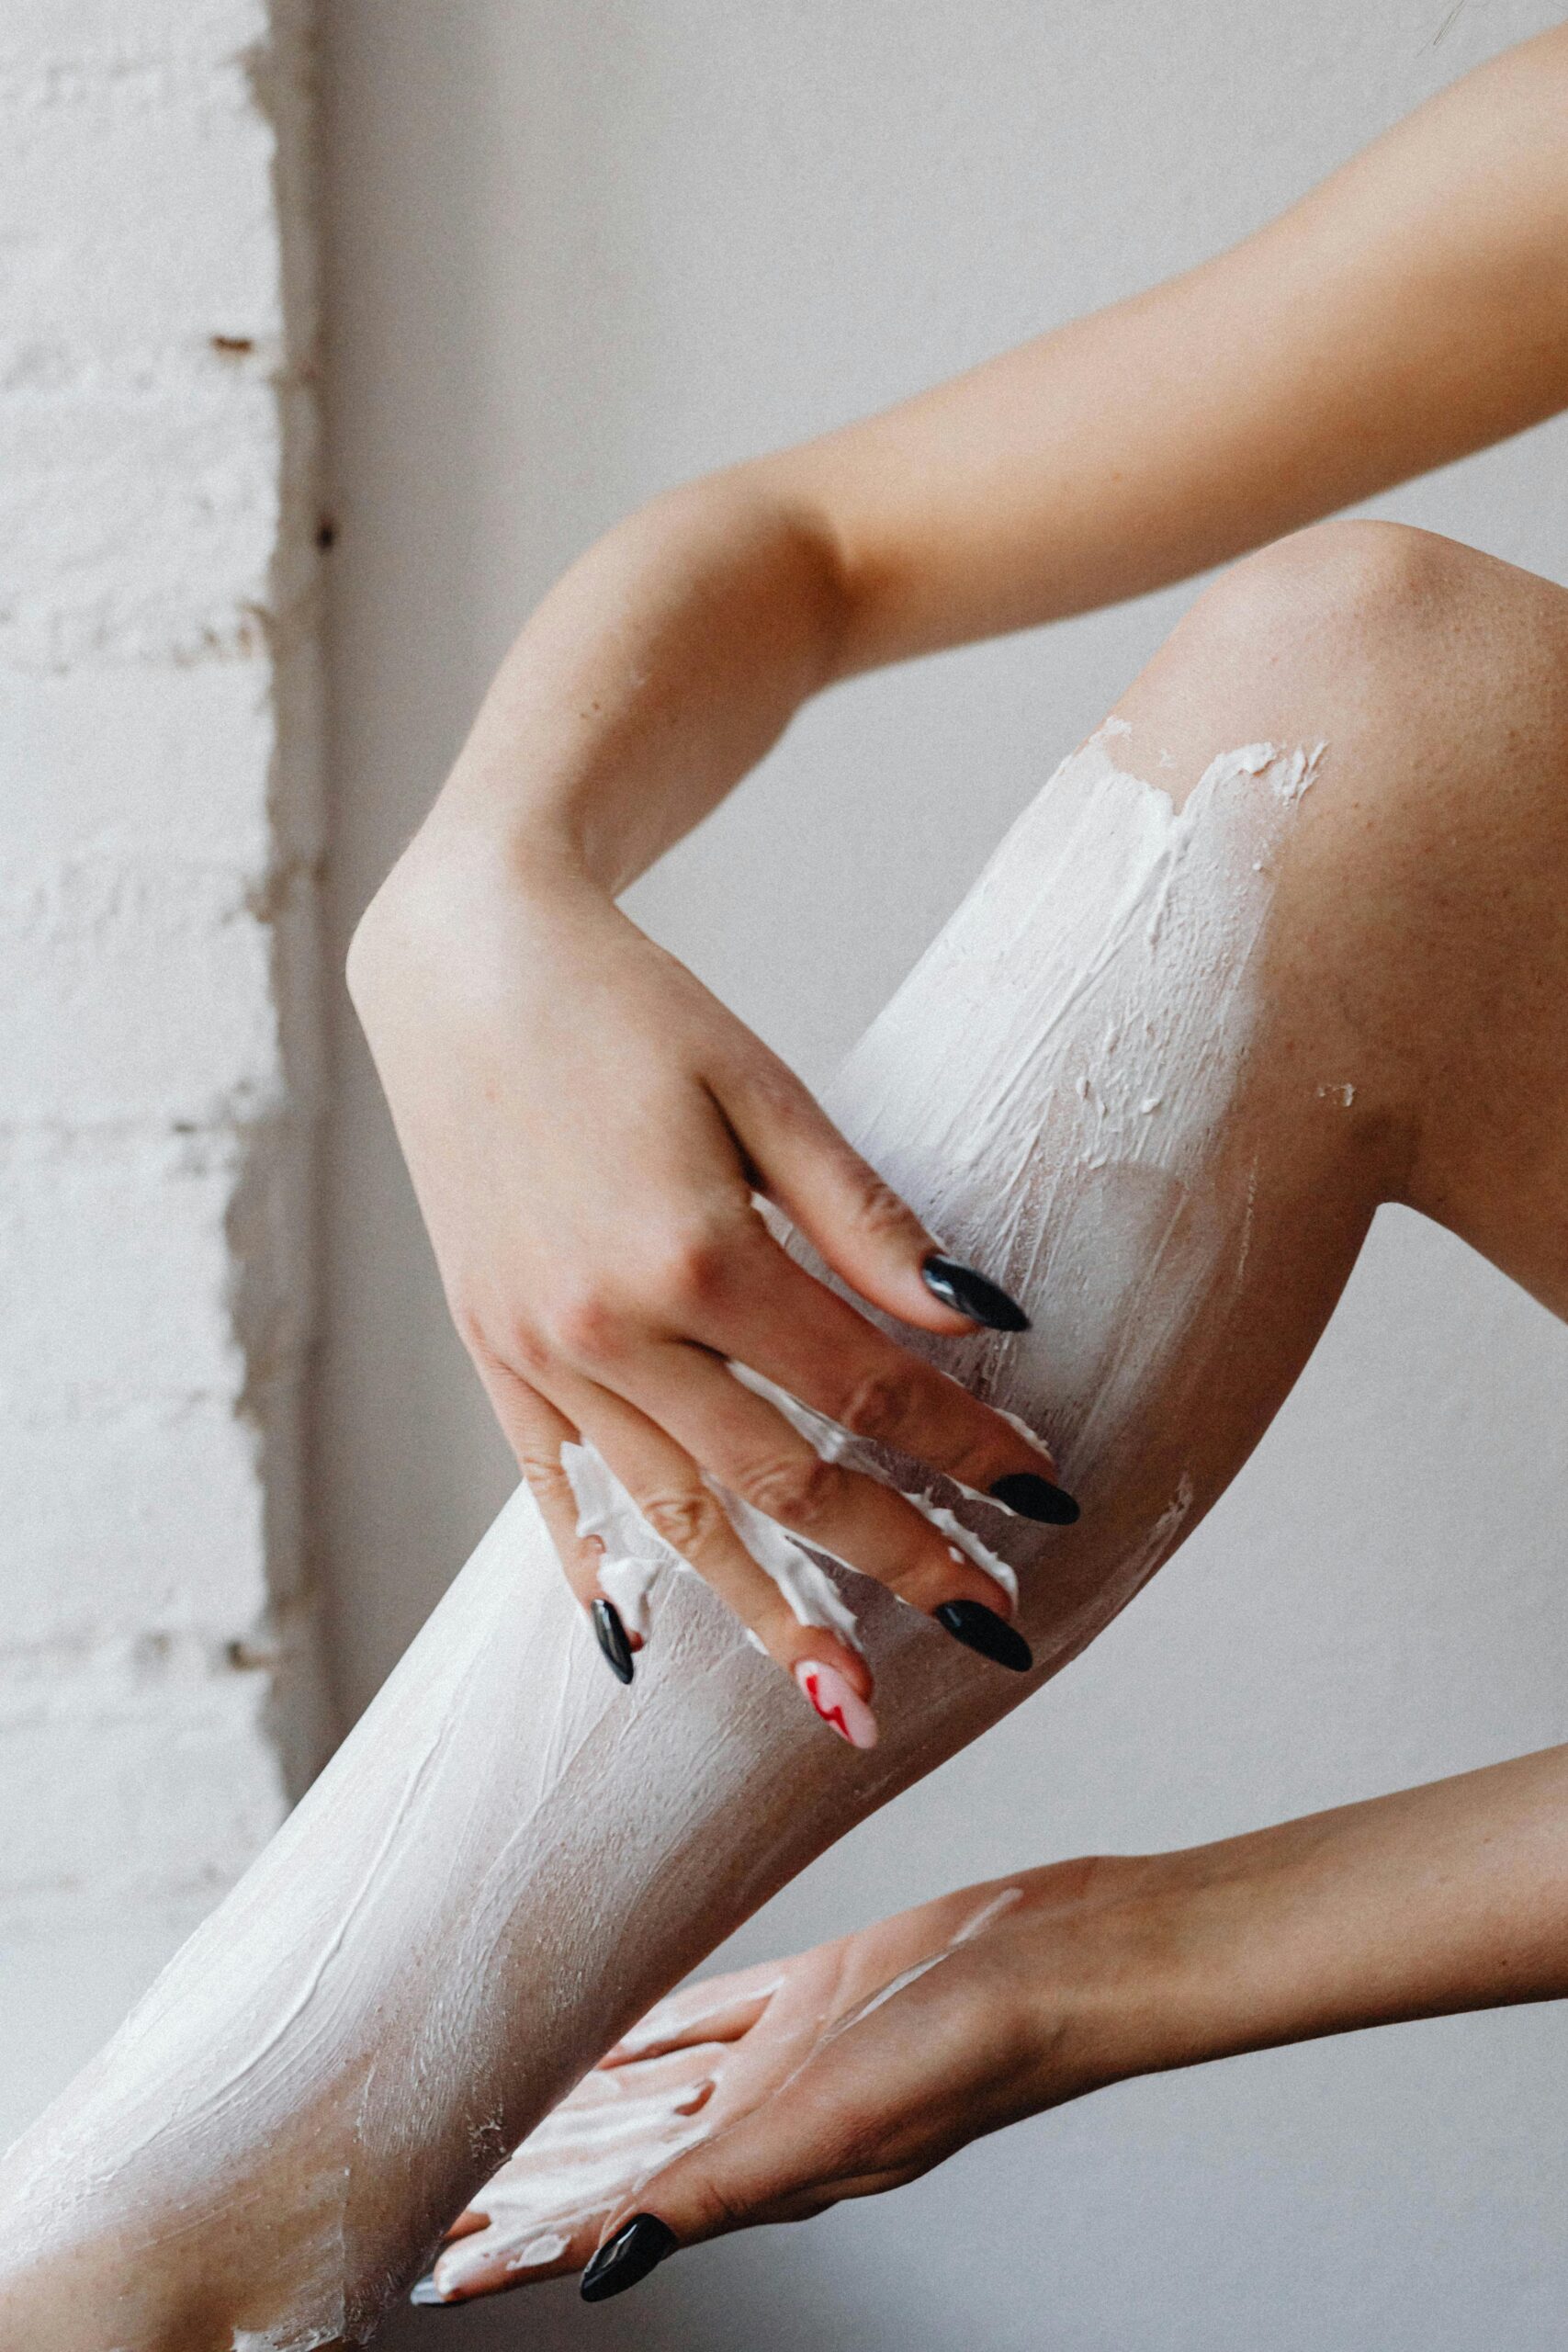
Step-by-Step Instructions for Easy Leg Waxing at Home
Follow these straightforward steps to master leg waxing at home:
Prepare Your Skin for Leg Waxing
Start by exfoliating your legs 24-48 hours before waxing to remove dead skin and prevent ingrown hairs—this is a crucial part of your leg waxing routine. Cleanse thoroughly with an oil-free cleanser, ensuring no lotions or creams are left behind. Your hair should be about ¼ to ½ inch long to maximize wax adhesion.
Warm the Best Leg Wax
Heat your wax according to the manufacturer’s instructions. Always test the temperature on your wrist—better safe than burned! The right temperature ensures comfort and efficiency.
Apply the Wax
Using a spatula, spread a thin, even layer of wax in the direction of hair growth. For soft wax, immediately press a wax strip over the area, pressing firmly in the same direction.
Remove the Leg Hair with a Quick Strip
Hold your skin taut with one hand. With the other, swiftly pull the strip off in the opposite direction of hair growth—quick pulls minimize discomfort. Remember, fast and firm is the secret to effective pain-free leg waxing.
Repeat and Check for Stray Leg Hair
Continue this process in sections until your entire desired area is covered. Use tweezers for any stray hairs that the wax missed.
Soothe Your Legs Post-Wax
Finish by applying a calming post-wax oil or lotion to soothe your skin and clean off any residual wax. This step helps prevent irritation and ingrown hairs.
Tips for a (Relatively) Pain-Free Leg Waxing Experience
While waxing isn’t entirely pain-free, these tips can make your experience more comfortable:
Time Your Leg Waxing Right
Avoid waxing during or just before your period—your skin tends to be more sensitive then.
Exfoliate for Pain-Free Leg Waxing
Regular exfoliation not only prevents ingrown hairs but also makes leg waxing easier and less painful.
Hold Skin Taut During Leg Waxing
Keeping your skin stretched tight reduces pulling and discomfort.
Breathe and Relax
Deep breaths and relaxing your muscles can significantly reduce pain.
Consider Numbing Creams
Applying a numbing cream 30-45 minutes prior to waxing can dull the nerves and make the process more bearable.
Use the Right Leg Wax
Hard wax tends to be less painful as it adheres more to the hair than the skin, making pain-free leg waxing more achievable.

Warnings for Leg Waxing at Home
Always keep safety in mind:
- Avoid waxing over irritated or broken skin.
- Do not wax if you are using Retin-A or other potent exfoliants.
- Test the wax temperature before applying to a large area.
- After waxing, steer clear of sunbathing or tanning beds for at least 24 hours.
Conclusion: Embrace Smooth, Hair-Free Legs
Achieving silky smooth legs through waxing at home is entirely doable with the right tools, preparation, and technique. Enjoy the confidence of long-lasting hair removal without the hassle of frequent shaving. With consistent care, your legs will stay irresistibly smooth longer.
For expert tips and professional waxing services, explore the range at Amsterdam Beauty Clinic. They use vegan products and advanced technology to help you reach your beauty goals.
FAQs: Your Leg Waxing Questions Answered
How long should my leg hair be for easy leg waxing?
Your hair should be about ¼ to ½ inch long—long enough for the wax to grip but not so long that waxing becomes uncomfortable.
How can I reduce pain during leg waxing at home?
Exfoliate beforehand, keep your skin taut, consider using a numbing cream, and pull the wax strip quickly in the opposite direction of hair growth to minimize discomfort.
What should I do after waxing my legs?
Apply a soothing post-wax lotion or oil, avoid sun exposure, hot showers, and tight clothing for 24 hours, and keep your skin hydrated.
How often should I wax my legs for smooth results?
Typically, every 3-6 weeks works well to maintain smooth legs and prevent hair from becoming too coarse.
Can I use hair removal cream instead of waxing for leg hair removal?
Yes, creams are a temporary solution, but they usually don’t last as long as waxing, which pulls hair from the root for longer-lasting smoothness.
Start your journey to flawlessly smooth legs today! Whether DIY or professional, waxing provides a rewarding path to confidence and beauty.