- Achieving Silky Smooth Legs: An Introduction to Leg Waxing Techniques
- 1. Preparing for Leg Waxing: Setting the Stage for Smooth Skin
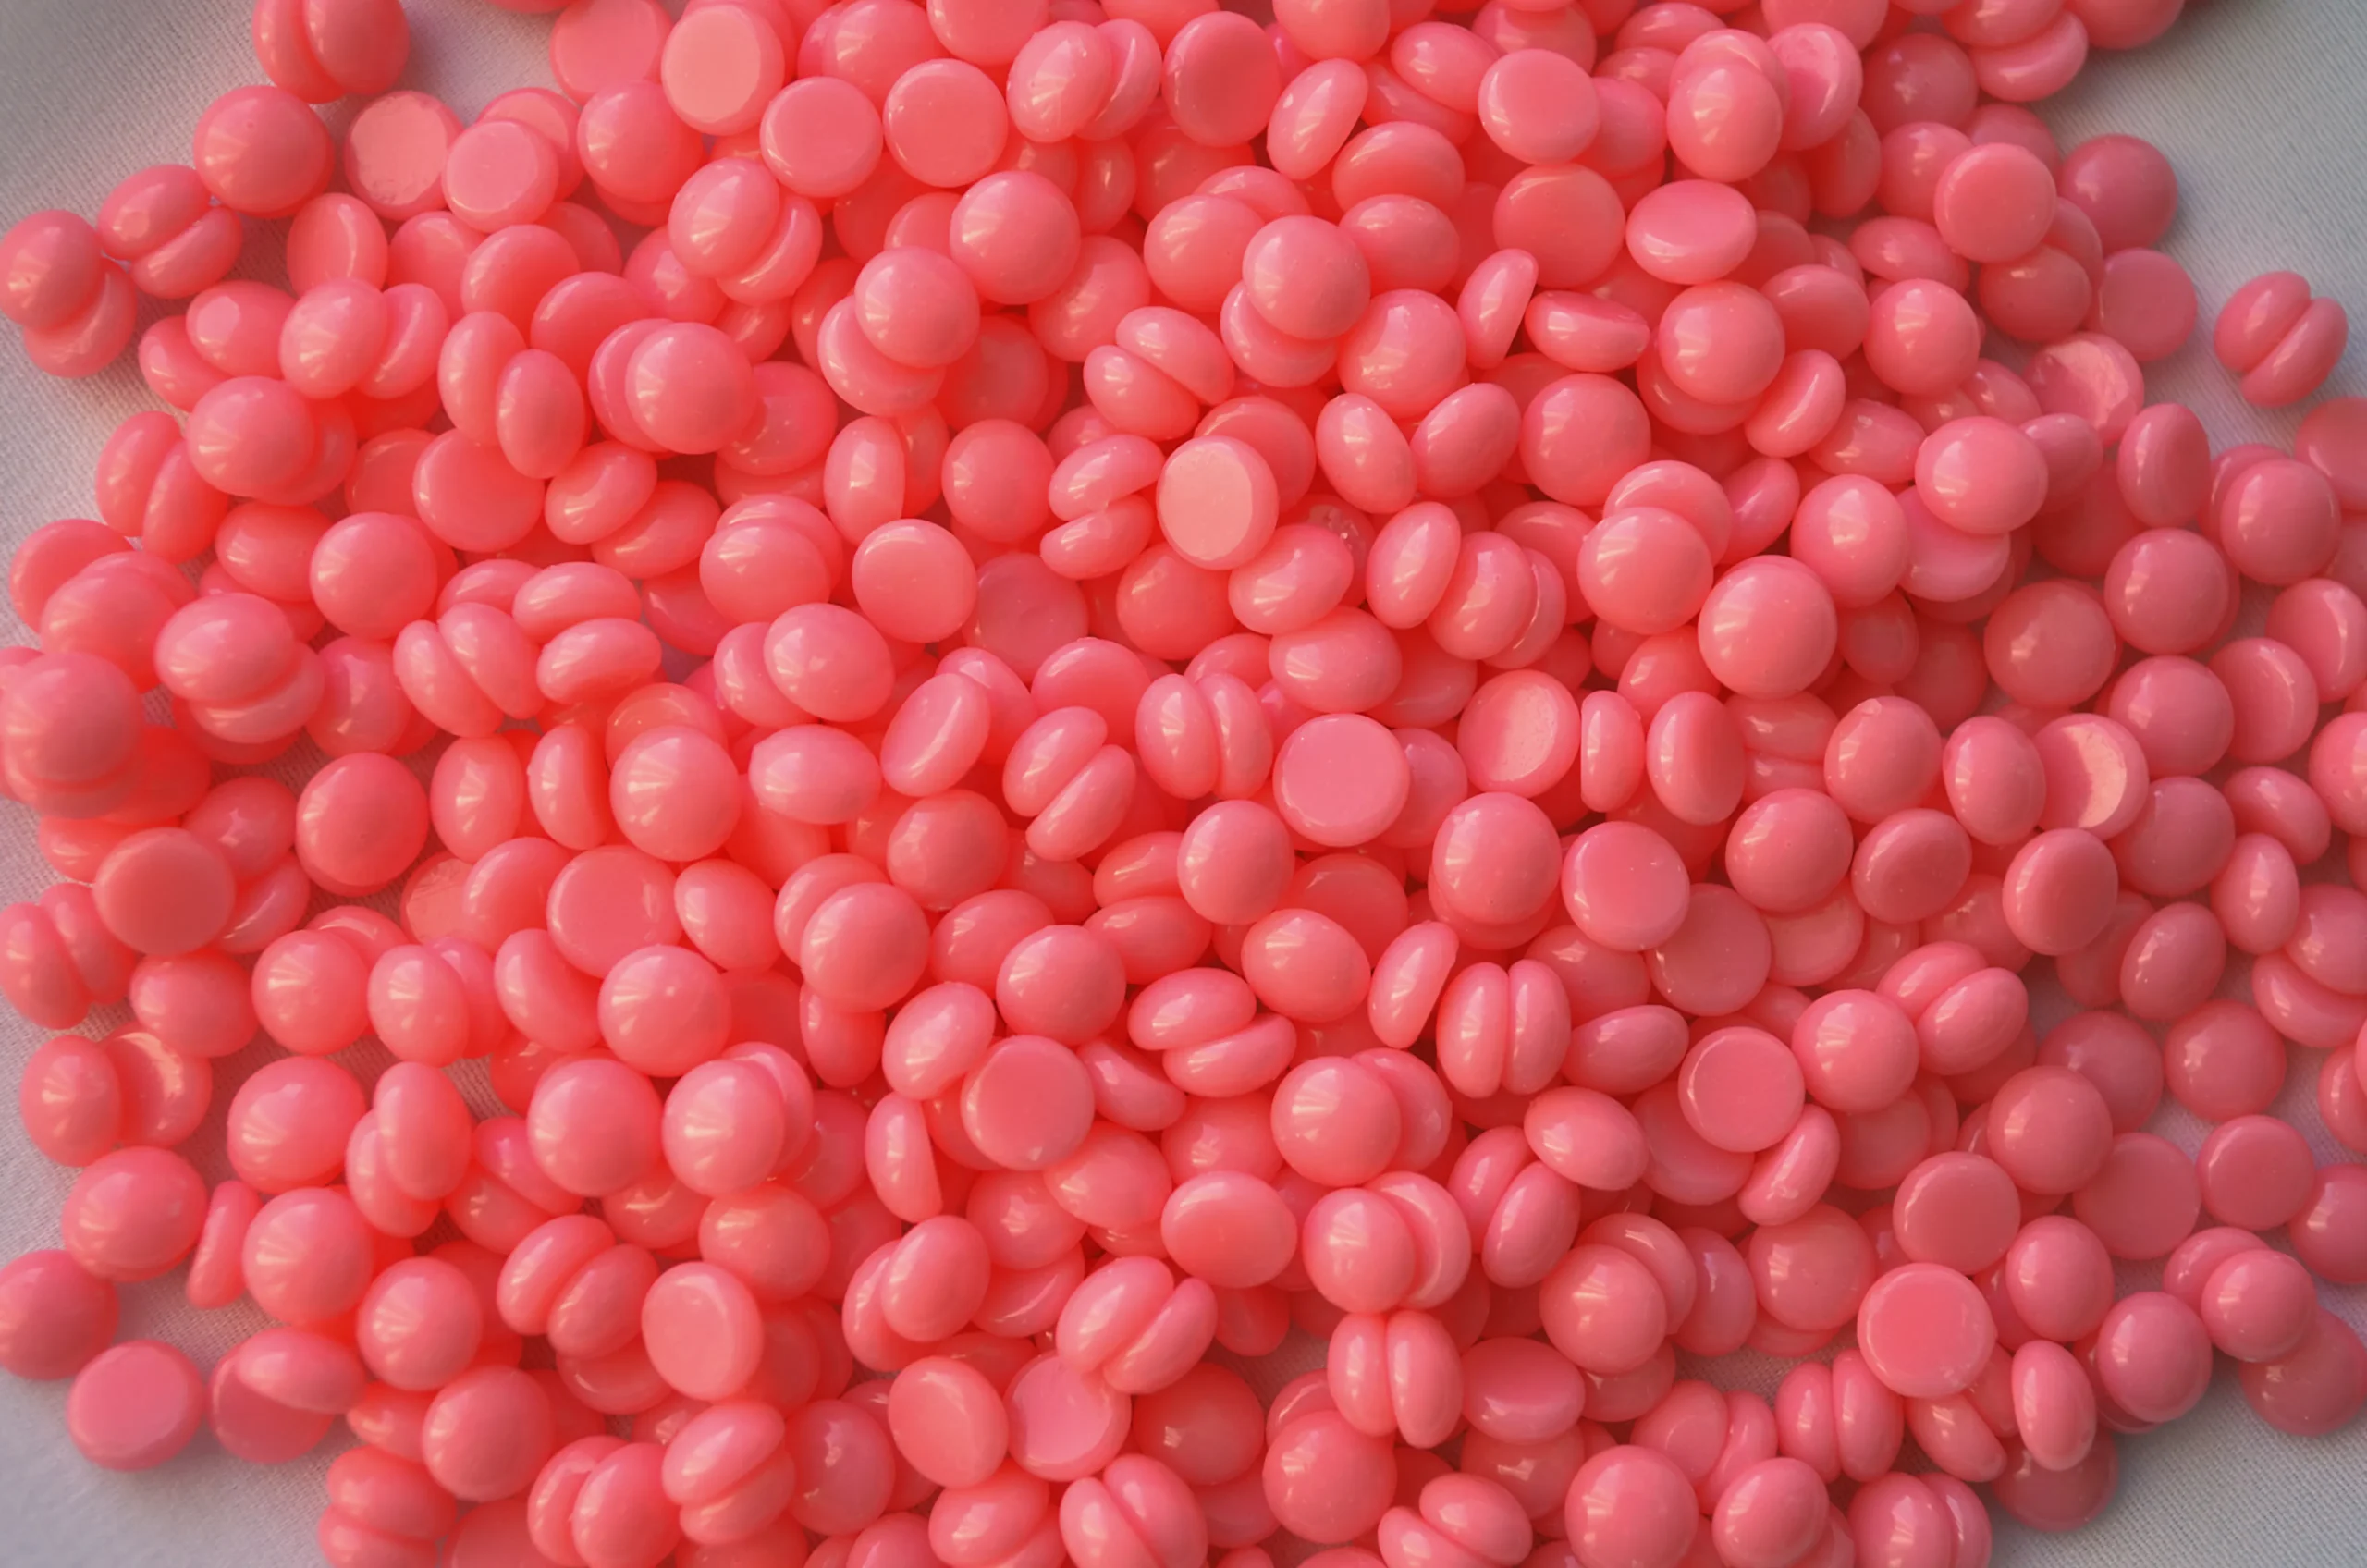
- 2. Choosing the Right Wax: Finding Your Perfect Hair Removal Solution
- 3. Mastering Leg Waxing Techniques: A Step-by-Step Guide for Smooth Legs
- 4. Pain-Free Waxing Tips & Tricks for Comfortable Hair Removal
- 5. Post-Wax Care Routine: Keeping Your Legs Smooth & Healthy
Achieving Silky Smooth Legs: An Introduction to Leg Waxing Techniques
Dreaming of having irresistibly smooth, salon-worthy legs? Achieving such flawless skin might seem daunting, but with the right leg waxing techniques, you can enjoy long-lasting, silky results without much hassle. Whether you’re a beginner aiming to master at-home waxing or considering professional treatments, understanding the fundamentals of hair removal can drastically improve your outcomes.
This comprehensive guide will walk you through everything from preparing your skin properly to selecting the best wax for your needs. We’ll also cover effective techniques to minimize pain and ensure your skin stays healthy and radiant after each session. Ready to say goodbye to stubbly legs and hello to smoothness?
1. Preparing for Leg Waxing: Setting the Stage for Smooth Skin
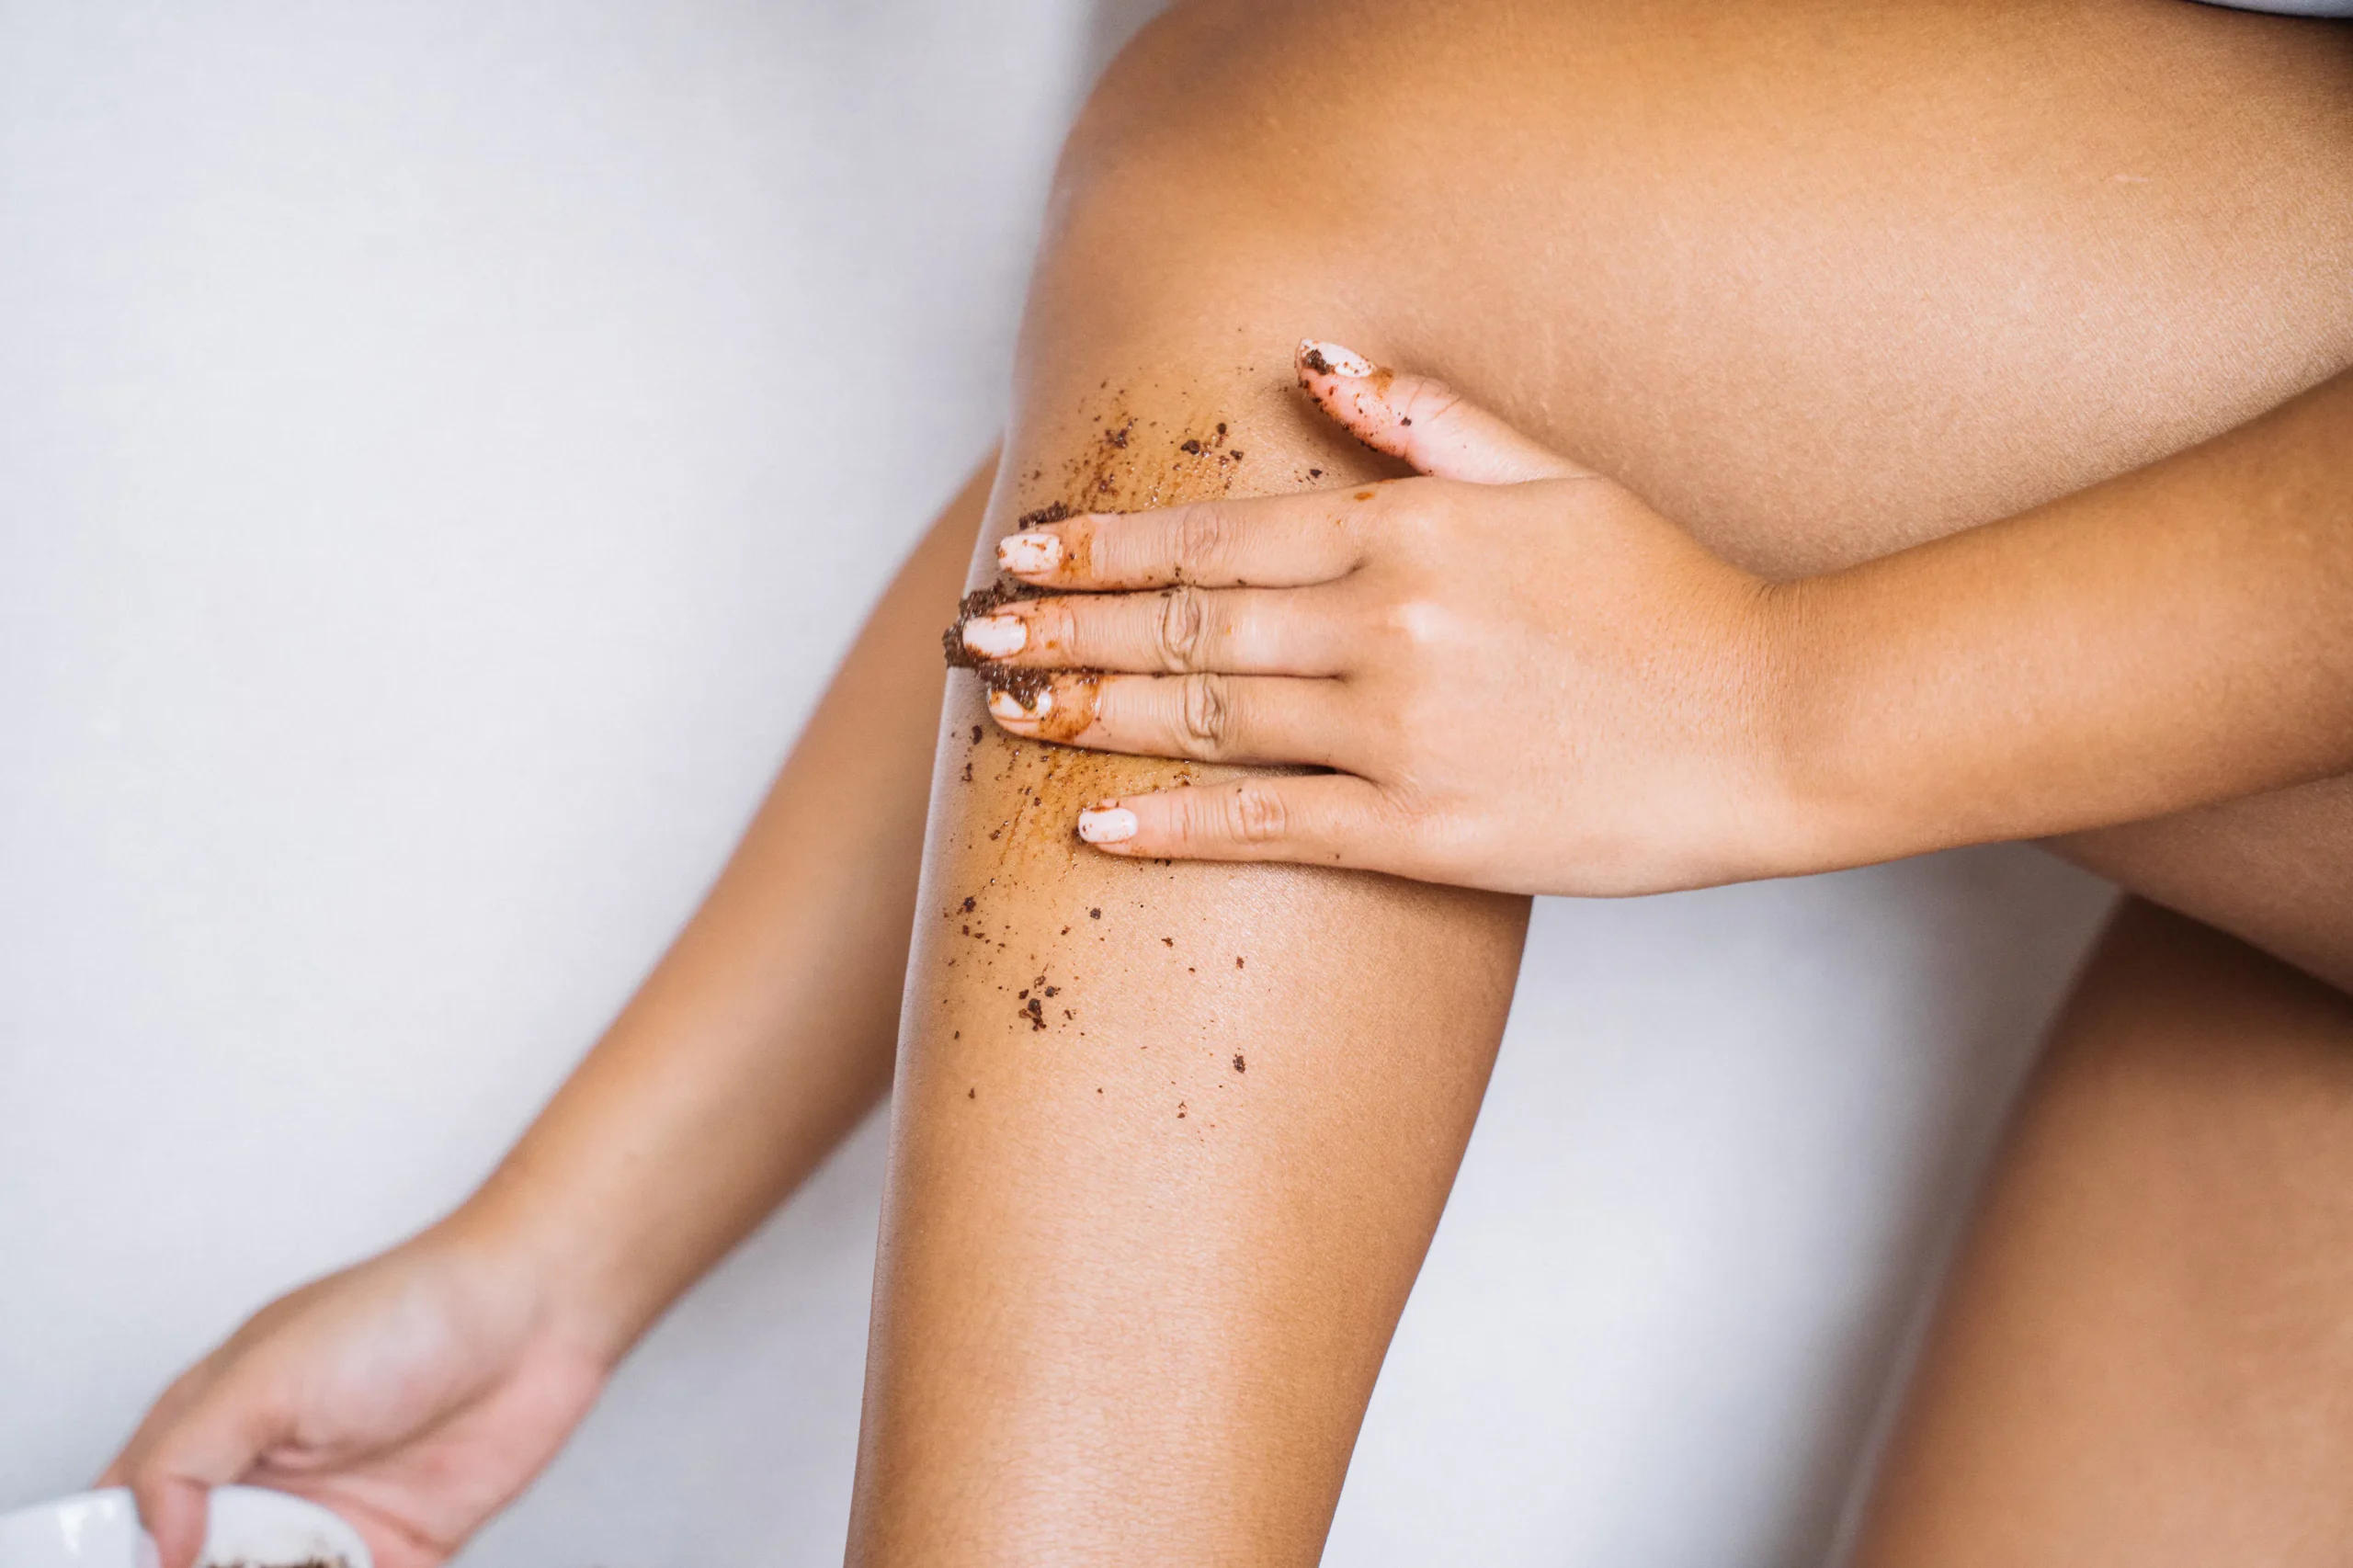
Preparation is key! The secret sauce behind achieving flawless, smooth legs lies in proper pre-waxing routines. Start by exfoliating your legs 24-48 hours before waxing—this removes dead skin cells that can trap hairs or cause ingrown hairs later on.
Use a gentle scrub or exfoliating mitt on dry skin, focusing on areas prone to ingrowns like knees and ankles. Cleanse your legs thoroughly with a mild soap, then pat dry completely—moisture can interfere with wax adhesion.
Avoid applying lotions, oils, or deodorants before waxing, as they create a barrier that prevents wax from gripping hairs effectively. Instead, keep your skin clean and dry for optimal results.
2. Choosing the Right Wax: Finding Your Perfect Hair Removal Solution
The market offers various types of waxes—each suited for different hair textures and skin sensitivities:
- Hard wax (also called stripless wax): Ideal for sensitive areas and stubborn, coarse hair; it adheres directly to hair without sticking to the skin.
- Soft wax (requires cloth or paper strips): Suitable for larger areas like thighs; it’s more flexible but may cause more irritation if not used properly.
- Sugar wax (a natural alternative): Gentle on sensitive skins and made from ingredients like sugar, lemon juice, and water.
Choosing the right wax depends on your personal preferences and hair type. For coarse or stubborn hair, hard wax is often recommended because it provides better grip while minimizing discomfort.

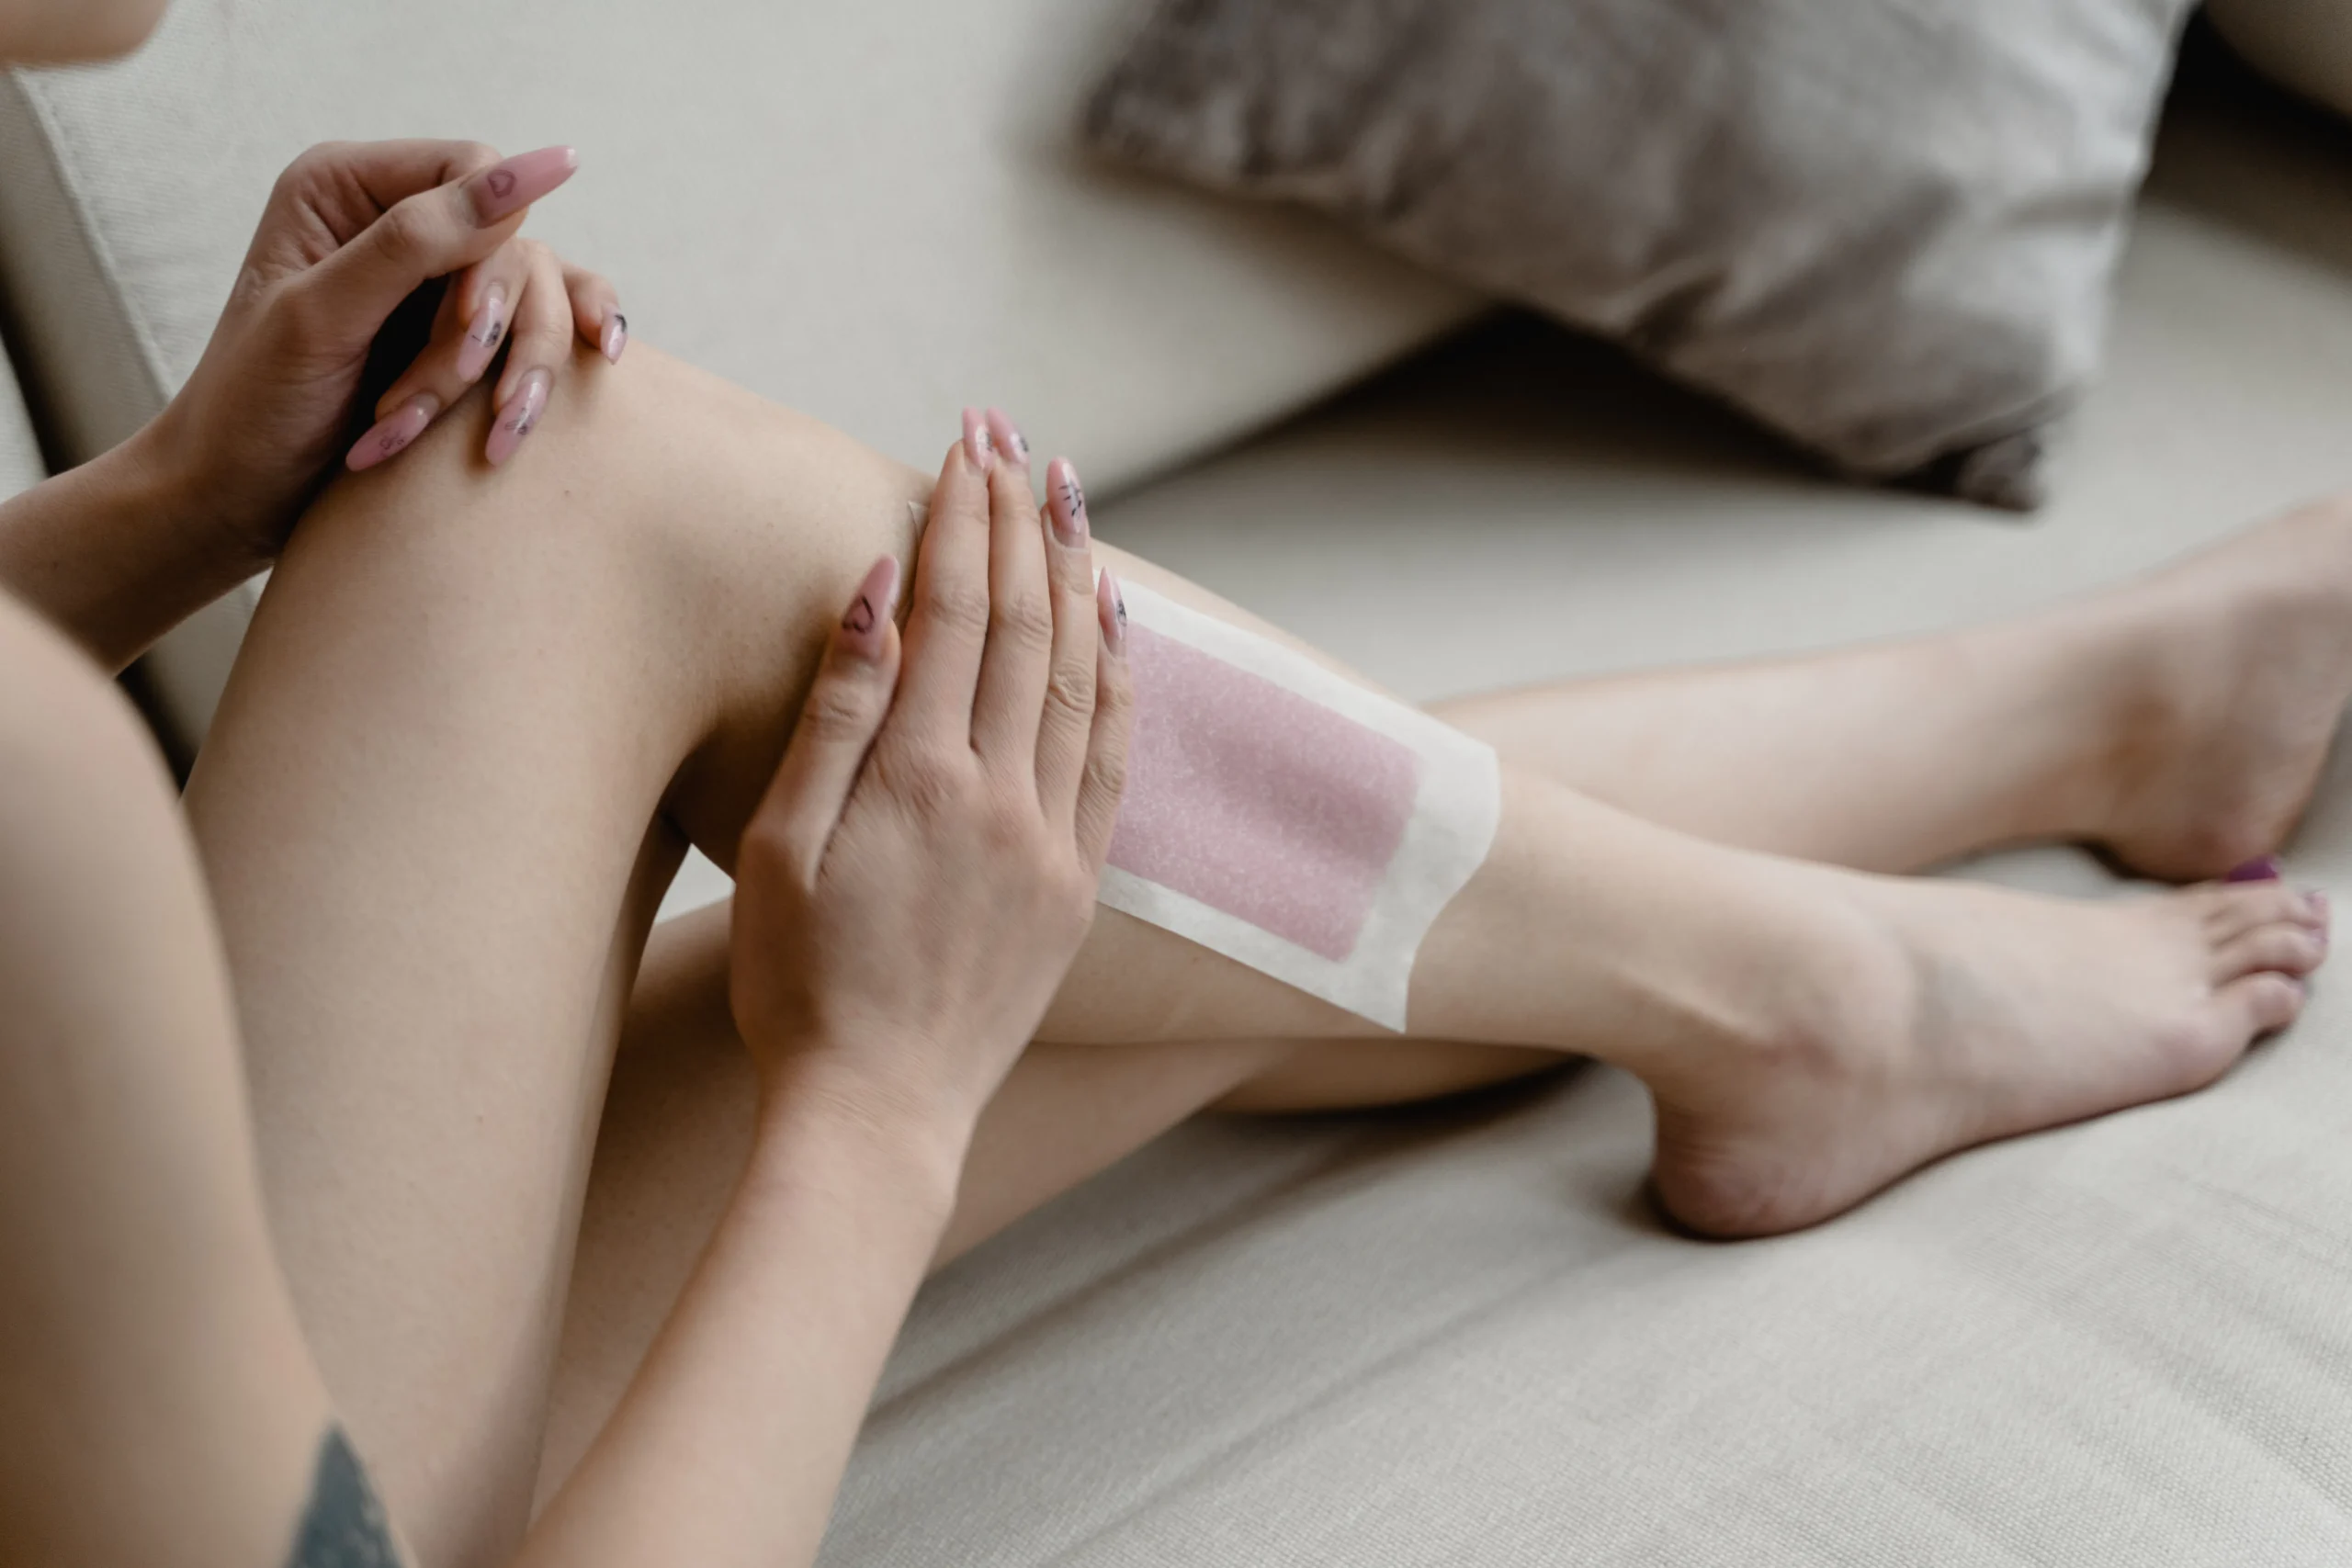
3. Mastering Leg Waxing Techniques: A Step-by-Step Guide for Smooth Legs
don’t worry—mastering proper technique makes all the difference! Here’s a simple step-by-step process:
- Warm the wax until it’s comfortably hot but not too hot—test it on your wrist first.
- Using a spatula or applicator stick, apply the wax in small sections in the direction of hair growth.
- For soft wax: place a cloth strip over the applied area; press firmly.
- Hold your skin taut with one hand while quickly pulling off the strip in a swift motion against the direction of hair growth.
- For hard wax: allow it to cool slightly until it firms up; then flick up an edge and pull swiftly against hair growth.
Consistency in pressure and speed helps reduce discomfort while ensuring thorough hair removal.
4. Pain-Free Waxing Tips & Tricks for Comfortable Hair Removal
got nerves? No worries! Here are some tips to make waxing as pain-free as possible:
- Take an over-the-counter analgesic about 30 minutes prior — aspirin or ibuprofen works well.
- Apply a numbing cream designed specifically for waxing regions beforehand—this reduces sensitivity.
- Ensure your wax isn’t too hot; test on a small patch first.
- Breathe deeply throughout — inhaling slowly through your nose can help relax muscles.
- Keep tension in your skin during removal by pulling quickly in one confident motion — hesitation equals pain!
- Choose high-quality strips or tools designed for gentle application,
and consider scheduling sessions during less sensitive days if you have sensitive skin.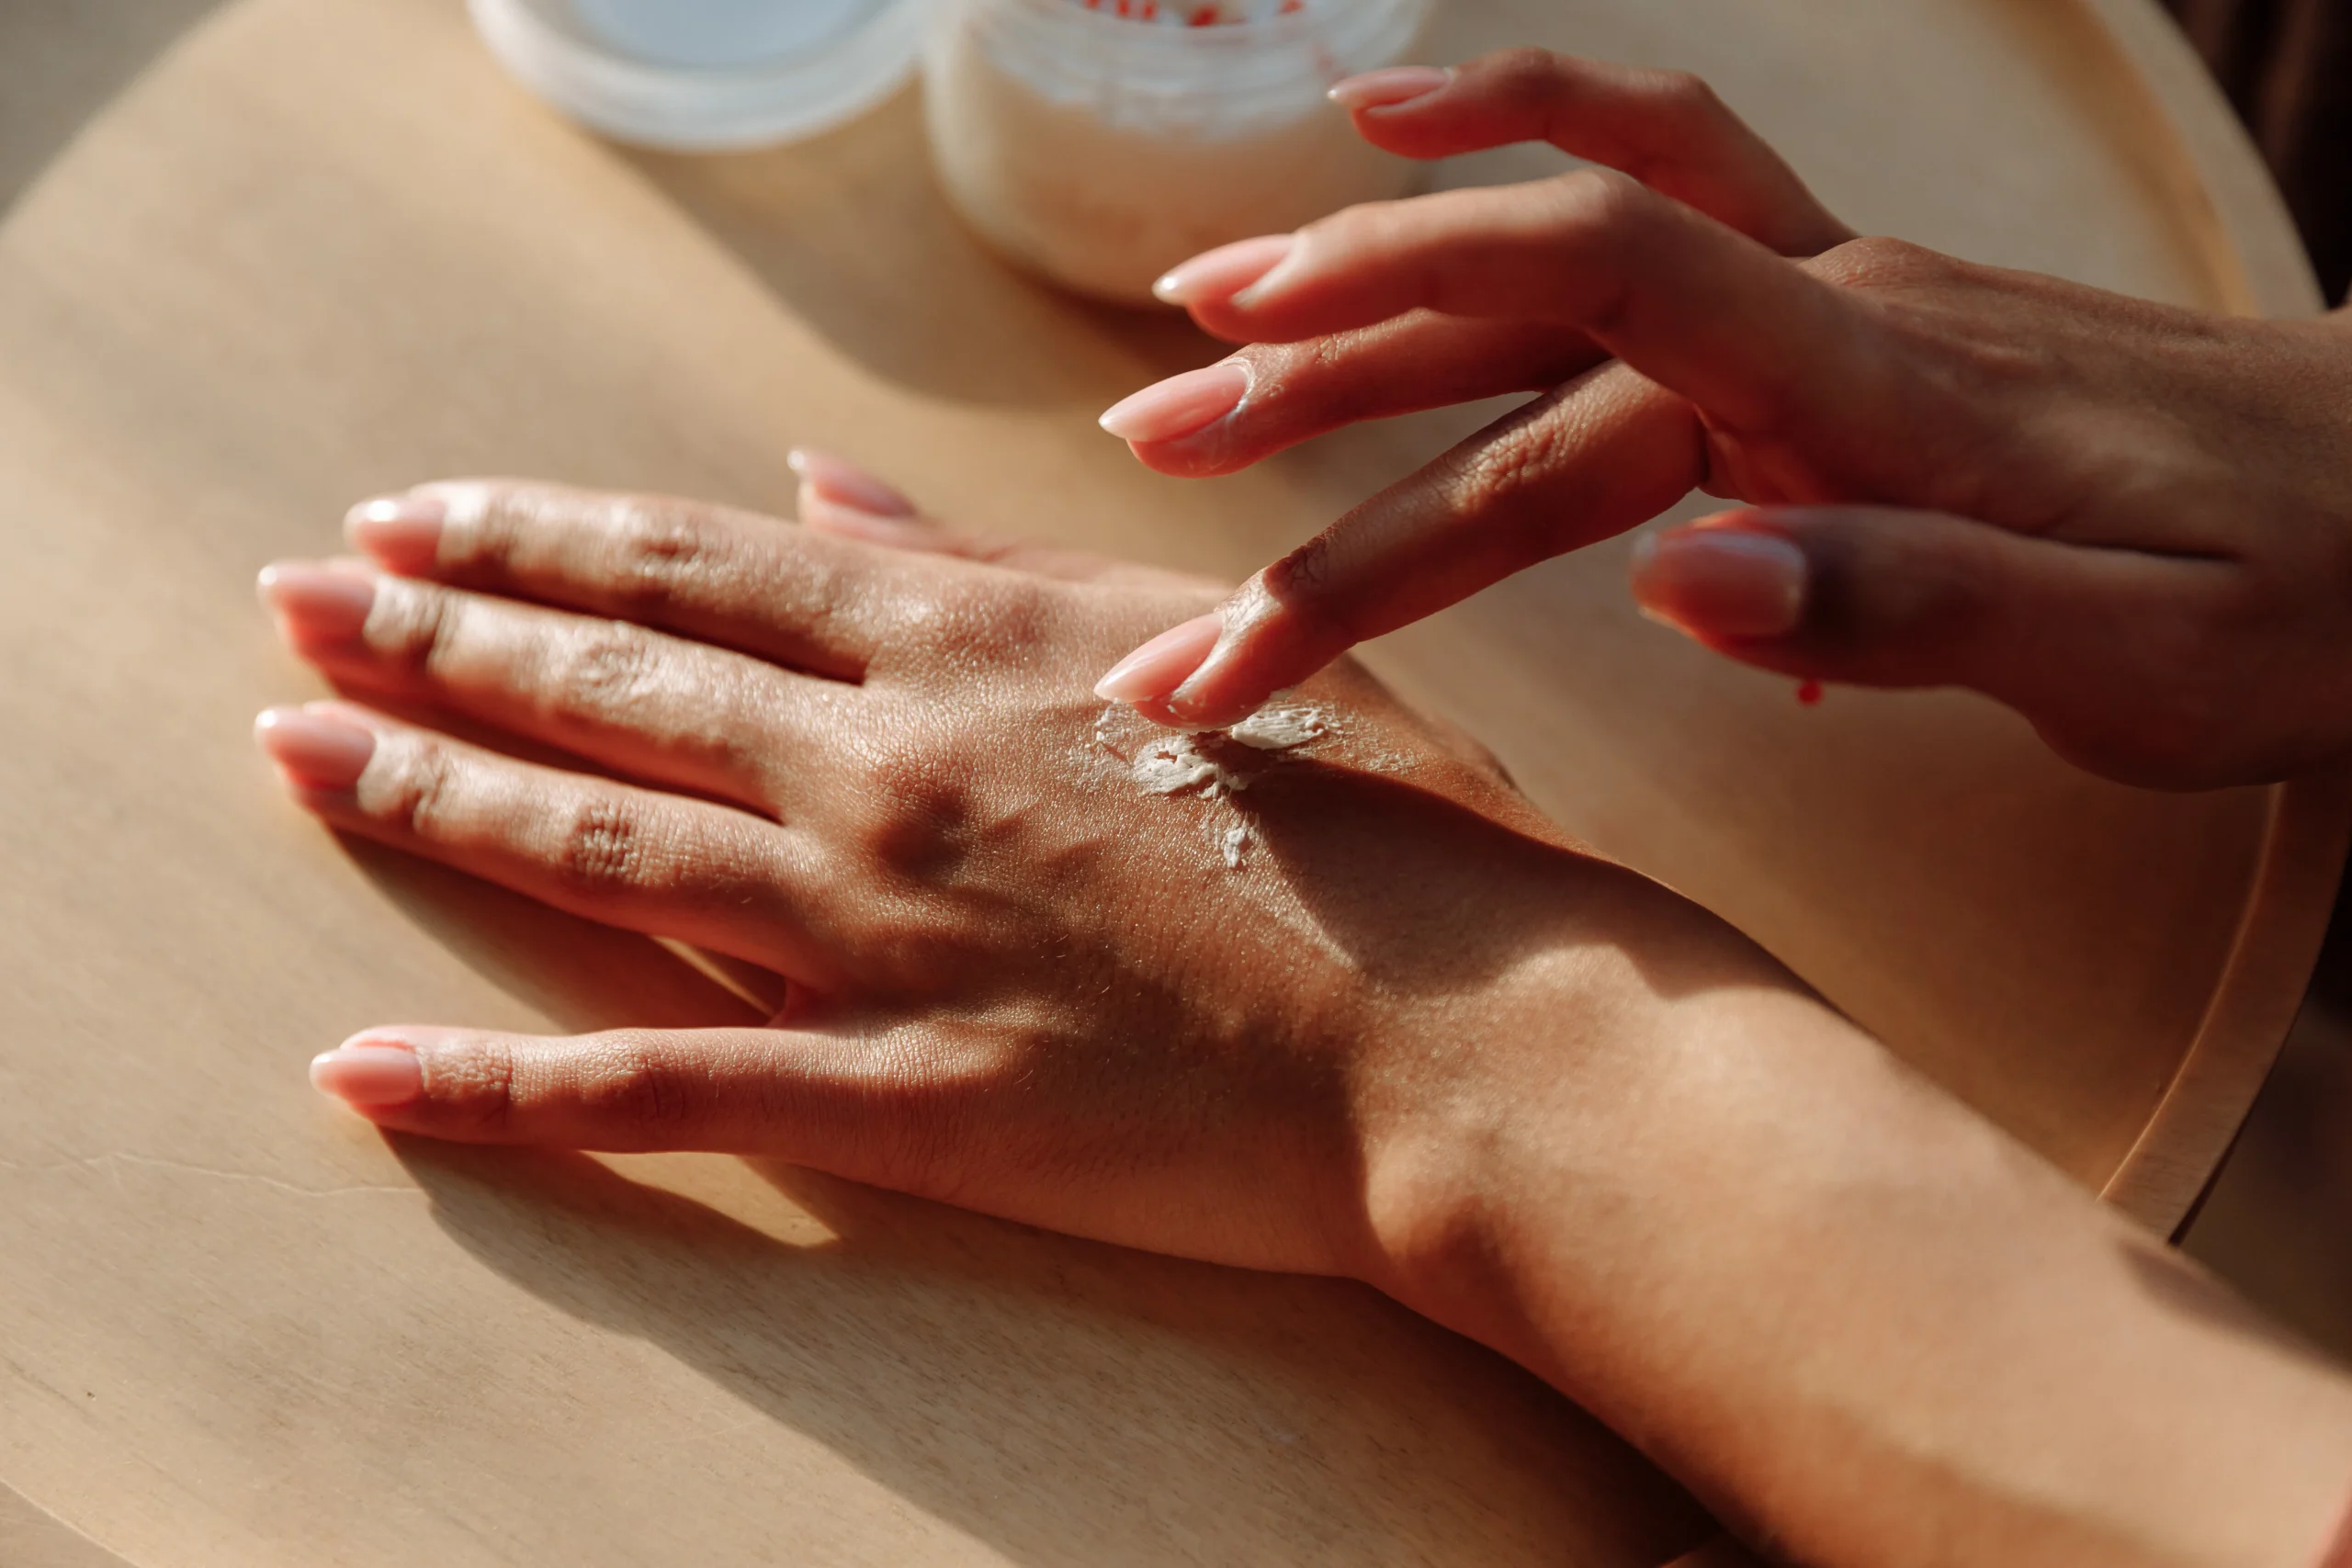
5. Post-Wax Care Routine: Keeping Your Legs Smooth & Healthy
the journey doesn’t end after ripping off that last strip! Post-wax care is crucial:
- Immediately soothe irritated areas with aloe vera gel or soothing lotions containing chamomile or calendula.
- Avoid hot showers, saunas, tight clothing, or sweating heavily within 24–48 hours post-wax—these can irritate freshly exposed pores.
- Exfoliate gently once every few days using an exfoliating mitt or scrub; this prevents ingrown hairs by removing dead cells accumulated around follicles.
- Moisturize daily using hydrating creams suitable for sensitive skins—the smoother you keep them hydrated,
the longer you’ll maintain that velvety finish!
n!Learn more about post-wax skincare here
and explore our range of vegan-friendly skincare products at Amsterdam Beauty Clinic.
xThe importance of consistent care cannot be overstated!
here’s how proper maintenance keeps those legs looking irresistibly smooth longer!)({Image placeholder}](https://amsterdambeautyclinic.nl/blogs/) ### Want professional help? Consider visiting Amsterdam Beauty Clinic, where our experienced estheticians use advanced technology, including laser options, ensuring painless, long-lasting results! Book an appointment today! ()[Our Blog].******************************************************************************************************************************************************************************************************************************************************************************