Why is Waxing the Ultimate Secret to Naturally Smooth Skin?
Why Waxing is the Ultimate Secret to Naturally Smooth Skin
Imagine skin so smooth it feels touchable for weeks, a stark contrast to the fleeting smoothness of a razor. Waxing achieves this by removing hair from the root, offering a level of clean, lasting smoothness that topical products often promise but rarely deliver. Unlike shaving, which only cuts hair at the surface, waxing provides significantly longer intervals of smooth skin waxing, and with consistent treatments, often leads to finer, sparser regrowth over time.
Beyond mere hair removal, waxing offers a dual benefit: it’s both a mechanical exfoliation and a cosmetic upgrade. As the wax adheres to the hair shaft, it gently lifts away dead skin cells, leaving your skin feeling refreshed and revitalized. This process also reduces the appearance of stubble and, when performed correctly, significantly minimizes the irritation and razor burn commonly associated with other hair removal methods.
The undeniable advantage of waxing is its longevity: a single session can maintain smooth skin for three to six weeks, depending on individual hair growth cycles. This extended duration makes it a highly desirable option for those seeking consistent smoothness.
From a technical standpoint, the choice of waxing product plays a crucial role in achieving optimal results. Strip wax is highly effective for covering larger areas quickly, making it efficient for legs and arms. Conversely, hard wax is increasingly favored for sensitive areas like the face and bikini line. Its unique formulation grips the hair more effectively without adhering excessively to the skin, thus reducing discomfort and potential irritation.
Market trends underscore this preference, with the global hair removal wax market projected to reach $17.8 billion by 2032. The growing popularity of hard wax, particularly for delicate zones, highlights its perceived superiority in comfort and efficacy.
Waxing aligns with several proven hair removal benefits: it delays regrowth, contributes to the thinning of hair thickness over time, and drastically reduces the risk of nicks and cuts. However, achieving these benefits hinges on proper technique and preparation. Key steps include exfoliating the skin 24–48 hours prior to waxing, ensuring hair is at least ¼ inch long for optimal grip, and always testing wax temperature to prevent burns.
Post-waxing care is equally vital for maximizing results and minimizing adverse effects. Applying cold compresses can help reduce redness and inflammation, while soothing lotions containing ingredients like aloe vera or chamomile can accelerate skin recovery and provide comfort.
Consider waxing as a strategic, three-part framework for superior results:
- Prepare: Exfoliate the skin beforehand and ensure hair is of adequate length.
- Perform: Select the appropriate wax type, apply it in the direction of hair growth, and remove it swiftly against the growth, keeping the skin taut.
- Protect: Soothe the skin immediately after, avoid excessive sweating for 24 hours, and incorporate regular exfoliation into your routine to prevent ingrown hairs.
Adhering to this simple sequence can transform amateur attempts into salon-quality smoothness.
Ultimately, waxing offers a superior, repeatable method for achieving genuinely smooth skin, representing a smart and effective investment in your personal care routine. For unparalleled precision and a professional finish, seeking out skilled estheticians is recommended. For localized options, exploring services like waxing salons amsterdam can provide excellent results.
In summary, waxing delivers longer-lasting smoothness, promotes gradual thinning of hair regrowth, and provides a skin-friendly finish when complemented by proper preparation and diligent aftercare.
What are the Essential Waxing Tips Every Beginner Needs to Know?
Master Your First Wax: Essential Tips for Beginners
Embarking on your waxing journey? The golden rule for beginners is simple: preparation is your greatest ally against discomfort and irritation. Waxing removes hair from the root, and minor missteps in preparation or technique can lead to a less-than-ideal experience, resulting in redness, missed hairs, or ingrowns. Getting it right from the start means a smoother, more effective session.
The Prep Power-Up:
- Exfoliate Smartly: Gently exfoliate the area 24–48 hours before waxing. This sloughs off dead skin cells, allowing the wax to grip the hair more effectively, not just the skin.
- Ideal Hair Length: Aim for hair that’s about ¼ inch long – roughly the length of a grain of rice. Too short, and the wax won’t grip; too long, and it can increase pain and waste wax.
- Clean & Dry Canvas: Ensure the skin is clean and completely dry on the day of waxing. Any oils or lotions can create a barrier, hindering wax adhesion.
- Temperature Check: Always perform a quick patch test of the wax temperature on your wrist or inner arm. This crucial step prevents accidental burns.
- Avoid Irritants: Steer clear of heavy lotions, recent tanning sessions, or potent skincare ingredients like retinoids on the area for at least 24 hours prior to waxing.
Key Takeaway: A well-prepared canvas is the secret to successful waxing. Think: Exfoliate > Check Hair Length > Test Wax Temp.
Micro-Summary: Proper preparation, including exfoliation, ensuring correct hair length, and patch testing the wax temperature, lays the foundation for a smoother and safer waxing session.
Technique & Pain Management: The Art of the Pull
Effective waxing technique is about precision, not force. Applying the wax correctly and removing it strategically minimizes breakage and reduces pain.
- Direction is Key: Apply the wax in the direction of hair growth. When it’s time for removal, pull the strip off quickly and firmly against the direction of hair growth, keeping the skin taut.
- Skin Tension is Crucial: Holding the skin taut with your free hand is vital. This anchors the skin, allowing the wax to grip the hair more effectively and preventing painful skin lifting or bruising.
- Choosing the Right Wax: For sensitive areas like the bikini line or face, hard wax is often recommended. It adheres primarily to the hair, not the skin, making it gentler.
- Immediate Pressure: Right after pulling the strip, apply firm pressure to the waxed area with your hand. This helps to blunt the pain signals sent to the brain.
Smart Pain Management:
- Breathe Through It: Exhale sharply as you pull the wax strip. This simple breathing technique can significantly reduce the sensation of pain.
- Pre-emptive Relief: If you’re particularly sensitive, consider taking a mild over-the-counter analgesic about 30–45 minutes before your appointment.
- Numbing Agents: Topical numbing creams can be used, but follow instructions carefully and test for sensitivity. Use them only when necessary.
- Never Double Dip: Avoid re-waxing the same spot multiple times in one session. This is a common cause of skin irritation and damage.
Expert Insight: Mastering the directional application and removal, combined with keeping the skin taut, leads to cleaner pulls and significantly less trauma to the skin.
Micro-Summary: Adhering to directional application and removal rules, using hard wax for sensitive areas, and employing simple pain-management strategies are essential for an effective waxing technique.
Aftercare & Troubleshooting: Ensuring Lasting Smoothness
Once the waxing is complete, proper aftercare is crucial for preventing complications and maintaining smooth skin.
- Soothe and Cool: Apply cool compresses or soothing gels containing ingredients like aloe vera or chamomile to calm redness and reduce inflammation.
- Avoid Heat & Friction: For at least 24–48 hours post-waxing, avoid hot baths, saunas, strenuous exercise, and direct sun exposure. These activities can irritate freshly waxed skin.
- Prevent Ingrown Hairs: Start gently exfoliating the waxed areas 48–72 hours after your appointment. Regular, gentle exfoliation and consistent moisturizing are key to preventing hairs from becoming trapped beneath the skin.
- When to Seek Help: If you experience severe swelling, pus, blistering, or persistent pain, consult a healthcare professional or dermatologist. These could be signs of infection or a more serious reaction.
The Repeatable Routine:
These beginner waxing tips create a powerful, repeatable routine: Prepare, Perform, Protect. By iterating on these steps with each waxing session, your results will improve predictably, leading to smoother skin and fewer issues over time.
Micro-Summary: Gentle cooling, timed exfoliation starting a couple of days post-wax, and consistent hydration are vital for achieving lasting smoothness and minimizing complications like ingrown hairs.
How Can You Master the Best Waxing Techniques for Professional Results?
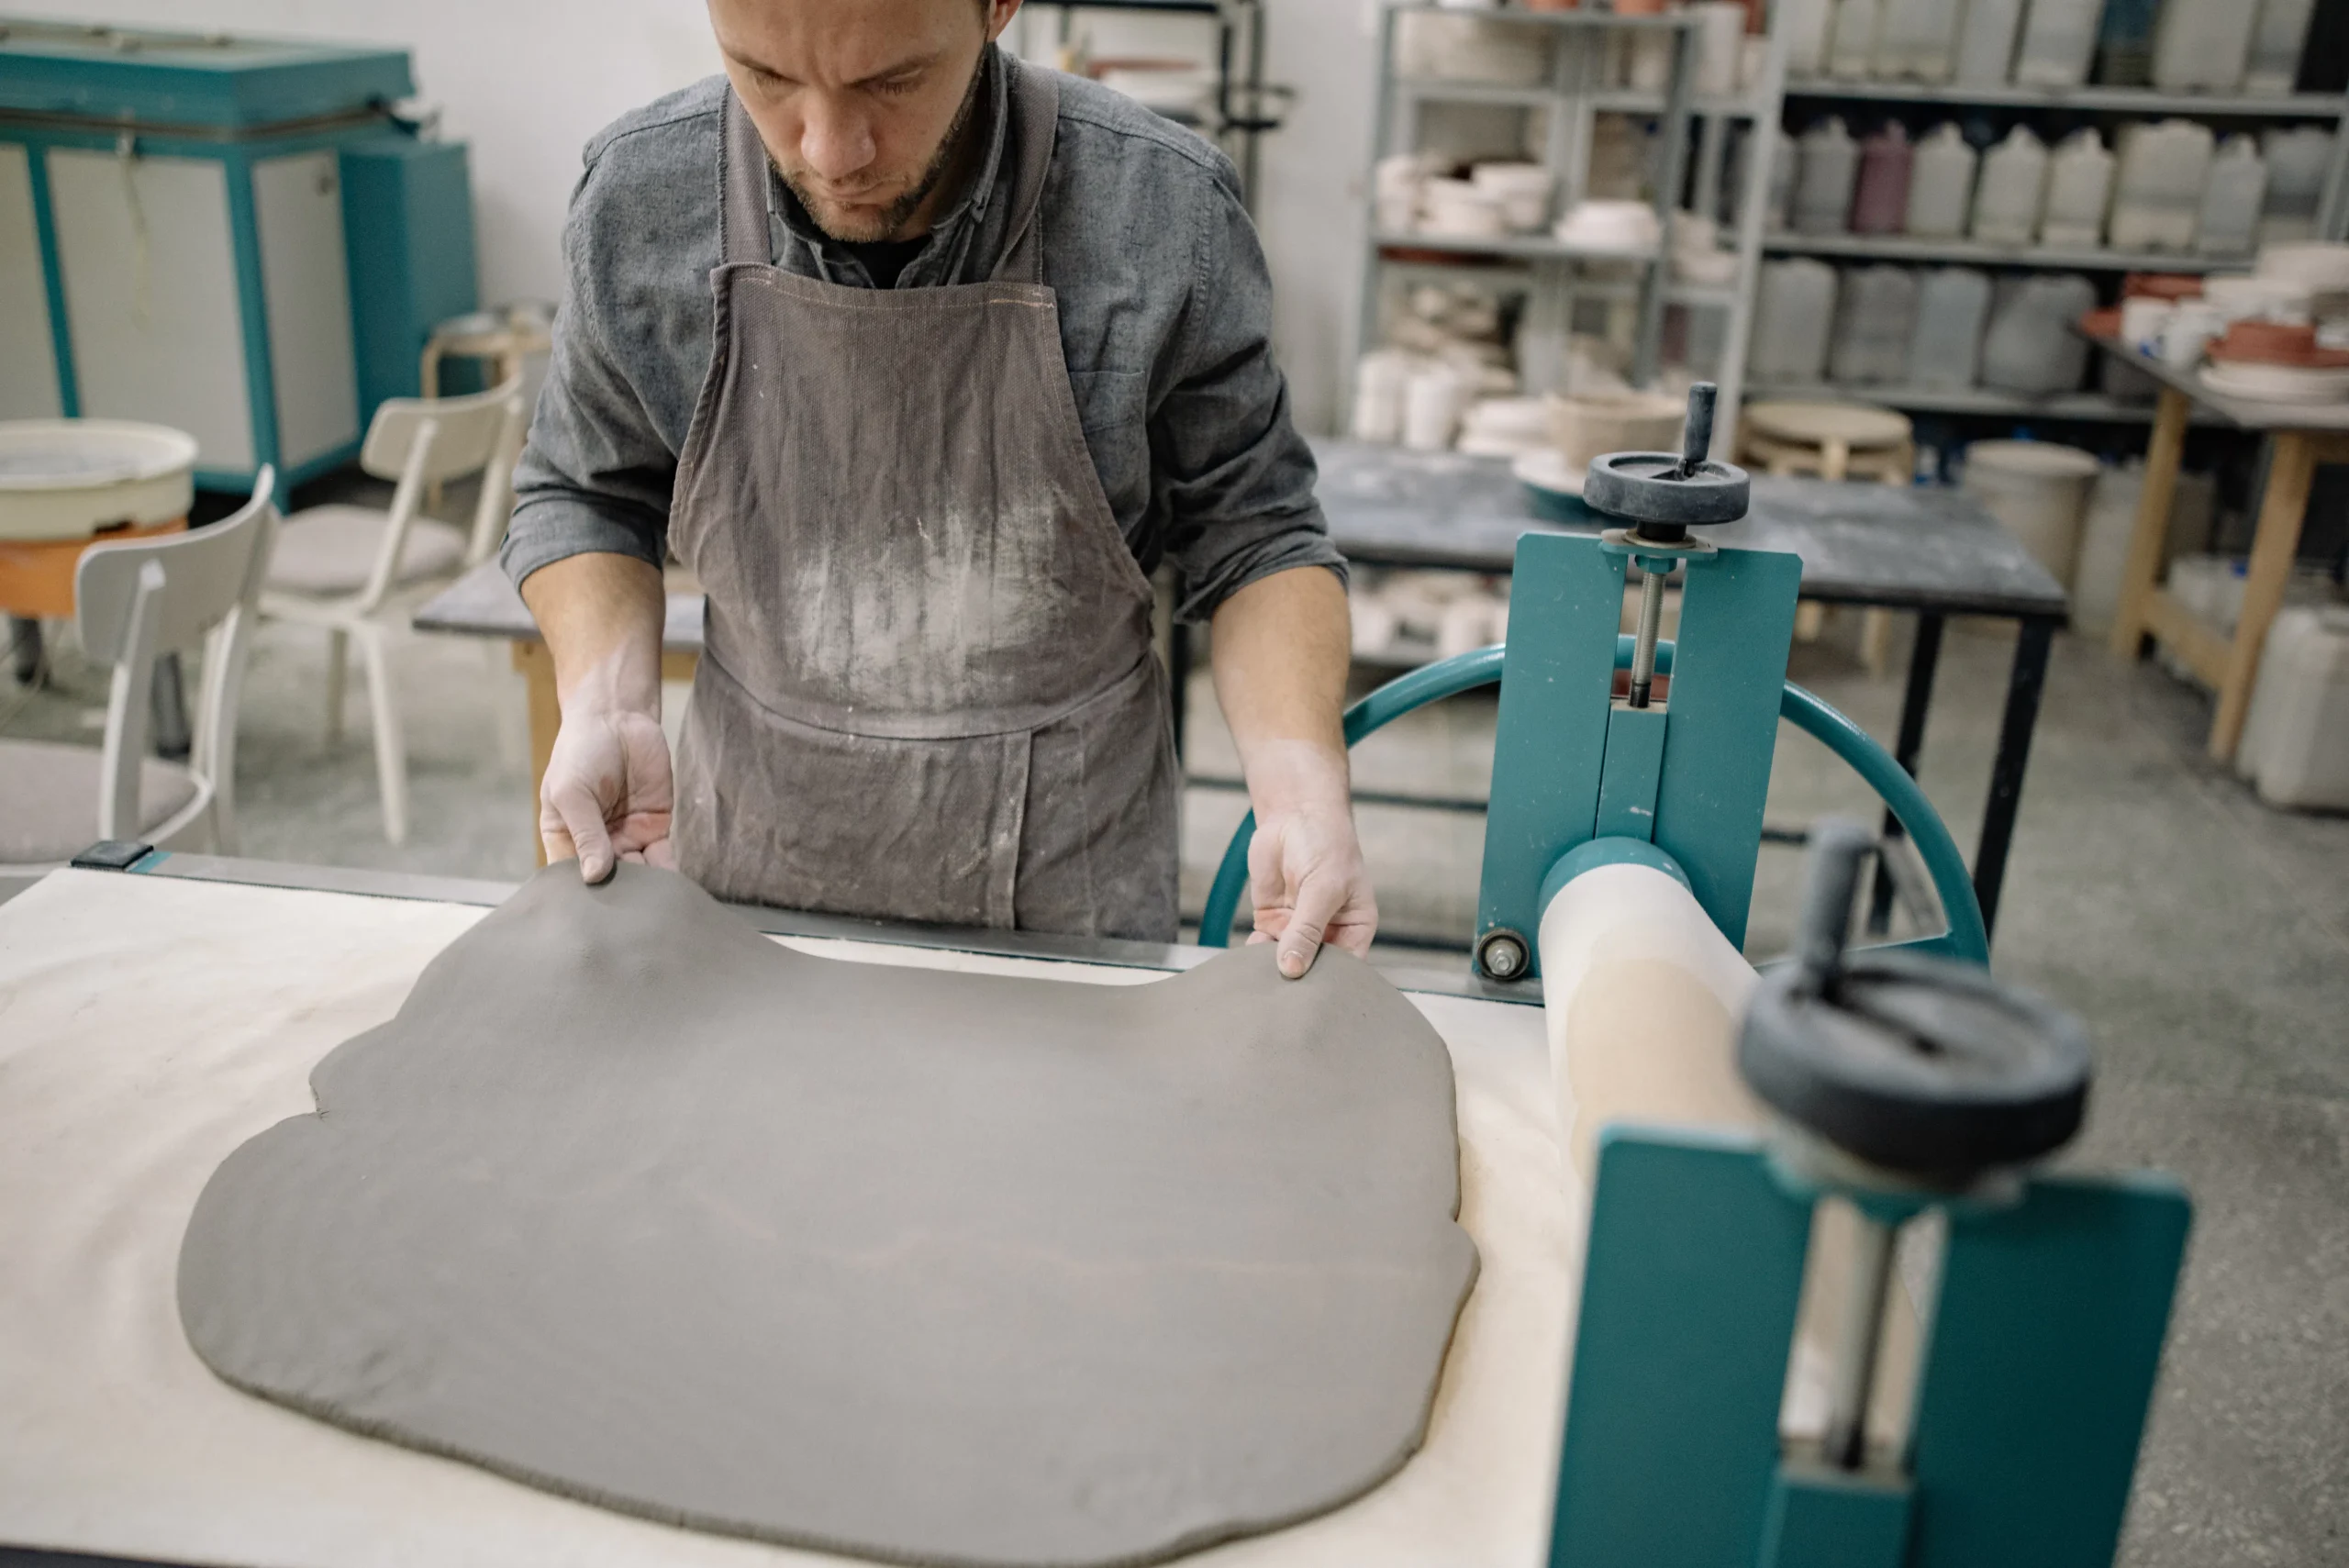
Photo by Yan Krukau on Pexels
Master the motion: small changes that deliver salon-level outcomes
Ever watched a pro and wondered why their results look effortless? The secret is technique plus repeatable process — not luck. Mastering the best waxing techniques converts a painful chore into predictable, professional waxing results.
The PRO framework: Prep — Apply — Recover
Treat waxing like a service protocol. I call this the PRO framework: Prep, Apply, Recover. Follow it and you’ll reduce irritation, speed removal, and improve longevity.
Prep (precision wins)
- Exfoliate 24–48 hours before to remove dead skin and let the wax grip the hair. Studies and industry guidance show this step improves extraction.
- Trim only if hair is over ½ inch; ideal length is about ¼ inch. Too short = poor grip; too long = pulled, not plucked.
- Clean, dry skin and test wax temperature on your wrist. Use powder on oily skin to improve adhesion.
Small prep wins cut pain and missed hairs.
Apply (the technical craft)
- Choose among the types of wax for the area: hard wax (best for sensitive zones), strip wax (efficient for legs — strip wax held 45%+ market share in 2023), and sugar paste (gentler, removes in a different motion).
- Apply wax in the direction of hair growth; remove in the opposite direction with a quick, low-angle pull, keeping the skin taut to prevent breakage and discomfort.
- For small or contoured areas, use small spatula amounts and short rips. For large, flat areas use wider strips and consistent pressure.
- Use temperature-controlled warmers for consistent viscosity; overheating causes burns, underheating causes poor adhesion.
Hard wax is excellent for bikini and face; strip wax is fast for legs.
Recover (pro results last longer)
- Press immediately on the pulled area for 10–15 seconds to soothe and reduce redness.
- Avoid hot showers, saunas, and heavy exercise for 24 hours.
- Start gentle exfoliation 48–72 hours after to prevent ingrown hairs; moisturize daily with non-comedogenic lotions.
Quick note: sugaring removes sugar paste in the direction of growth (different from traditional wax). Knowing these distinctions is part of mastering technique.
If you want alternatives or clinic-grade options, read about laser options and the trade-offs at laser waxing benefits. For local professional touchpoints, check waxing in amsterdam.
Mastery is repetition plus smart feedback: refine your timing, wax choice, and pull technique and you’ll reliably achieve professional waxing results. Repeat the PRO framework and each session becomes closer to salon perfection.
Is At-Home Waxing a Good Idea, and How Do You Do It Safely?
At-Home Waxing: Convenience Meets Control
Achieving salon-smooth skin in the comfort of your own home is an appealing prospect, but it’s a delicate balance. At-home waxing offers significant advantages: it’s budget-friendly, private, and allows you to dictate your own waxing routine. However, this convenience comes with a caveat: success hinges on meticulous adherence to proper technique, stringent hygiene, and understanding your skin’s limits. Skipping crucial steps or misjudging application can lead to burns, uneven results, and uncomfortable irritation.
At-home waxing is a smart choice for accessible areas when safety protocols are strictly followed; it’s not a universal solution for all skin types or body parts.
When to Embrace DIY Waxing and When to Seek a Professional
For effective and safe at home waxing, focus on larger, easily reachable areas like your legs and arms. These regions are generally more forgiving for DIY attempts. However, it’s wise to leave more intricate or sensitive areas to the experts. This includes complex bikini line shaping, full Brazilian waxes, facial areas close to the eyes, or if you’re using skin-thinning medications or have particularly sensitive skin. For professional services, consider options like waxing in amsterdam for expert care.
Short Summary: At-home waxing is ideal for manageable areas; entrust delicate or high-risk zones to trained professionals.
Your Safe and Effective At-Home Waxing Routine: A Step-by-Step Guide
1. Preparation (24–48 Hours Prior):
- Gently exfoliate the skin to remove dead cells and help prevent ingrown hairs.
- Ensure hair is approximately 1/4 inch long for optimal grip.
- Cleanse the area thoroughly and pat it completely dry. Moisture can hinder wax adhesion.
- Perform a patch test with your chosen wax on a small, inconspicuous area of skin to check for adverse reactions.
2. Heating and Testing the Wax:
- Utilize a temperature-controlled wax warmer to maintain a consistent, safe temperature. Avoid microwave or double-boiler methods unless specifically instructed by the product.
- Always test the wax temperature on your inner wrist before applying it to larger areas. It should feel warm, not hot.
- Crucial Safety Tip: Never apply overheated wax to your skin, as this is a primary cause of burns.
3. Smart Application Techniques:
- Apply a thin, even layer of wax in the direction of hair growth. For sensitive areas, consider using hard wax applied in small beads. For larger areas like legs, strip wax is often more efficient.
- Firmly press a waxing strip (if using strip wax) onto the applied wax. For hard wax, allow it to cool slightly until pliable, then lift an edge.
4. The Strip and Immediate Pressure:
- Hold the skin taut with one hand.
- With the other hand, quickly pull the strip or hardened wax off in the opposite direction of hair growth. Aim for a swift, decisive motion.
- Immediately after removing the strip, apply firm pressure to the waxed area for 10–20 seconds. This helps to soothe nerve endings, reduce pain, and minimize inflammation.
5. Essential Aftercare:
- Apply a cool compress to the treated area to calm the skin.
- Follow up with a soothing post-wax serum or gel containing ingredients like aloe vera or chamomile to hydrate and reduce redness.
- For the next 24–48 hours, avoid sun exposure, hot baths or showers, saunas, retinoids, and heavily fragranced products, as your skin will be more sensitive.
- After 48–72 hours, resume gentle exfoliation to prevent ingrown hairs.
Recommended Products for a Successful At-Home Waxing Routine:
- Hard Wax: Ideal for sensitive zones like the face and bikini area due to its gentler application.
- High-Quality Strip Wax: Best suited for larger areas like legs and arms.
- Temperature-Controlled Wax Warmer: Essential for safe and consistent heating.
- Talc-Free Powder or Cornstarch: Can help absorb excess moisture on oily skin before waxing.
- Soothing Post-Wax Serum: Look for aloe-based or chamomile-infused options.
Small mistakes in your waxing routine can cost more than just time—always test, temperature-check, and maintain consistency.
Final Takeaway: With the right selection of products, a conservative approach to your waxing routine, and unwavering attention to safety checks, at-home waxing can be an effective and safe method for achieving smooth skin. When in doubt, or for particularly sensitive areas, booking an appointment with a professional esthetician is always the best course of action.
What are the Keys to a Pain-Free Waxing Guide for Sensitive Areas?

Photo by RDNE Stock project on Pexels
Fast, effective strategies to make sensitive-area waxing far less painful
What if a few changes could turn a dreaded bikini appointment into a short, manageable step in your routine? Pain during waxing is not inevitable — it’s usually the result of technique, timing, or product choice. This pain-free waxing guide gives specific, evidence-backed moves for the bikini area and other sensitive zones.
The S.A.F.E. framework for pain reduction
- S — Skin prep: Exfoliate 24–48 hours before waxing to remove dead skin and let wax grip hair, not skin. Keep hair about 1/4 inch long. Avoid retinoids and chemical peels for a week prior.
- A — Appropriate wax: Use hard wax for sensitive areas; it clings to hair rather than skin and reduces tug. Hard wax popularity has risen because it reliably lowers discomfort and irritation.
- F — Firm technique: Apply wax with hair growth, remove against growth while keeping skin taut. Apply immediate firm pressure after pulling the strip to blunt nerve response.
- E — Ease aftercare: Cool compresses, aloe vera or chamomile lotions, and avoiding hot tubs for 24 hours reduce inflammation and redness.
Hard wax for sensitive zones is the single most effective change for less pain.
Practical pain-control tactics
- Test wax temperature and use professional tools with temperature control.
- Consider a topical numbing cream (over-the-counter lidocaine) applied per instructions; always patch-test first.
- Schedule waxing when you’re not menstruating (lower pain sensitivity outside that window) and avoid caffeine beforehand.
- Breathe and exhale sharply on the pull — it measurably lowers perceived pain.
Micro-summary: Prep, product choice, technician technique, and targeted aftercare combine to cut pain significantly.
Professional vs at-home: where to go
For first-time bikini work or recurrent sensitivity, professional service reduces risk and improves comfort. If you want local options and vetted studios, check recommendations for waxing in amsterdam for salons that specialize in sensitive-area care.
Micro-summary: Sensitivity is manageable — with the right wax, timing, technique, and aftercare, bikini wax care can be reliably comfortable.
Why is Post-Waxing Care Crucial for Maintaining Flawless Skin?
Why is Post-Waxing Care Crucial for Maintaining Flawless Skin?
A flawless wax doesn’t end when the strip is pulled — the next 48 hours determine whether your skin stays smooth or becomes a roadmap of redness, bumps, and ingrown hairs. As an esthetician-level observation: hair removed by the root leaves the follicle exposed and the surrounding skin temporarily inflamed, making aftercare the difference between short-term relief and recurring problems.
Left unmanaged, two predictable issues arise: irritation (redness, pustules) and ingrown hairs (hair trapped beneath the skin). Ingrowns are not cosmetic only — they can become painful and hyperpigmented. Proper waxing aftercare reduces inflammation, prevents bacteria from entering open follicles, and guides regrowth so hairs come up cleanly.
A solid waxing routine is preventive skin health — not optional beauty maintenance.
The CARE framework: a simple post-waxing routine that works
Use this four-step framework after every session: Cleanse, Apply cool, Rescue (soothe), Exfoliate gently.
- Cleanse: Use a mild, fragrance-free cleanser within an hour to remove residual wax and bacteria. Avoid hot showers for 24 hours.
- Apply cool: A cold compress or cooling gel (aloe vera or chamomile) reduces swelling and calms nerves.
- Rescue (soothe & hydrate): Lightweight, non-comedogenic moisturizers or products formulated for post-hair removal help the barrier recover. Avoid perfumed lotions, retinoids, and heavy oils for 48 hours.
- Exfoliate gently: After 48–72 hours, begin light exfoliation 2–3 times weekly to prevent ingrown hairs. Proper exfoliation encourages hair to emerge rather than curl back.
Micro-summary: Follow Cleanse + Cool + Rescue + Exfoliate to lower inflammation and stop ingrowns before they start.
If you want professional-grade aftercare or tailored treatments, Amsterdam Beauty Clinic offers specialist waxing, targeted skin treatments, and product recommendations to support your waxing routine — and you can explore local studio options like waxing in amsterdam for trusted providers.
Micro-summary: Investing a few minutes in waxing aftercare extends smoothness, reduces complications, and makes each session progressively kinder to your skin.
Ready for consistently smooth skin? Discover expert waxing services and personalized care at Amsterdam Beauty Clinic.
People Also Ask About Waxing
What’s the biggest difference between waxing and shaving for smooth skin?
Waxing removes hair from the root, leading to smoother skin for longer periods, typically 3-6 weeks. Shaving only cuts hair at the surface, resulting in stubble within days. Waxing also exfoliates the skin and can lead to finer regrowth over time.
How can I prepare my skin for a less painful waxing experience?
Proper preparation is key to minimizing pain. Ensure your hair is at least 1/4 inch long, exfoliate the skin 24-48 hours before waxing to remove dead skin cells, and take a warm shower to open pores. Avoid caffeine and alcohol before your appointment as they can make skin more sensitive.
What are the best practices for waxing aftercare to prevent ingrown hairs?
Aftercare is crucial for maintaining smooth skin and preventing ingrown hairs. Keep the waxed area clean and moisturized, avoiding tight clothing and harsh exfoliants for at least 24-48 hours. Regular gentle exfoliation and hydration starting a few days after waxing will help prevent hairs from growing back into the skin.
Is it better to get a bikini wax professionally or try at-home waxing?
While at-home waxing can be convenient, professional waxing often yields better and safer results, especially for sensitive areas like the bikini line. Professionals have the expertise, proper techniques, and high-quality products to minimize pain and reduce the risk of irritation or ingrown hairs. For optimal results, consider professional services at Amsterdam Beauty Clinic.
How often should I get waxed to maintain smooth skin?
The ideal waxing frequency depends on your hair growth cycle, but most people benefit from waxing every 3 to 6 weeks. This timing allows enough hair regrowth for the wax to grip effectively, while still maintaining smooth skin for a significant period. Consistency is key to achieving progressively finer hair growth.
What types of wax are best for different skin and hair types?
There are various wax types, including hard wax, strip wax, and sugar wax. Hard wax is often preferred for sensitive areas as it adheres only to the hair, not the skin. Strip wax is versatile for larger areas, while sugar wax is a gentler, natural option. Your esthetician can recommend the best type for your specific needs.