Why should you master at-home leg waxing for 2026?

Mastering at-home leg waxing in 2026 is less about pain tolerance and more about precision, consistency, and smart product choice. Expect this guide to walk you through step-by-step preparation, wax selection for different hair and skin types, salon-grade technique, pain management, and foolproof aftercare for long-lasting smooth legs.
This guide is for anyone who wants reliable leg hair removal without weekly shaving or frequent salon appointments — beginners, busy professionals, and men exploring grooming. I write from clinical experience at Amsterdam Beauty Clinic, where we combine state-of-the-art tools and natural, vegan products to deliver effective, minimally discomforting waxing and hair removal services.
Why it matters in 2026: the global hair removal market is expanding, DIY waxing kits are more sophisticated, and 65% of women now prefer waxing over shaving. Mastery saves money, avoids scheduling headaches, and delivers salon-quality results at home when you follow proper prep, application, and cooling protocols.
Bold insight: invest time in technique once, and you’ll get smoother legs for weeks—not days.
What you’ll achieve: predictable leg waxing sessions, fewer ingrown hairs, reduced regrowth visibility, and the confidence of truly smooth legs. You’ll also learn when to opt for professional options like laser hair removal or a clinic visit — for local guidance, explore waxing in Amsterdam for advanced studio options.
In short: this guide turns intimidating leg hair removal into a repeatable, comfortable routine that gets you salon-level results at home.
What essential steps guarantee a successful waxing session?
Start with skin prep—this determines 70% of your result
Think of waxing as a small surgical procedure: clean, precise, and unforgiving of slipshod prep. Exfoliate 24 hours before your session to remove dead skin cells and reduce ingrown hairs. Use a gentle scrub or a chemical exfoliant (BHA or AHA) once—avoid aggressive scrubs right before waxing.
Cleanse with a gentle, oil-free wash immediately before waxing. Moisture and oils are the enemy of adhesion. Pat skin completely dry and dust a light layer of talc or cornstarch on damp-prone areas to absorb residual moisture.
Micro-summary: exfoliate 24 hours earlier, cleanse and dry immediately before waxing, and use powder when needed.
Hair length: the small window that matters
For the wax to grip properly you need about 1/4 inch (6 mm) of hair—roughly the length of a grain of rice. Shorter than this and the wax won’t catch; longer than 1/2 inch becomes painful and less effective.
If you’re preparing for a full leg wax, trim longer hair to the optimal length rather than shaving it off. Trim, don’t shave, before your session.
Micro-summary: aim for ~1/4 inch; trim long hairs but don’t shave.
Tools & supplies: what to have within arm’s reach
- Quality wax (hard wax for sensitive skin, soft strip wax for larger areas).
- Pre-wax cleanser and post-wax soothing oil or gel (aloe vera or chamomile-based).
- Wax heater with temperature control or a reliable at-home kit with clear temp guidelines.
- Disposable wooden spatulas, cloth strips (for soft wax), and single-use gloves.
- Baby powder or cornstarch, antiseptic wipes, and a cold compress.
- Aftercare lotion and a gentle exfoliant for 48–72 hours post-wax.
A well-stocked kit removes hesitation and keeps technique consistent — that’s the difference between an okay result and truly smooth legs.
Micro-summary: choose the right wax, keep temperature steady, and stock disposable applicators and aftercare.
If you want professional-grade products and vegan options that reduce discomfort, I recommend checking our waxing services at Amsterdam Beauty Clinic — we focus on advanced, minimally discomforting techniques and natural products. For local studio options, see resources on waxing in amsterdam.
Achieving the best way to wax legs and get smooth legs consistently comes down to preparation, correct hair length, and having the right tools for a confident, efficient full leg wax.
How do you pick the perfect wax for your skin and hair type?

Choosing the right wax is the single most effective way to reduce irritation and get longer-lasting results. As an esthetician at Amsterdam Beauty Clinic, I see the same mismatch errors: people pick a wax because it’s cheap or familiar — not because it suits their skin or hair. That’s why a simple decision framework removes the guesswork.
Quick primer: the three wax families
- Hard wax (stripless): melts, applies, and hardens around the hair. Best for sensitive areas and coarse hair because it grips hair, not skin. Use hard wax for legs when hair is thick or skin reacts easily.
- Soft (strip) wax: spreads thin and is removed with cloth strips. Efficient for large areas and finer hair; faster but can be harsher on reactive skin.
- Sugar wax (sugar paste): water-soluble, made from natural ingredients. Gentle, eco-friendly, and effective for many skin types — a popular choice when searching for sugar wax for legs.
If your skin is easily irritated, choose hard wax or sugar wax — they pull hair, not skin.
The 3-step Wax Match Framework
- Identify skin sensitivity: reactive/breakouts → hard or sugar. Normal/tough → either.
- Assess hair coarseness: fine → soft wax; medium/coarse → hard wax (or professional-grade soft wax with a practitioner).
- Consider area size & speed: full legs → soft wax for speed; small sections or sensitive zones → hard or sugar.
Micro-summary: Match sensitivity, hair thickness, and area size — then pick hard, soft, or sugar accordingly.
Practical tips: always test a small patch, ensure hair is ~1/4 inch long, and use thin layers for even removal. New at-home kits now include temperature control and vegan formulations — consistent with Amsterdam Beauty Clinic’s use of natural, vegan products for minimal discomfort.
Want a deeper read on local options? Check our guide to waxing in amsterdam for studio-level standards and treatments. If you’re choosing at-home kits, prioritize quality ingredients and a clear refund policy.
Micro-summary: Right wax + correct technique = fewer ingrowns, less redness, and the best wax for legs tailored to you.
Can you achieve salon-quality smooth legs with these simple steps?
You can—if you follow a precise sequence. Think of at-home leg waxing like a short clinical procedure: preparation, controlled application, a confident removal, and targeted aftercare. I use a four-step PREP → APPLY → PULL → SOOTHE framework with clients and it translates perfectly to a full leg wax at home.
PREP: set the stage
- Clean, dry skin and ideal hair length (about 1/4 inch). Trim longer hairs to this length; shorter and the wax won’t grip. Exfoliate 24 hours before to remove dead skin.
- Do a quick patch test for temperature and skin reaction—especially if you’re trying a new product.
- Lightly dust with talc-free baby powder to absorb residual moisture.
A good prep routine reduces pain, snagging, and post-wax irritation.
APPLY: how to lay the wax (best way to wax legs)
- Use thin, even layers. For soft (strip) wax apply with a wooden spatula in the direction of hair growth; for hard (stripless) wax, spread a slightly thicker ridge but still controlled.
- Work in manageable sections—about palm-sized for the calf, smaller near knees and ankles. For a full leg wax, divide each leg into 6–8 sections: ankle, lower calf, upper calf, knee, lower thigh, mid-thigh, upper thigh, and hip.
Thin, consistent application is the difference between salon-level finish and sticky residue.
PULL: removal techniques + posture for effectiveness
- Keep the skin taut. For the front of the leg, sit with the knee slightly bent and the foot resting on a low stool or edge of a chair; this flattens the skin surface.
- For the back of the thigh/calves, stand and bend the working leg slightly, or lie on your side—use a mirror to check angles.
- Pull the strip or cooled hard wax off in one quick, low, parallel motion to the skin (not upward). Use your free hand to anchor a few centimeters ahead of the strip to reduce sting and skin lifting.
Bold technique tip: Anchor the skin and pull low and fast to minimize pain and maximize hair removal.
SOOTHE: immediate and short-term aftercare
- Apply a cold compress for 5–10 minutes, then a calming gel with aloe or chamomile. Avoid sun exposure and tight clothing for 24–48 hours.
- Exfoliate gently 3–4 days later to prevent ingrown hairs.
Mastering these steps makes leg hair removal predictable and salon-like. If you prefer professional guidance or want to compare at-home results with clinic standards, Amsterdam Beauty Clinic offers expert waxing and other hair removal options performed with natural, vegan products and advanced techniques.
Short summary: Prepare carefully, apply thinly, pull confidently while keeping skin taut, and soothe immediately—those four habits are the quickest path to salon-quality smooth legs at home.
What secret tips and tricks elevate your waxing game?

Start with ambition, not anxiety: the difference between a fumbled at-home wax and salon-level results often comes down to a few deliberate, repeatable habits.
Pro tips that change outcomes
- Exfoliate 24 hours before and again 3–4 days after waxing to prevent ingrowns. Use a gentle scrub or a chemical exfoliant if your skin tolerates it.
- Keep hair at roughly 1/4 inch (6 mm). Too short and wax won’t grab; too long and removal is messier. If hairs are long, trim—not shave—to the optimal length.
- Apply wax in thin, even layers. Thick globs trap heat and increase pain; thin layers adhere better and remove hair more cleanly.
- Use baby powder or cornstarch on slightly damp-prone areas to absorb moisture and improve adhesion.
- Work in small sections and stretch the skin taut. Smaller panels mean cleaner pulls and less bruising.
A little discipline in prep + technique equals dramatically smoother results.
Micro-summary: Prep, thin layers, and small sections deliver consistent, less painful results.
Efficiency hacks and pain-management
- Numb strategically: over-the-counter topical numbing creams applied per instructions can help for first-timers or dense hair areas.
- Time your session: wax 2–3 days after your cycle (for women) when skin sensitivity typically normalizes.
- Use an iced compress immediately after waxing to calm inflammation and minimize redness.
- For quick sessions, set a clear workflow: Prep → Warm wax → Apply → Pull → Soothe. Repeat with short breaks.
Pain is manageable when you control temperature, tension, and timing.
Micro-summary: Smart timing, topical numbing, and immediate cooling reduce pain and downtime.
Pitfalls to avoid
- Don’t wax irritated, sunburned, or recently shaved skin.
- Avoid heavy lotions before waxing—they prevent wax from gripping.
If you want a professional fallback or advanced options—like gentler formulations, state-of-the-art tools, or advice tailored to men—Amsterdam Beauty Clinic blends modern tech with natural, vegan products to help you waxing confidently. Whether you’re trying to get smooth legs for summer or exploring mens leg waxing, these tips will raise your at-home game and deliver salon-grade, long-lasting smooth legs.
How do you soothe your skin and prevent post-waxing woes?
Immediate Cooling and Inflammation Control
The moment the last strip is off, immediate calm is paramount for your skin. To effectively reduce redness and inflammation, apply a cool compress for 5–10 minutes. An expert tip for this crucial aftercare waxing step: use a clean cloth soaked in cold water or a gel pack wrapped in a thin towel. Always avoid direct ice application on bare skin to prevent further irritation.
Bold Insight: Quick application of a cold compress with gentle pressure immediately diminishes swelling and sensitivity, setting the stage for comfortable smooth legs.
Within 15–30 minutes, if your skin feels raw, follow up with a soothing, fragrance-free lotion containing aloe vera or chamomile. These ingredients are renowned for their anti-inflammatory properties and their ability to support the skin’s natural barrier recovery. For persistent stinging, a light layer of panthenol (pro-vitamin B5) can provide rapid comfort and aid in healing.
Preventing Ingrown Hairs: Your Practical Routine
Ingrown hairs are arguably the most common post-leg hair removal complaint. Proactive prevention is key to maintaining smooth legs. Begin your prevention routine 48–72 hours after waxing, once the initial skin sensitivity has subsided:
- Gentle Exfoliation: Integrate chemical exfoliants like salicylic acid (0.5–2%) or glycolic acid (5–10%) 2–3 times weekly. These help keep follicles clear without harsh scrubbing.
- Physical Polish: Once a week, use a soft brush or exfoliating glove for gentle physical exfoliation, ensuring dead skin cells don’t trap new hair growth.
- Consistent Hydration: Keep your skin well-hydrated. Supple, moisturized follicles are significantly less prone to trapping hair, which is vital for effective aftercare waxing.
Should bumps still form, a short course of topical salicylic acid or an antiseptic can help clear the affected follicles. For severe or recurring ingrowns, it is always best to consult a professional rather than attempting abrasive self-treatment, which can worsen the condition. Regular, gentle exfoliation paired with diligent hydration is the most reliable strategy for preventing ingrown hairs after leg hair removal.
Moisturizing: What to Use and What to Avoid
Proper moisturizing is a cornerstone of effective aftercare waxing, crucial for achieving and maintaining truly smooth legs. Opt for lightweight, fragrance-free moisturizers rich in hyaluronic acid, squalane, or glycerin. Natural, vegan options are excellent choices, provided they are free of essential-oil concentrations that can irritate freshly waxed skin.
For the first 48–72 hours post-wax, it’s imperative to avoid:
- Hot tubs, saunas, and any heavy exercise that induces significant sweating.
- Direct sun exposure and tanning beds, which can exacerbate sensitivity.
- Strong acids or retinoids, as they dramatically increase skin sensitivity.
- Fragrance-laden creams, perfumed oils, and chlorinated pools, all of which can cause irritation.
After this initial 48–72 hour period, you can gradually reintroduce gentle oils, such as squalane or jojoba, to further lock in moisture and enhance skin suppleness.
When to Seek Professional Help
While most post-waxing reactions are mild and manageable with proper aftercare waxing, certain symptoms warrant immediate medical attention. If you observe spreading redness, pus, fever, or intense pain, seek medical advice promptly—these can be indicators of infection or severe folliculitis.
For professional guidance on achieving long-lasting smooth legs and personalized aftercare waxing advice, I recommend visiting Amsterdam Beauty Clinic. We offer expert treatments and provide recommendations for natural, vegan products designed to support your skin’s health: aftercare waxing.
Final Note: Consistent, calm, and informed aftercare waxing is the true secret to transforming a good waxing experience into reliably smooth legs—and, ultimately, to lasting confidence.
Ready to embrace silky smooth legs and confidence?
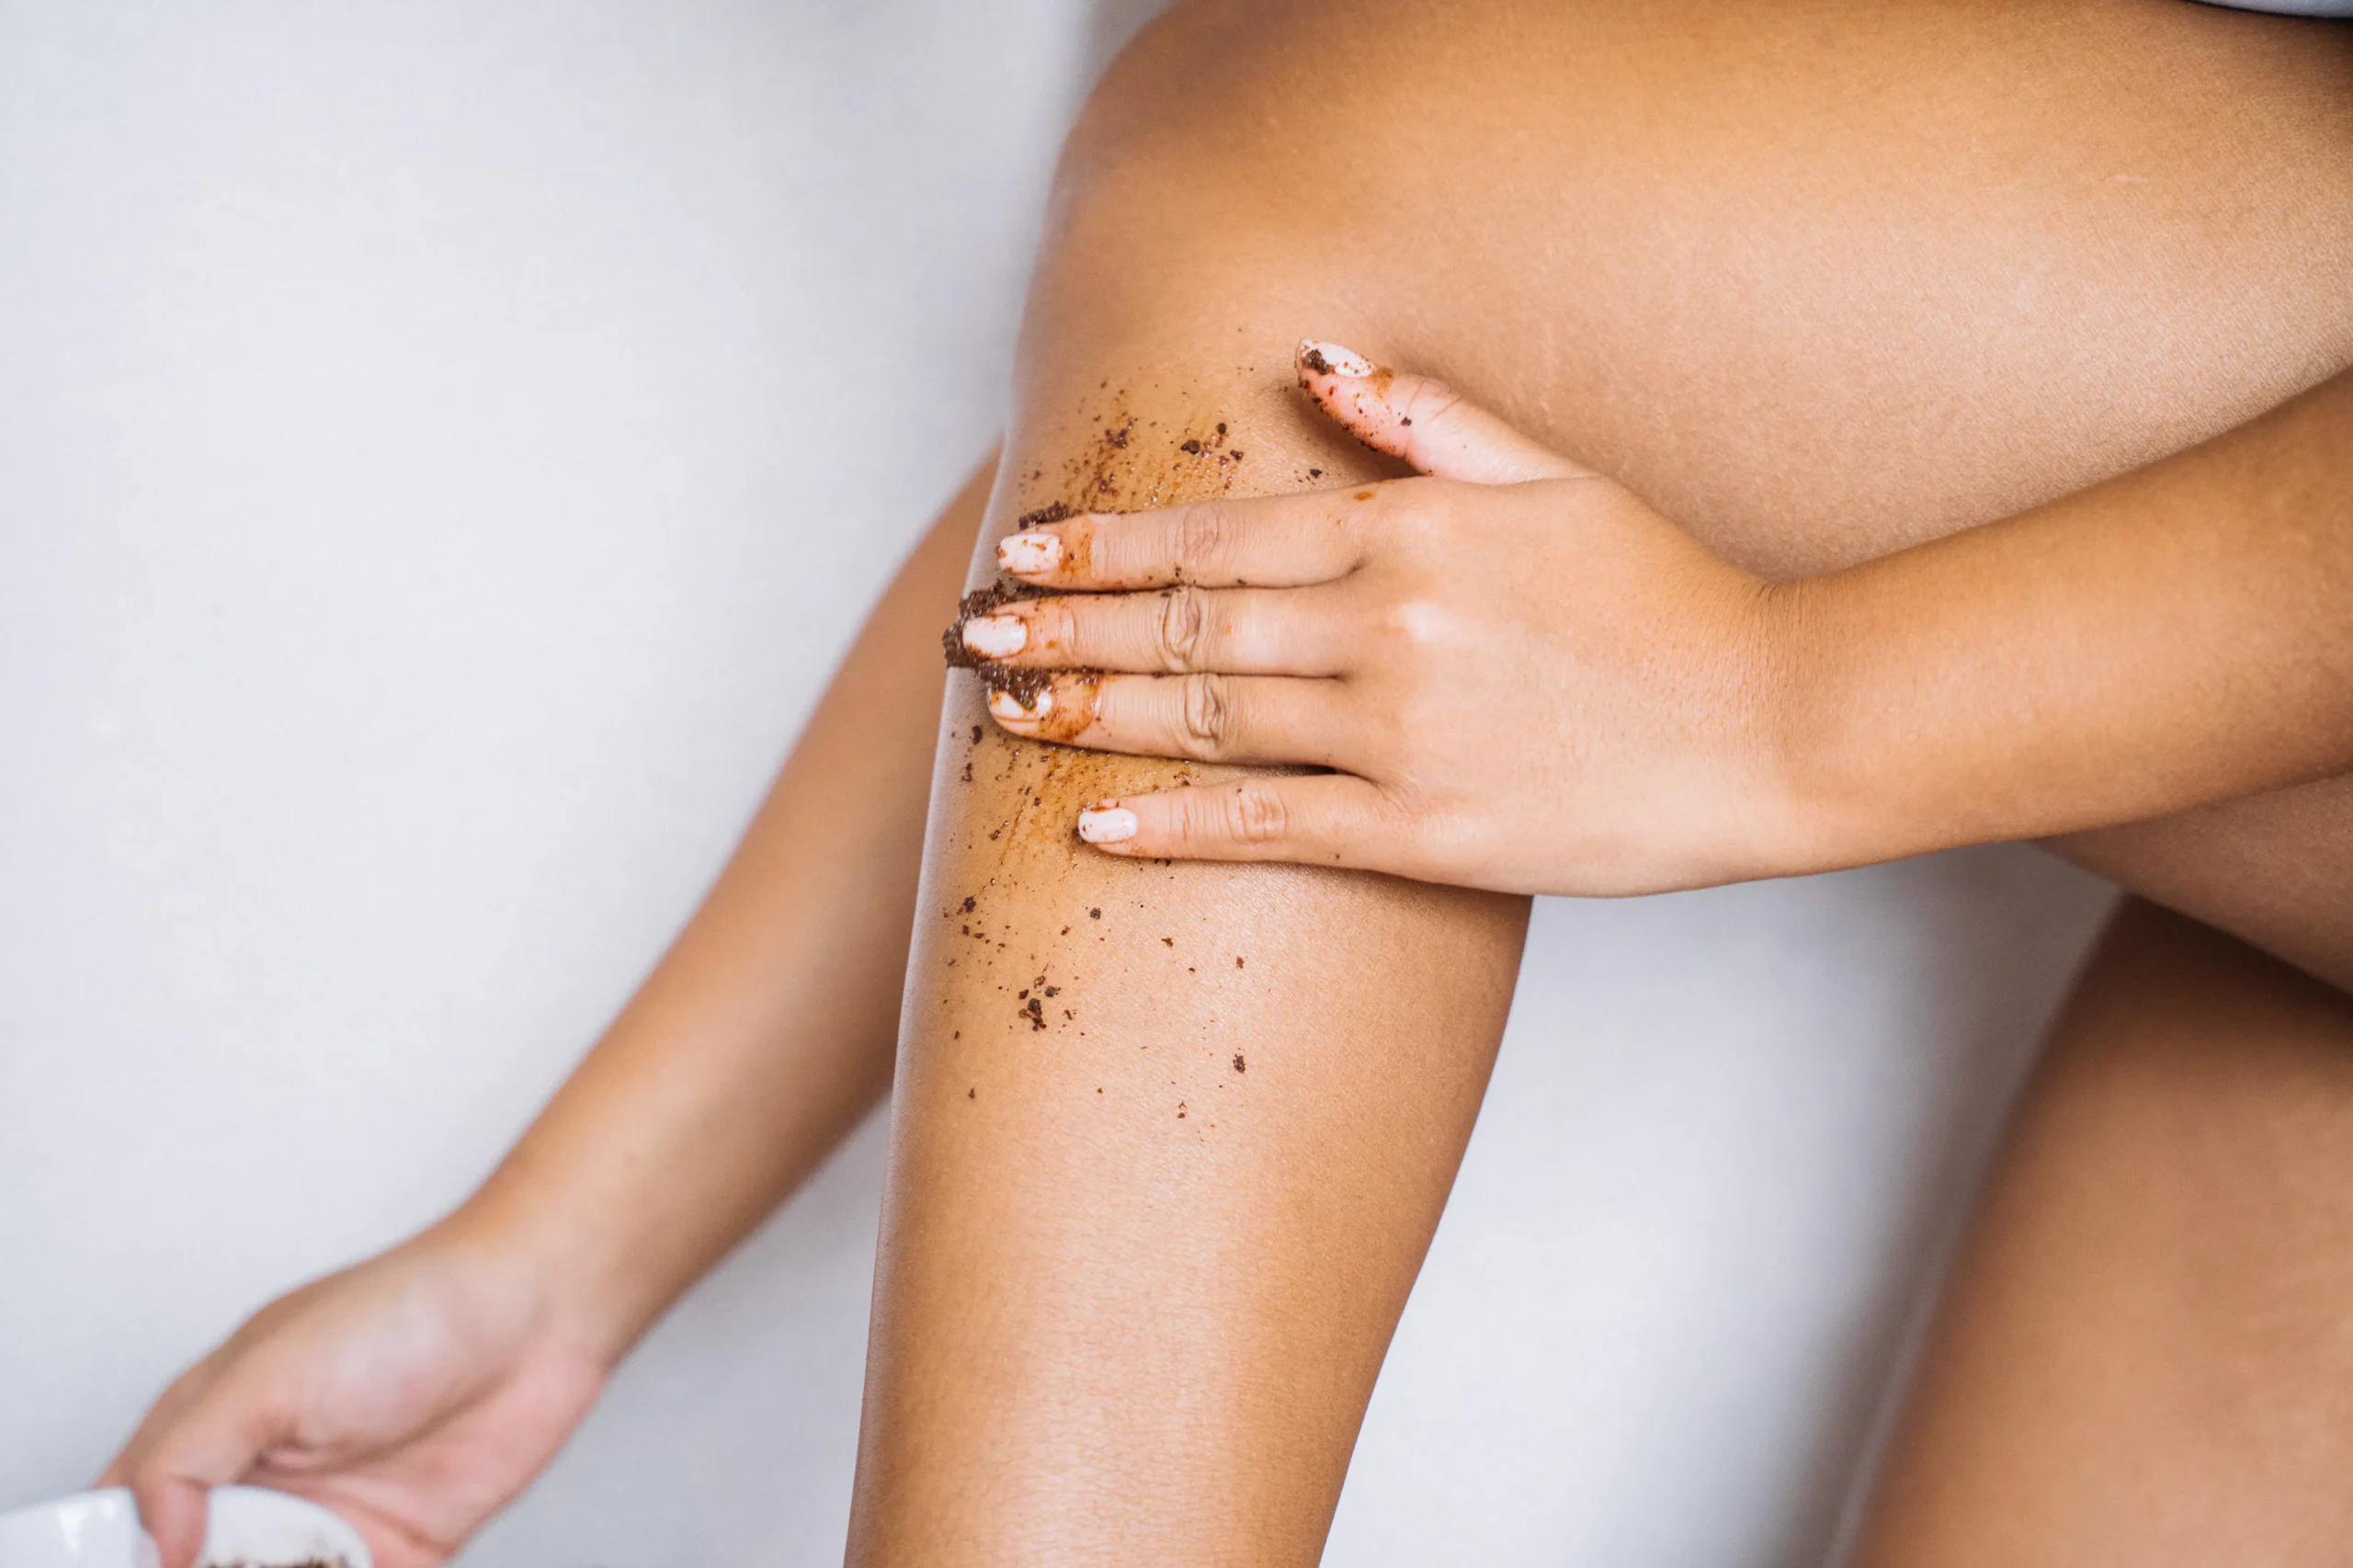
Photo by Anna Tarazevich on Pexels
Ever finished a session and felt — finally — like your legs match your mood? That’s the payoff of applying technique, not luck. You’ve moved from theory to practice: preparation, choosing the right wax, precise application, confident removal, and soothing aftercare.
Follow the four-step framework you learned: PREP (exfoliate, optimal hair length, clean skin), APPLY (thin, directional layers), PULL (firm, fast, taut skin), SOOTHE (cold compress, aloe, avoid sun). These steps are simple but repeatable — repetition builds predictable, salon-quality results for leg waxing at home.
- Preparation reduces irritation and prevents ingrown hairs.
- Right wax + correct temperature = better grip and less tug.
- Small sections and taut skin = cleaner pulls and longer-lasting smooth legs.
Practice and the right products are the difference between patchy results and salon-quality smooth legs.
Remember the bigger picture: mastering at-home leg hair removal saves money, adds convenience, and gives you control over timing — trends show more people choosing waxing over shaving for longer-lasting results. If you want guidance or a professional touch, Amsterdam Beauty Clinic offers expert waxing and advanced treatments using natural, vegan products to complement your at-home routine: waxing.
You’re ready. Start with one leg at a time, iterate, and celebrate small wins — consistent practice turns nervous beginners into confident pros with truly smooth legs.
Master the routine, enjoy the results, and wear your confidence.
Ready to embrace consistently smooth legs? Discover a range of professional skin and hair removal treatments at Amsterdam Beauty Clinic and achieve your beauty goals with expert care.
People Also Ask
What is the best way to prepare my legs for at-home waxing?
To prepare for at-home leg waxing, ensure your hair is at least 1/4 inch long. Exfoliate your skin 24 hours prior to remove dead skin cells and allow the wax to grip effectively. Clean and thoroughly dry your legs just before waxing to remove any oils or lotions.
Which type of wax is best for sensitive skin on the legs?
For sensitive skin, hard wax (stripless wax) is often recommended as it adheres primarily to the hair and less to the skin, minimizing irritation. Sugar wax is also a gentle, natural alternative that is easily washed off with water.
How can I reduce pain during at-home leg waxing?
To minimize discomfort, ensure your skin is clean and dry, and consider using a small amount of baby powder to absorb moisture. Applying a cold compress immediately after pulling the strip can also help soothe the skin. Some people find over-the-counter numbing creams effective before waxing.
What should I do immediately after waxing my legs to soothe the skin?
Immediately after waxing, apply a cold compress or a cool, damp cloth to reduce redness and inflammation. Follow up with a soothing lotion containing ingredients like aloe vera or chamomile. Avoid hot showers, tight clothing, and sun exposure for at least 24-48 hours.
How do I prevent ingrown hairs after leg waxing?
To prevent ingrown hairs, start gently exfoliating your legs a few days after waxing, continuing regularly. Ensure you keep your skin moisturized and avoid tight clothing that can cause friction. Consistent exfoliation is key to allowing hairs to grow out smoothly.
Can men also benefit from mastering at-home leg waxing?
Absolutely. Men’s grooming trends are growing, and mastering at-home leg waxing offers the same benefits of cost savings and convenience for men. The techniques and product choices are similar, allowing men to achieve smooth legs efficiently.