Why Should You Master Expert Waxing Techniques in 2026?
If you want smooth skin that genuinely lasts—without guesswork, unnecessary pain, or frequent salon runs—mastering expert waxing techniques is the high-return skill to develop in 2026.
What you’ll learn
- Precise waxing techniques 2026 professionals use to reduce discomfort and get cleaner pulls.
- Science-backed skin preparation and post-care for effective hair removal and fewer ingrown hairs (hair should be ~1/4 inch; exfoliate 24–48 hours before).
- Which wax to choose (hard vs. soft), area-specific tips (bikini/Brazilian vs. legs), and how to stretch, apply, and remove wax for optimal results.
- When to combine waxing with other options and how to extend the interval between sessions for lasting smoothness.
Why this matters in 2026
The global waxing market continues to grow (≈ USD 11.07 billion), and consumers expect cleaner, gentler, and more personalized services. Trends in hypoallergenic, vegan formulas and smarter techniques mean you can get salon-grade results at home or improve outcomes when you visit a clinic.
Mastering technique reduces pain, prevents ingrown hairs, and extends your smooth window from weeks to months.
Benefits of mastery (quick wins)
- Longer-lasting smoothness (typical waxing lasts 3–6 weeks).
- Less irritation and faster recovery when you follow 24–48 hour aftercare rules.
- Confidence to choose the right wax and tools, and to know when to book advanced treatments.
As a clinician at Amsterdam Beauty Clinic I recommend building this skill to save time, money, and achieve truly lasting smoothness—learn more about our professional waxing and hair removal services at our waxing page: waxing.
Mastering these techniques in 2026 gives you safer, more effective hair removal and consistently lasting smoothness.
Mastering Your Canvas: Why is Skin Preparation & Wax Selection Crucial?
Mastering skin prep and wax selection is the difference between patchy results, irritation, and consistently smooth skin that lasts. As a clinician at Amsterdam Beauty Clinic, I see the same avoidable mistakes: skipping exfoliation, using the wrong wax, or treating sensitive areas like they’re the legs. Let’s fix that.
The canvas: skin preparation for waxing
Start with clean, dry skin. Exfoliate 24–48 hours before your session to remove dead skin cells and let the wax grip hair better — avoid exfoliating the day of waxing to reduce sensitivity. Hair should be around 1/4 inch long for optimal removal. Right before waxing, cleanse with a gentle, oil-free cleanser and skip heavy moisturizers or body oils that create a barrier.
- Exfoliate: 24–48 hours prior
- Hair length: ~1/4 inch
- Cleanse: immediately before waxing
- Avoid: oils, heavy creams, sun exposure
Exfoliation and proper cleansing set up every waxing method for success.
Skin prep micro-summary: Proper exfoliation and cleansing 24–48 hours before waxing, plus correct hair length, markedly improve results and reduce irritation.
Best wax types: hard vs soft, and choosing for sensitive skin
Understanding the best wax types lets you match technique to anatomy. Soft wax (strip wax) is formulated for larger areas — legs, arms, backs — because it covers broadly and removes multiple hairs per pass. Hard wax (stripless wax) sets firm and is pulled without cloth strips; it adheres to hair rather than skin, making it ideal for sensitive zones like the bikini line and underarms.
- Hard wax: best for bikini, Brazilian, underarms; less skin trauma
- Soft wax: best for legs, arms, large areas; efficient and fast
Hard wax is gentler on sensitive areas because it grips hair, not skin.
For reactive skin, choose hypoallergenic, fragrance- and dye-free formulations; vegan, natural wax blends are becoming standard at clinics including ours. When doing at home waxing, practice with small areas first, follow temperature instructions, and patch-test new products.
Technique tip: apply with hair growth, remove against growth while stretching skin taut and pulling parallel to the skin.
Wax selection micro-summary: Match hard wax to sensitive zones and soft wax to large areas; choose hypoallergenic formulas for sensitive skin and always respect correct application technique.
If you prefer a professional approach, explore our waxing services at Amsterdam Beauty Clinic to see how advanced, low-irritation products and techniques can improve your results.
The Art of Application: How Can You Achieve Flawless Waxing Results at Home?
I still see the same avoidable mistakes: wax applied too thick, strips pulled upward, skin not stretched — and the result is pain, breakage, or red bumps. The good news: with a few disciplined habits you can get salon-grade results at home. Here’s the simple, repeatable method I use with clients at Amsterdam Beauty Clinic.
The P.A.R.C. framework (Prepare • Apply • Remove • Care)
Prepare
Start with the canvas ready. Hair should be about 1/4 inch long for optimal grip; exfoliate 24–48 hours before waxing to remove dead skin and allow wax to cling to hair, but avoid exfoliating the day of the service. Cleanse the area and skip heavy oils or moisturizers that block adhesion. For legs, soft wax is usually the best choice because it covers larger areas efficiently.
- Trim if hairs are longer than 1/2 inch; let them grow to ~1/4 inch.
- Exfoliate gently 24–48 hours before.
- Use a pre-wax spray or talc if skin is slightly oily.
Micro-summary: Proper prep primes hair and skin — nothing else matters as much for clean pulls.
Apply
Always apply wax in the direction of hair growth using a wooden spatula or applicator. For legs, work in manageable sections (4–6 inches). Keep the wax layer thin for soft wax — thick layers are harder to remove cleanly.
- Smooth, even stroke in the hair-growth direction.
- Press a strip firmly with no air pockets; leave a short tab at the edge for gripping.
Wax application is about precision, not pressure — thin, even layers remove hair more cleanly.
Remove
Grip the strip’s tab, stretch the underlying skin taut with your free hand, and pull the strip off parallel to the skin, against hair growth — not upward. Quick, decisive pulls reduce pain and lower the chance of skin lifting.
- Hold skin taut; pull parallel and low.
- Work fast: rewarm wax rather than reapplying cold wax.
Micro-summary: The pull — parallel, quick, and supported — is the action that converts technique into smooth legs.
Care
Soothe the skin immediately with aloe or chamomile-based post-wax products. Avoid hot showers, saunas, intense workouts and sun exposure for 24–48 hours. Resume gentle exfoliation 48 hours after waxing, 2–3 times weekly, to prevent ingrown hairs.
For sensitive areas or persistent irritation, consider professional options — I combine soft and hard systems at Amsterdam Beauty Clinic and recommend tailored approaches to minimize discomfort and maximize longevity. Explore our waxing menu or learn about local pros in our guide to amsterdam waxing.
Follow these waxing tips and leg waxing tips consistently and you’ll reliably achieve smooth legs with minimal irritation and longer-lasting results.
Targeted Precision: Do Sensitive Areas Demand Special Waxing Approaches?
Why sensitive areas demand a different approach
Sensitive zones — bikini line, Brazilian, and facial hair — are not just smaller versions of your legs. Skin is thinner, hair follicles are denser, and the margin for irritation is small. That’s why technique, wax type, and preparation change the outcome from painful and patchy to clean and long-lasting.
Hard wax is the go-to for sensitive skin waxing because it grabs hair, not skin — reducing pain and irritation.
Short summary: For sensitive areas prioritize wax that minimizes skin adhesion and focus on meticulous prep to reduce complications.
The S.P.E.C. framework for targeted precision
I use a simple framework when working on these areas — S.P.E.C.: Skin prep, Product, Execution, Care.
- Skin prep: exfoliate 24–48 hours before, cleanse immediately before waxing, and ensure hair is ~1/4 inch long. Avoid exfoliation the day of. A light pre-wax spray helps lift hairs and reduce slippage.
- Product: choose a hypoallergenic hard wax (fragrance- and dye-free) for bikini wax and Brazilian services, and a gentle facial hard wax for upper lip/chin. Soft wax remains better for larger areas like legs.
- Execution: apply with the hair growth, remove opposite the growth, pull parallel to skin while stretching the area taut, and use short strips for control. For Brazilian work, small sections and consistent tension matter more than speed.
- Care: calm skin immediately with aloe vera or chamomile-based gels, avoid heat, friction, and tight clothing for 24–48 hours, and start exfoliating gently 48 hours after to prevent ingrowns.
Micro-summary: A repeatable, four-step S.P.E.C. approach removes guesswork and reduces risk for sensitive-area waxing.
Practical at home waxing tips (bikini wax and Brazilian wax guide essentials)
At home waxing can work if you’re cautious. Use hard wax sticks designed for small areas, test temperature on your wrist, work in small sections, and never reuse applicators. If you have very reactive skin, seek a professional. For those in Amsterdam, trusted resources like local guides on waxing amsterdam can point you to experienced salons.
If you’re uncertain, professional waxing often reduces complications; clinics use sterilized tools and clinically vetted products.
Safety, risks, and when to see a pro
Risks include ingrown hairs, irritation, and infection if tools aren’t sanitized. If you notice persistent redness, swelling, or signs of infection, consult a professional. At Amsterdam Beauty Clinic our approach pairs advanced technique with natural, vegan, hypoallergenic waxes to deliver safer, more comfortable results — whether you opt for in-clinic waxing or carefully executed at home waxing.
Final takeaway: Sensitive areas do demand special waxing approaches — and when done correctly, results are smoother, longer-lasting, and safer.
Sustaining the Silky Finish: What Are the Secrets to Post-Wax Care & Longevity?

The immediate aftermath of a wax—specifically the minutes and first two days—is crucial. It dictates whether you’ll enjoy calm, lasting smoothness or contend with redness, bumps, and ingrown hairs. Consider your post-wax care as the final, indispensable stage of the service; it’s what truly protects your hair follicles and preserves that impeccable result.
Immediate Care (0–48 hours)
Immediately after your waxing session, prioritize cooling and calming the skin. Apply a clean, cool compress or a soothing gel infused with ingredients like aloe vera or chamomile. For the next 24 to 48 hours, it’s vital to avoid activities that generate heat or friction. This includes hot showers, saunas, steam rooms, intense workouts, and direct sun exposure, all of which can increase blood flow and inflammation.
Opt for loose, breathable clothing and steer clear of tight underwear or synthetic fabrics that might rub the delicate area. Similarly, for at least 48 hours, avoid scented lotions or heavy oils; these can inadvertently trap sweat and irritants against newly waxed skin, leading to discomfort or breakouts.
Your best defense against inflammation and infection during this critical period lies in immediate cooling and strict avoidance of heat and friction.
Key takeaway: Prioritize calming the skin and protecting it from heat and friction for the initial 24–48 hours.
Daily Soothing & Product Recommendations
To keep your skin feeling its best and to support its recovery, incorporate gentle, fragrance-free moisturizers. Look for formulations enriched with soothing ingredients such as aloe vera, panthenol, or chamomile. Should your follicles be prone to infection or inflammation, products containing tea tree oil can be beneficial; however, always ensure they are diluted and patch-tested first. For those with highly sensitive skin, selecting hypoallergenic, natural, or vegan aftercare products is paramount.
To sustain that coveted smooth skin at home between your waxing appointments—particularly when shaving isn’t an option—focus on consistent, light moisturizing and occasional cool compresses. Remember to strictly avoid any exfoliation during the crucial initial 48 hours post-wax.
Key takeaway: Hydrate with gentle, non-comedogenic products and continue to avoid aggressive actives in your daily post-wax routine.
Weekly Routine to Prevent Ingrown Hairs
Once 48 hours have passed since your wax, you can begin a regular exfoliation routine, aiming for 2–3 times per week. This crucial step helps prevent ingrown hairs by dislodging trapped hairs and gently sloughing off dead skin cells. You can opt for a chemical exfoliant, such as a low-strength AHA or BHA, or a gentle physical scrub. If you find yourself particularly prone to ingrowns, consider incorporating a BHA (salicylic acid) product into your routine once or twice weekly for targeted prevention.
Consistent, gentle exfoliation stands as the single most effective habit for preventing ingrown hairs and maintaining skin health.
Key takeaway: Start exfoliating 48 hours post-wax, 2–3 times weekly, to prevent ingrowns and prolong your skin’s smoothness.
Between Sessions & Longer-Term Options
To ensure optimal results at your next appointment, aim to keep hair at the ideal length of approximately 1/4 inch. If your goal is fewer sessions or a more persistent, enduring smoothness, it’s worth exploring advanced options like professional laser hair reduction. You can learn more about laser hair reduction for truly lasting results.
For those seeking professional-grade care, expert guidance, and access to vegan, hypoallergenic aftercare recommendations, we highly recommend the professional waxing and beauty services at Amsterdam Beauty Clinic. We specialize in advanced, minimally discomforting treatments and offer tailored post-wax protocols designed to maximize your comfort and results.
Key takeaway: Maintain ideal hair length, exfoliate consistently, use gentle daily care, and consider professional alternatives for long-term smoothness.
When Things Go Sideways: How Do You Troubleshoot Common Waxing Woes?
When waxing goes sideways, quick triage beats panic
It happens to everyone — a patch of red skin, a stubborn tuft of missed hair, or sticky residue that won’t come off. I’ve seen these issues hundreds of times at Amsterdam Beauty Clinic, and most are fixable with calm, methodical troubleshooting waxing steps.
If skin is red, hot, or stinging: cool the area with a clean compress for 10–15 minutes, then apply a thin layer of aloe vera or chamomile gel. Avoid scrubs, hot showers, saunas, heavy creams and sun exposure for 24–48 hours to reduce inflammation and prevent pigment changes. If blistering, severe swelling, or spreading redness appears, seek professional care — these can indicate infection or an allergic reaction.
Micro-summary: Cool, soothe, and protect for the first 48 hours.
Problem → Practical fixes
- Missed hairs: ensure hairs are ~1/4 inch before next session; use a light exfoliation 48 hours before waxing and re-wax small missed areas with the grain. Stretch the skin taut and apply wax in the direction of growth, removing opposite.
- Bruising or surface trauma: apply cold compresses immediately and avoid anticoagulants (aspirin, alcohol) before waxing. Use hard wax for sensitive zones to reduce skin trauma.
- Sticky residue: remove with a dedicated post-wax oil or a small amount of natural oil (coconut/jojoba), then cleanse gently.
- Ingrown hairs: start exfoliating 48 hours after waxing, 2–3× weekly, and consider a salicylic acid product for prevention.
Small changes in technique or product usually solve waxing problems — not drastic measures.
Micro-summary: Target the exact symptom with the right tool: hard wax for sensitivity, oils for residue, exfoliation for missed hairs.
When to get help
If irritation persists beyond 72 hours, signs of infection appear, or you’re unsure about a reaction, book a consultation. At Amsterdam Beauty Clinic we combine state-of-the-art techniques and vegan products to diagnose and treat complications safely — learn more about our waxing services waxing.
Micro-summary: Know your red flags and don’t hesitate to consult a clinic when in doubt.
What’s Next for Your Smooth Skin Journey?
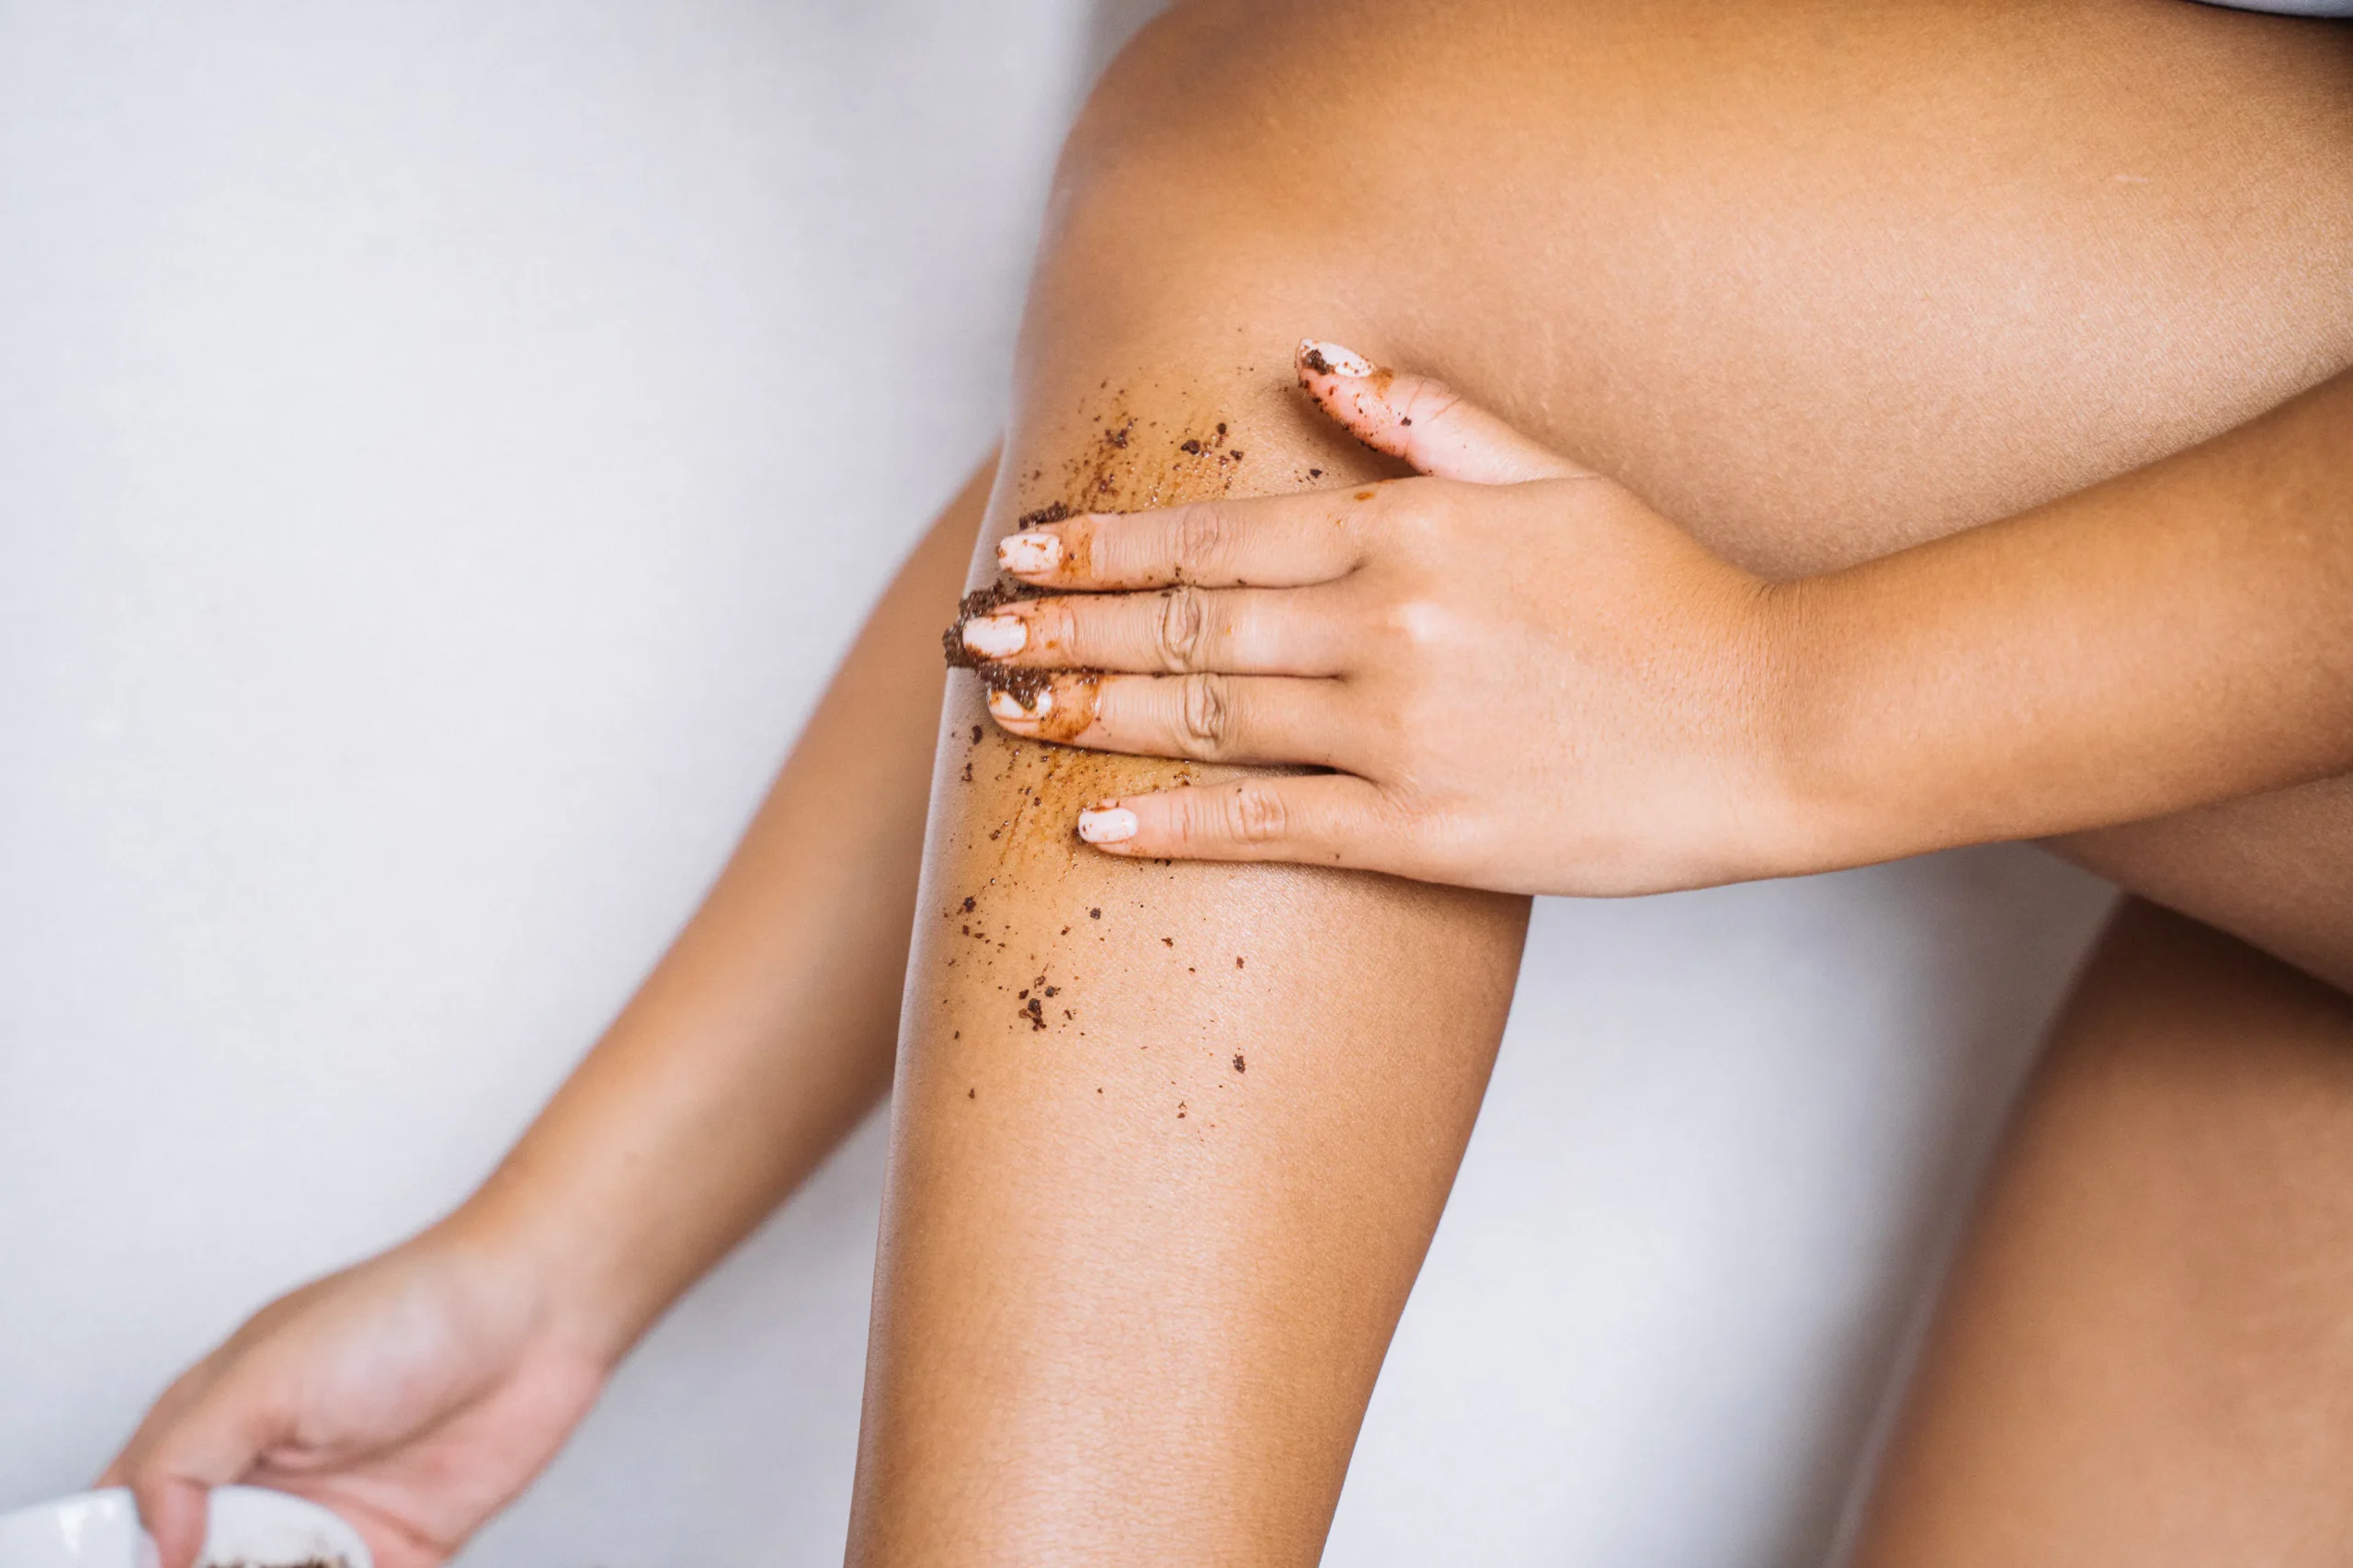
Photo by Anna Tarazevich on Pexels
You’ve reached the finish line — but this is where the real transformation starts. The skills you’ve learned turn routine hair removal into repeatable results: longer gaps between sessions, fewer ingrown hairs, and the confidence of salon-grade technique at home or with a trusted clinic.
Key takeaways to keep your progress
Preparation matters: aim for ~1/4 inch of regrowth and exfoliate 24–48 hours before waxing. Apply wax with the grain and remove against it while pulling parallel to the skin. Use hard wax for sensitive zones and soft wax for larger areas. Aftercare isn’t optional — avoid hot showers, intense workouts, saunas, and sun for 24–48 hours and start gentle exfoliation 48 hours after waxing, 2–3 times weekly, to prevent ingrowns.
Small habits produce lasting smoothness — consistency is the multiplier.
Quick micro-summary: follow the timing rules, choose the right wax, and prioritize gentle aftercare for expert waxing results.
What to do next (practical roadmap)
- Create a 6–8 week calendar for repeat sessions to identify your ideal rhythm. 2. Track which wax types and pre/post products reduce irritation for you. 3. If sensitivity or ingrowns persist, consider professional options — laser-based methods can shift you toward permanent hair reduction.
For a deeper look at long-term options, see laser waxing explained. If you prefer guided care, Amsterdam Beauty Clinic combines advanced techniques and natural, vegan products to deliver comfortable, effective waxing and other hair removal services — explore their waxing offerings.
Actionable next step: pick one change to implement this week (correct hair length, a new post-wax soother, or a booking with a pro) and iterate from there.
Final micro-summary: apply one improvement, measure your comfort and results, and aim for hair removal mastery through consistency — that’s the path to lasting smoothness.
Ready for consistently smooth skin? Explore advanced beauty treatments and expert waxing services at Amsterdam Beauty Clinic and achieve your desired results with confidence.
Frequently Asked Questions About Expert Waxing
What is the ideal hair length for waxing?
For optimal waxing results, hair should be approximately 1/4 inch long. This length allows the wax to grip the hair effectively without being too long, which can sometimes cause discomfort or make the wax less effective. If hair is too short, the wax may not be able to adhere to it properly.
How can I prevent ingrown hairs after waxing?
Regular exfoliation between waxing sessions is key to preventing ingrown hairs. Start exfoliating 2-3 times per week, beginning about 48 hours after your waxing session. This helps to remove dead skin cells that can trap emerging hairs, allowing them to grow out smoothly.
Is hard wax or soft wax better for sensitive areas like the bikini line?
Hard wax is generally recommended for sensitive areas such as the bikini line. It adheres primarily to the hair rather than the skin, which can reduce pain and irritation. Soft wax is typically more effective for larger areas like the legs due to its stickier consistency and the need for strips.
What should I avoid doing immediately after waxing?
After waxing, it’s important to avoid hot showers, saunas, steam rooms, intense workouts, and direct sun exposure for 24 to 48 hours. These activities can increase skin sensitivity, cause irritation, and potentially lead to breakouts or ingrown hairs by opening pores and increasing sweat.
Can I exfoliate right before waxing?
No, you should avoid exfoliating the day of waxing. It’s best to exfoliate 24 to 48 hours before your waxing appointment. Exfoliating too close to the session can make your skin more sensitive and prone to irritation during the waxing process.
When should I consider professional waxing services?
While at-home waxing can be effective, professional services are recommended for sensitive areas like the Brazilian, if you have very coarse or stubborn hair, or if you experience persistent irritation or ingrown hairs. Professionals have the expertise and tools to ensure a safer, more comfortable, and effective hair removal experience.