- Achieving Smooth Skin with Effective Leg Waxing at Home
- Preparing for Quick Leg Waxing: Essential Steps for Optimal Results
- Mastering the Art of Smooth Leg Waxing: Step-by-Step Guide
- Post-Wax Care: Maintaining Smooth Skin and Preventing Irritation
- Conclusion: Embrace the Confidence of Effortless Leg Waxing
Achieving Smooth Skin with Effective Leg Waxing at Home
Getting that coveted flawlessly smooth skin through leg waxing doesn’t need to be a daunting or time-consuming task—especially when you have the right techniques and products at your fingertips. Whether you’re preparing for a beach vacation or simply want to feel confident in your own skin, effective leg waxing can deliver long-lasting results that keep your legs looking their best.
Imagine slipping into your favorite dress or shorts with legs so smooth they almost feel like silk. That feeling of confidence is achievable right in the comfort of your home with some simple steps and expert tips. From choosing the perfect wax to mastering pain-minimizing techniques, this guide is here to make your at-home waxing sessions effortless and rewarding.
If you’re eager to ditch razors for good and enjoy silky-smooth skin—without frequent salon visits—then keep reading! We’ll walk through everything you need to know about quick leg waxing, from preparation to post-care.
Preparing for Quick Leg Waxing: Essential Steps for Optimal Results
Proper preparation is the secret sauce behind effective leg waxing that’s quick, clean, and comfortable. Think of it as laying a sturdy foundation before building a beautiful house—it ensures everything else falls into place seamlessly.
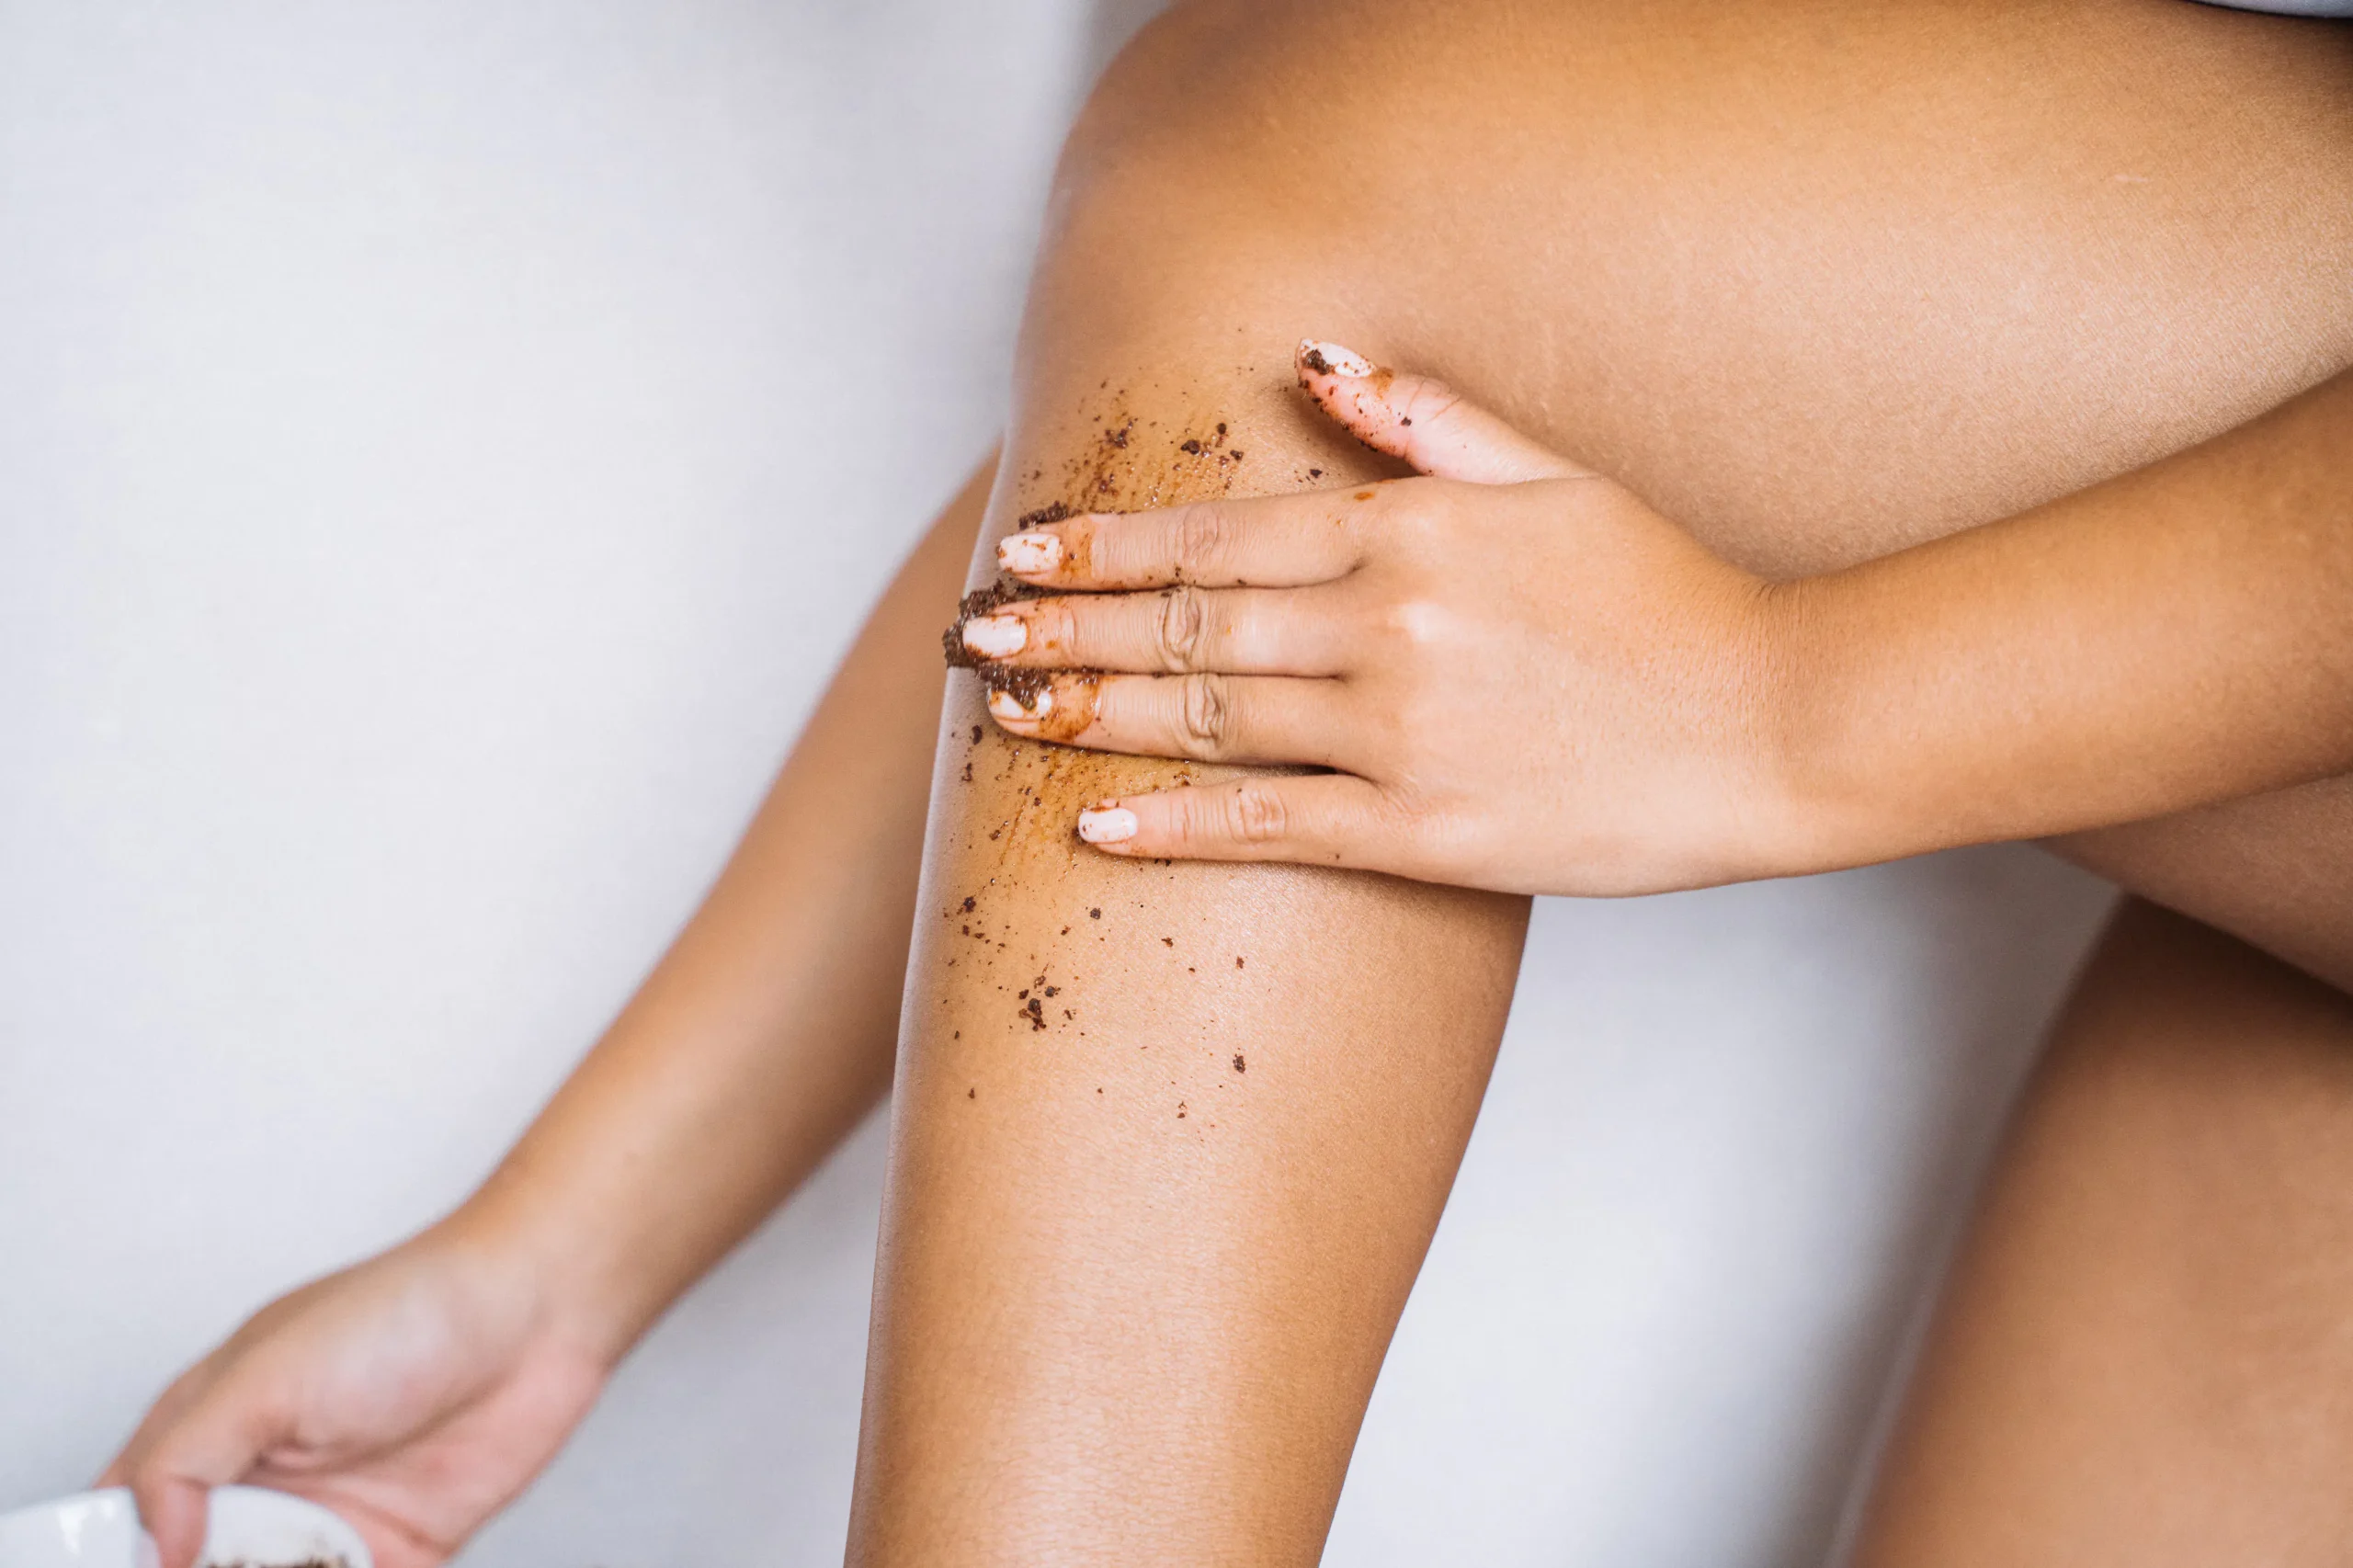
Start by exfoliating your legs a day or two before waxing. This helps remove dead skin cells, making hair removal more effective and reducing chances of ingrown hairs. Use a gentle scrub or exfoliating glove on damp skin to slough away dry patches.
Next, check the length of your leg hair—ideally between 1/4 to 3/4 inch (about 6-18 mm). If it’s longer than that, trim it down with manicure scissors or an electric trimmer; longer hairs can make waxing more painful and less effective.
Cleanse thoroughly using mild soap and warm water to eliminate oils, lotions, or residues that could interfere with wax adhesion. Pat dry completely; moisture on the skin can compromise the wax’s grip.
Choosing the Best Leg Wax for Your Skin Type
your choice of wax can make all the difference in how smooth and comfortable your session turns out. There are several options:
- Soft wax (applied thinly and removed with cloth strips): Ideal for larger areas like legs; great for fine hairs.
- Hard wax (hardens on its own): Gentle on sensitive skin; excellent for stubborn hairs or if you prefer minimal irritation.
- Sugar wax (natural sugar-based paste): Eco-friendly and gentle; suitable if you prefer natural ingredients.
Consider your skin sensitivity and hair type when selecting a wax — sometimes investing in high-quality products pays off in smoother results!
Minimizing Pain: Tips for a More Comfortable Waxing Experience
everyone wishes for pain-free hair removal — well, while no method is entirely pain-free, these tips will help keep discomfort at bay:
- Apply a numbing cream about 30 minutes before starting.
- Make sure your wax is heated correctly—not too hot—to prevent burns.
- Work quickly: apply wax in the direction of hair growth and strip off in one swift motion opposite to growth.
- Keep your skin taut during removal; this reduces pulling sensation.
- Breathe deeply and relax muscles as much as possible — tense muscles make waxing more painful!
Remember: patience makes perfect—and less pain!
Mastering the Art of Smooth Leg Waxing: Step-by-Step Guide
Now that you’ve laid the groundwork, let’s walk through each step so you can achieve professional-looking results at home:
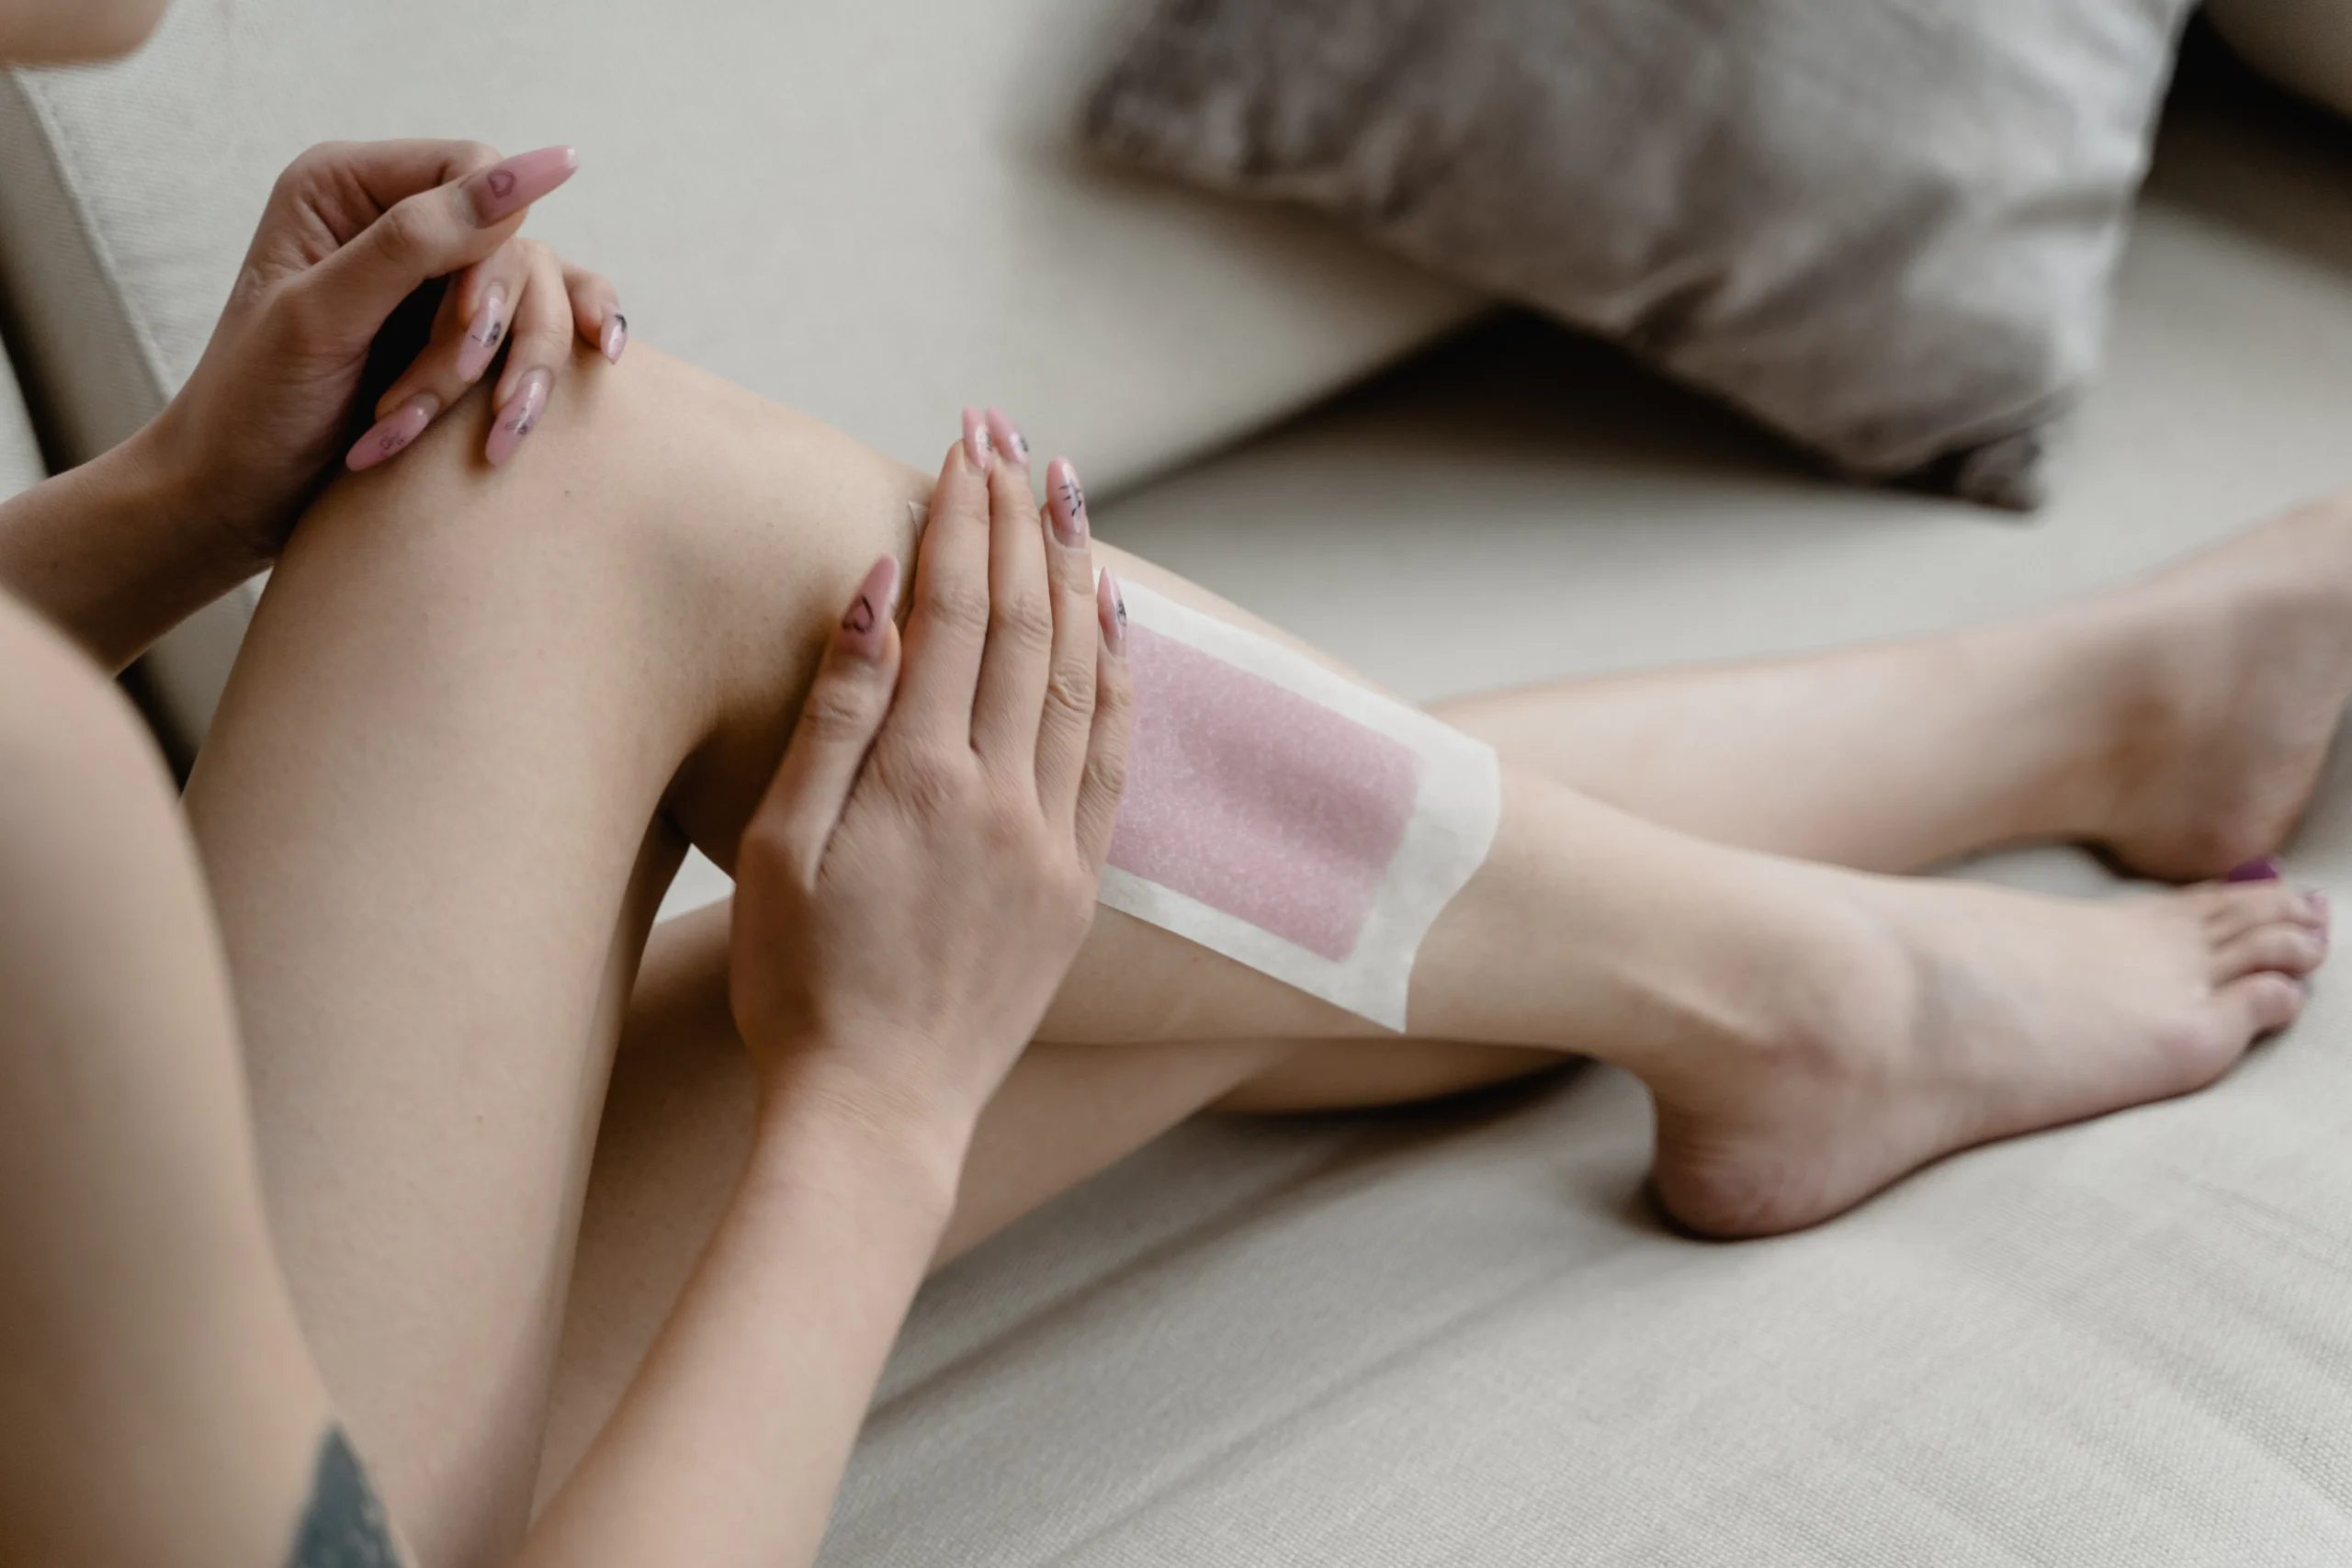
delivering consistent results starts with applying wax correctly: – Apply thin layers of warm wax in the direction of hair growth using a spatula or roller—thicker spots tend to pull less effectively. – For soft wax: immediately press down cloth strips firmly onto the applied area while still warm – For hard wax: let it cool fully until it hardens – Ensure complete coverage over all desired areas but avoid over-applying
downside? Uneven patches or missed hairs? Fix them easily: – Reapply small amounts of wax directly onto stubborn spots – Use tweezers carefully on any stray hairs caught after waxing
don’t rush—patience yields smoother results! After applying: – Hold skin tight near each strip – Pull rapidly against hair growth while keeping your hand close against the skin – quick pulls reduce pain significantly! Repeat until all desired areas are hair-free, then move onto post-wax care!
Addressing Stubborn Hair and Uneven Patches
after initial attempts, some stubborn patches might remain – no worries! Use tweezers gently around those areas,
to remove any last stragglers without tugging too hard,
and consider reapplying small amounts of warm wax if needed—but always ensure cleanliness first!
the goal? Flawless legs free from stray hairs—a beauty routine worth mastering!
Post-Wax Care: Maintaining Smooth Skin and Preventing Irritation
great job! You’ve achieved silky-smooth legs—but proper post-wax care keeps them looking fabulous longer:
before jumping into hot showers or tight clothing,
avoid exposure to heat & friction for 24–48 hours,which can irritate freshly-waxed skin.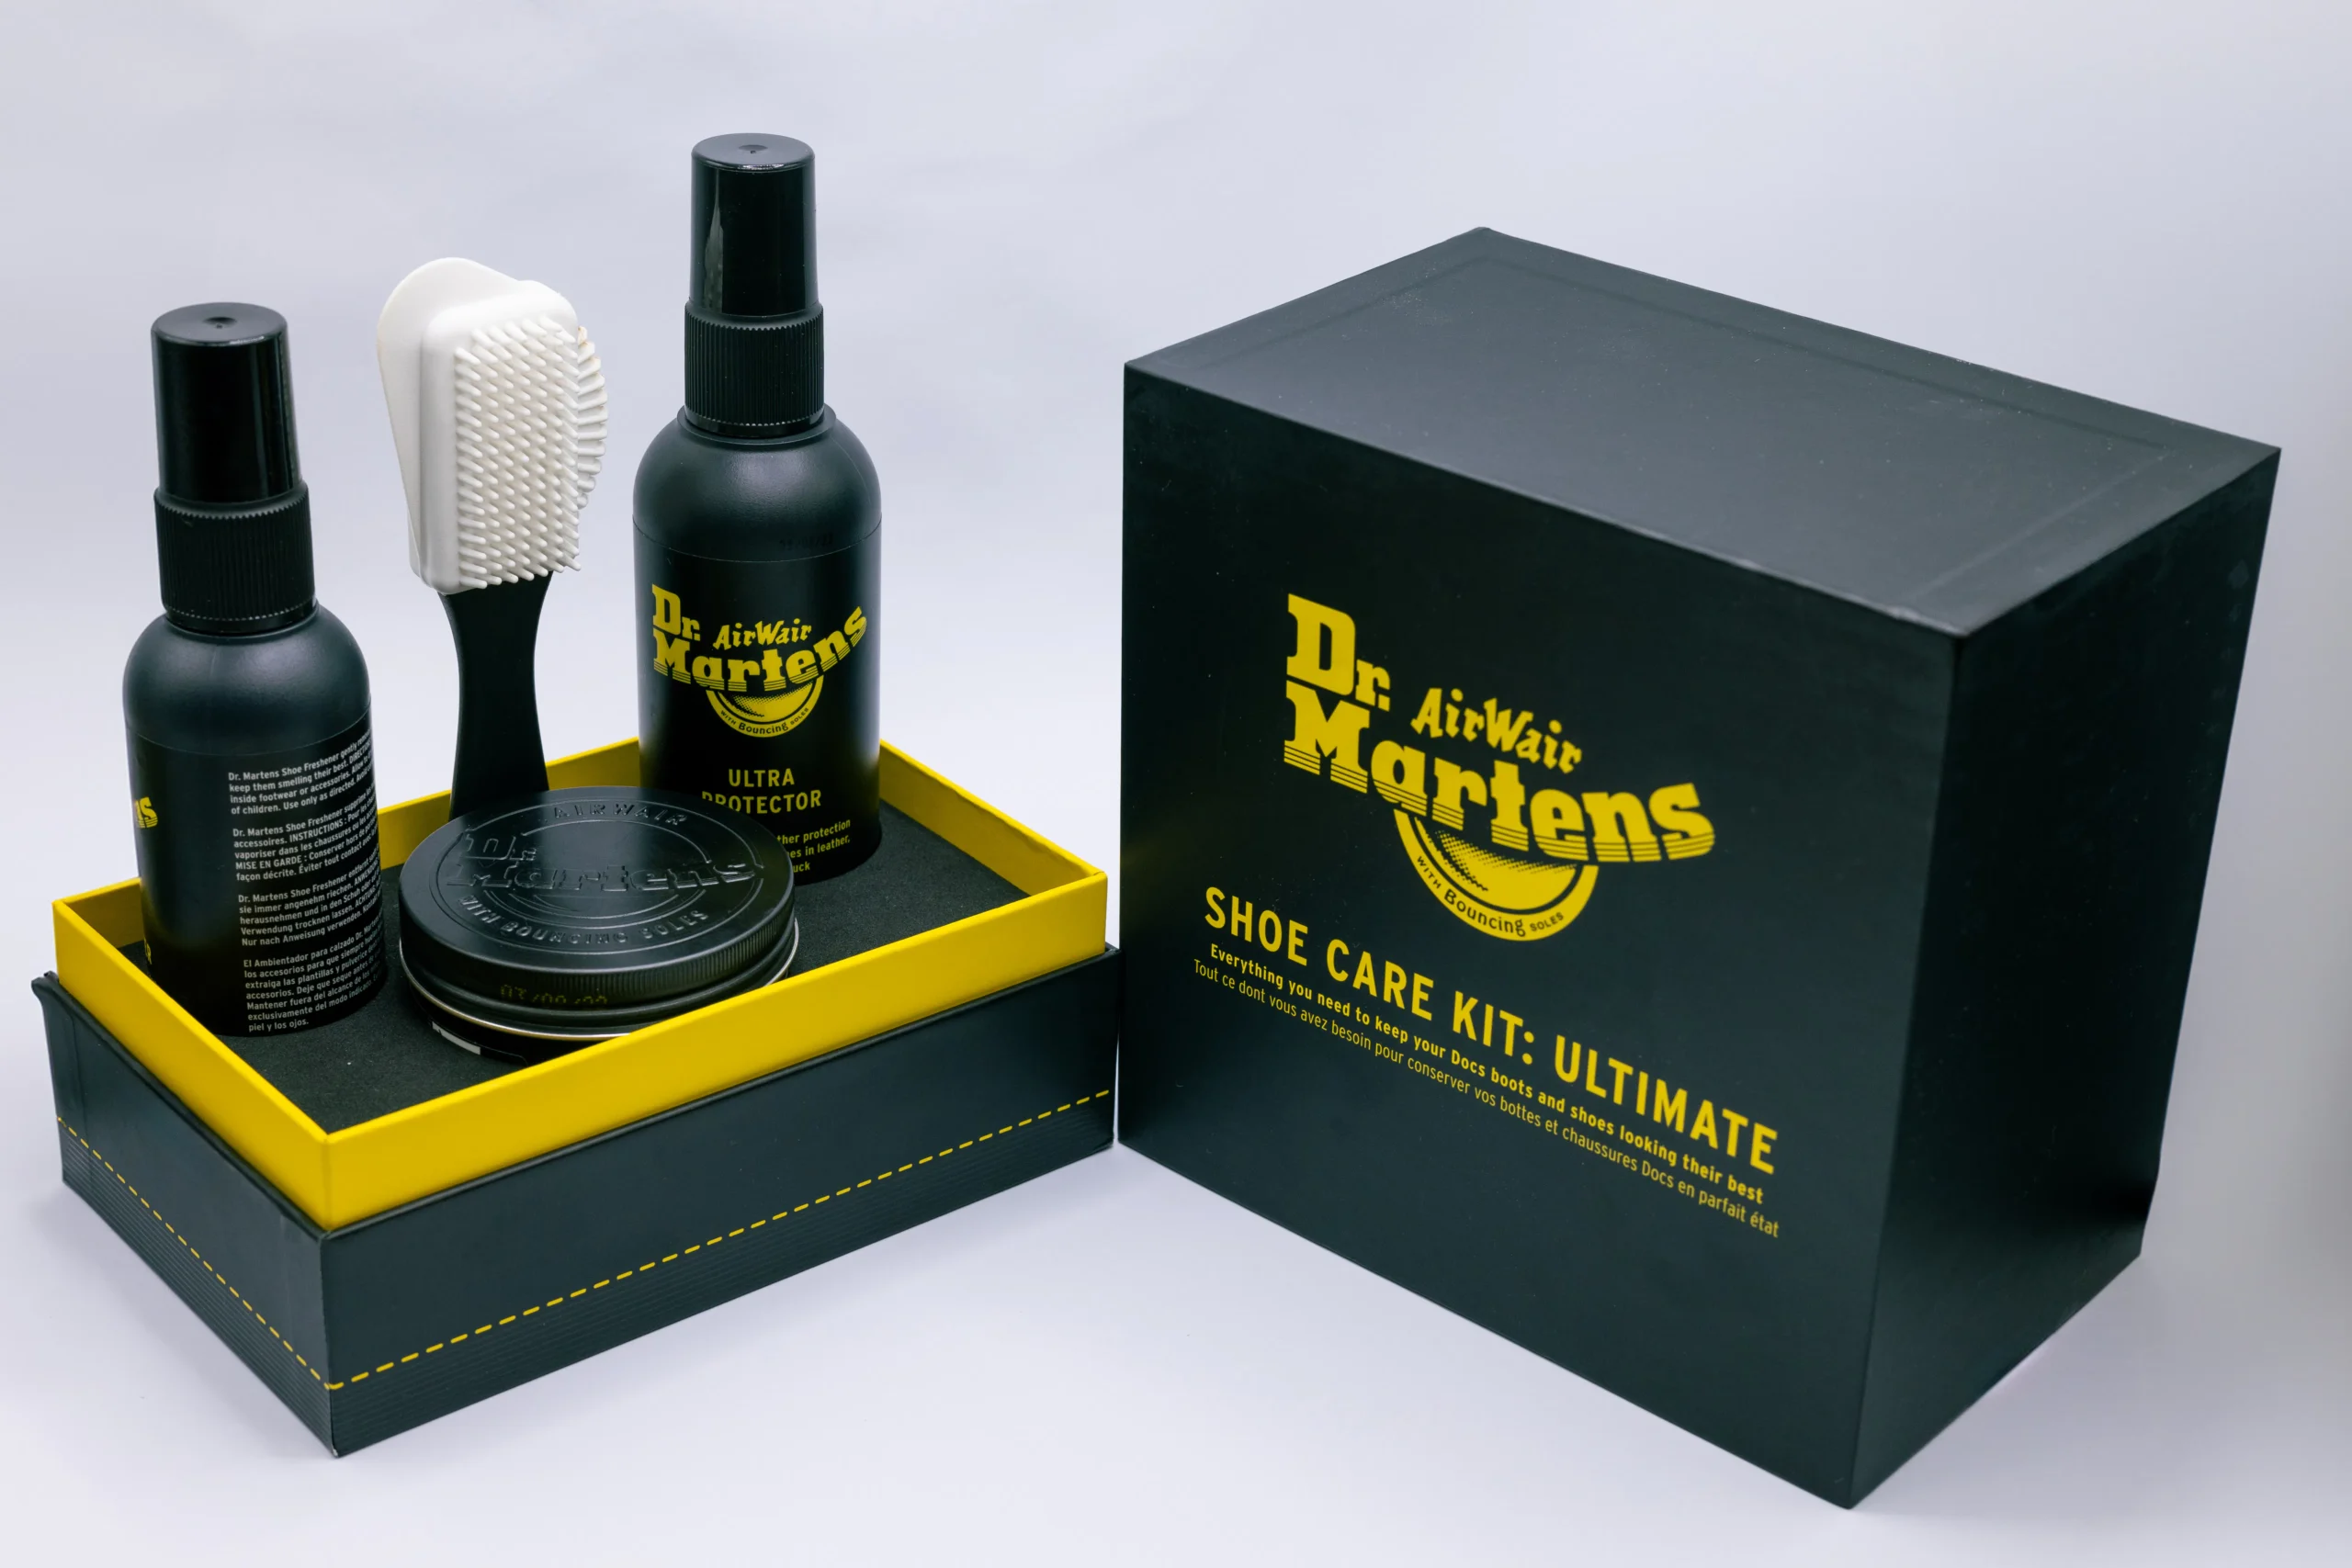
best practices include:
b – Applying soothing aloe vera gel or calamine lotion immediately after sessions;
b – Using fragrance-free moisturizers daily;
b – Gently exfoliating every few days using mild scrubs;
b – Wearing loose clothing during initial recovery period;
b – Avoiding sun exposure & tanning beds—to prevent pigmentation issues.{Further tips}To maintain lasting smoothness & prevent ingrown hairs:{Exfoliate regularly, starting 3–4 days after waxing, using gentle scrubs, loofahs,or chemical exfoliants containing salicylic acid}and moisturize daily.{Incorporate ingrown-hair prevention serums, especially those containing glycolic acid, into your routine}to keep pores clear & promote healthy regrowth! Proper care not only prolongs silky-smoothness but also keeps irritation & bumps away—a win-win!
Conclusion: Embrace the Confidence of Effortless Leg Waxing
Who says achieving irresistibly smooth legs has to be complicated? With correct prep work, technique mastery, careful product selection, and diligent post-care—you’re equipped now more than ever! Imagine stepping out confidently knowing every inch looks flawless thanks solely through DIY efforts—from trimming & prepping, applying perfect layers, removing swiftly —to calming tired muscles afterward—all done comfortably at home.{Image placeholder} The beauty industry continues evolving; however,
the timeless appeal remains—the confidence boost from having beautifully smooth legs speaks volumes about taking charge of personal grooming routines.
effortless? Absolutely! Enjoy every moment feeling empowered by mastering this skill yourself—and never settle again for anything less than radiant perfection! Ready set go—your journey toward effortlessly gorgeous legs begins today!
nLastly – if you’d like further insights or professional assistance,
either explore our comprehensive skin treatments & expert services at Amsterdam Beauty Clinic—they combine advanced technology with vegan-friendly solutions designed just for YOU! Happy waxing!
n## FAQs: Your Questions About Leg Waxing Answered### How long should my leg hair be for effective leg waxing?
For optimal results when doing it yourself,you should aimfor approximately 1/4to 3/4inch(6–18mm)long.Hair shorter thanthat maynot gripthewax properly,andhair longerthanthatcancausemorediscomfortduringremoval.