The Ultimate Smooth Legs Guide: Mastering Expert Leg Waxing
Discover the secrets to achieving unquestionably silky, smooth legs with our comprehensive guide to expert leg waxing. Whether you’re a seasoned waxing enthusiast or just starting out, mastering effective hair removal methods will help you attain salon-quality results right in the comfort of your home—or through professional services. From preparing your skin properly to managing pain and maintaining your glowingly smooth skin secrets for long-lasting results, we’ve got you covered.
Step-by-Step Instructions for Expert Leg Waxing at Home
Preparing Your Skin for Effective Hair Removal
Before you even think about applying that warm wax, proper skin preparation is key. Exfoliating your legs 24-48 hours before waxing helps remove dead skin cells and reduces chances of ingrown hairs—a common concern among those seeking smooth skin secrets. Follow this by cleansing your legs with a gentle, oil-free cleaner to eliminate any lotions, oils, or residual makeup that could interfere with wax adherence. Remember, hair should be at least ¼ inch long—think of it as giving the wax enough grip for effective removal.
Choosing the Right Wax for Your Skin Type
Selecting suitable wax is crucial—not all products are created equal! Options include hard wax, soft wax (also called strip wax), and natural sugar wax—all with their own advantages. Hard wax is fantastic for sensitive skin and smaller areas like bikini zones but can also work beautifully on legs if you prefer a less painful experience. Soft wax tends to be faster for larger areas like full legs but requires cloth strips and might cause more irritation if not applied correctly. Sugar wax is an all-natural alternative that’s gentle on sensitive skins—perfect if you’re wary of chemical ingredients.
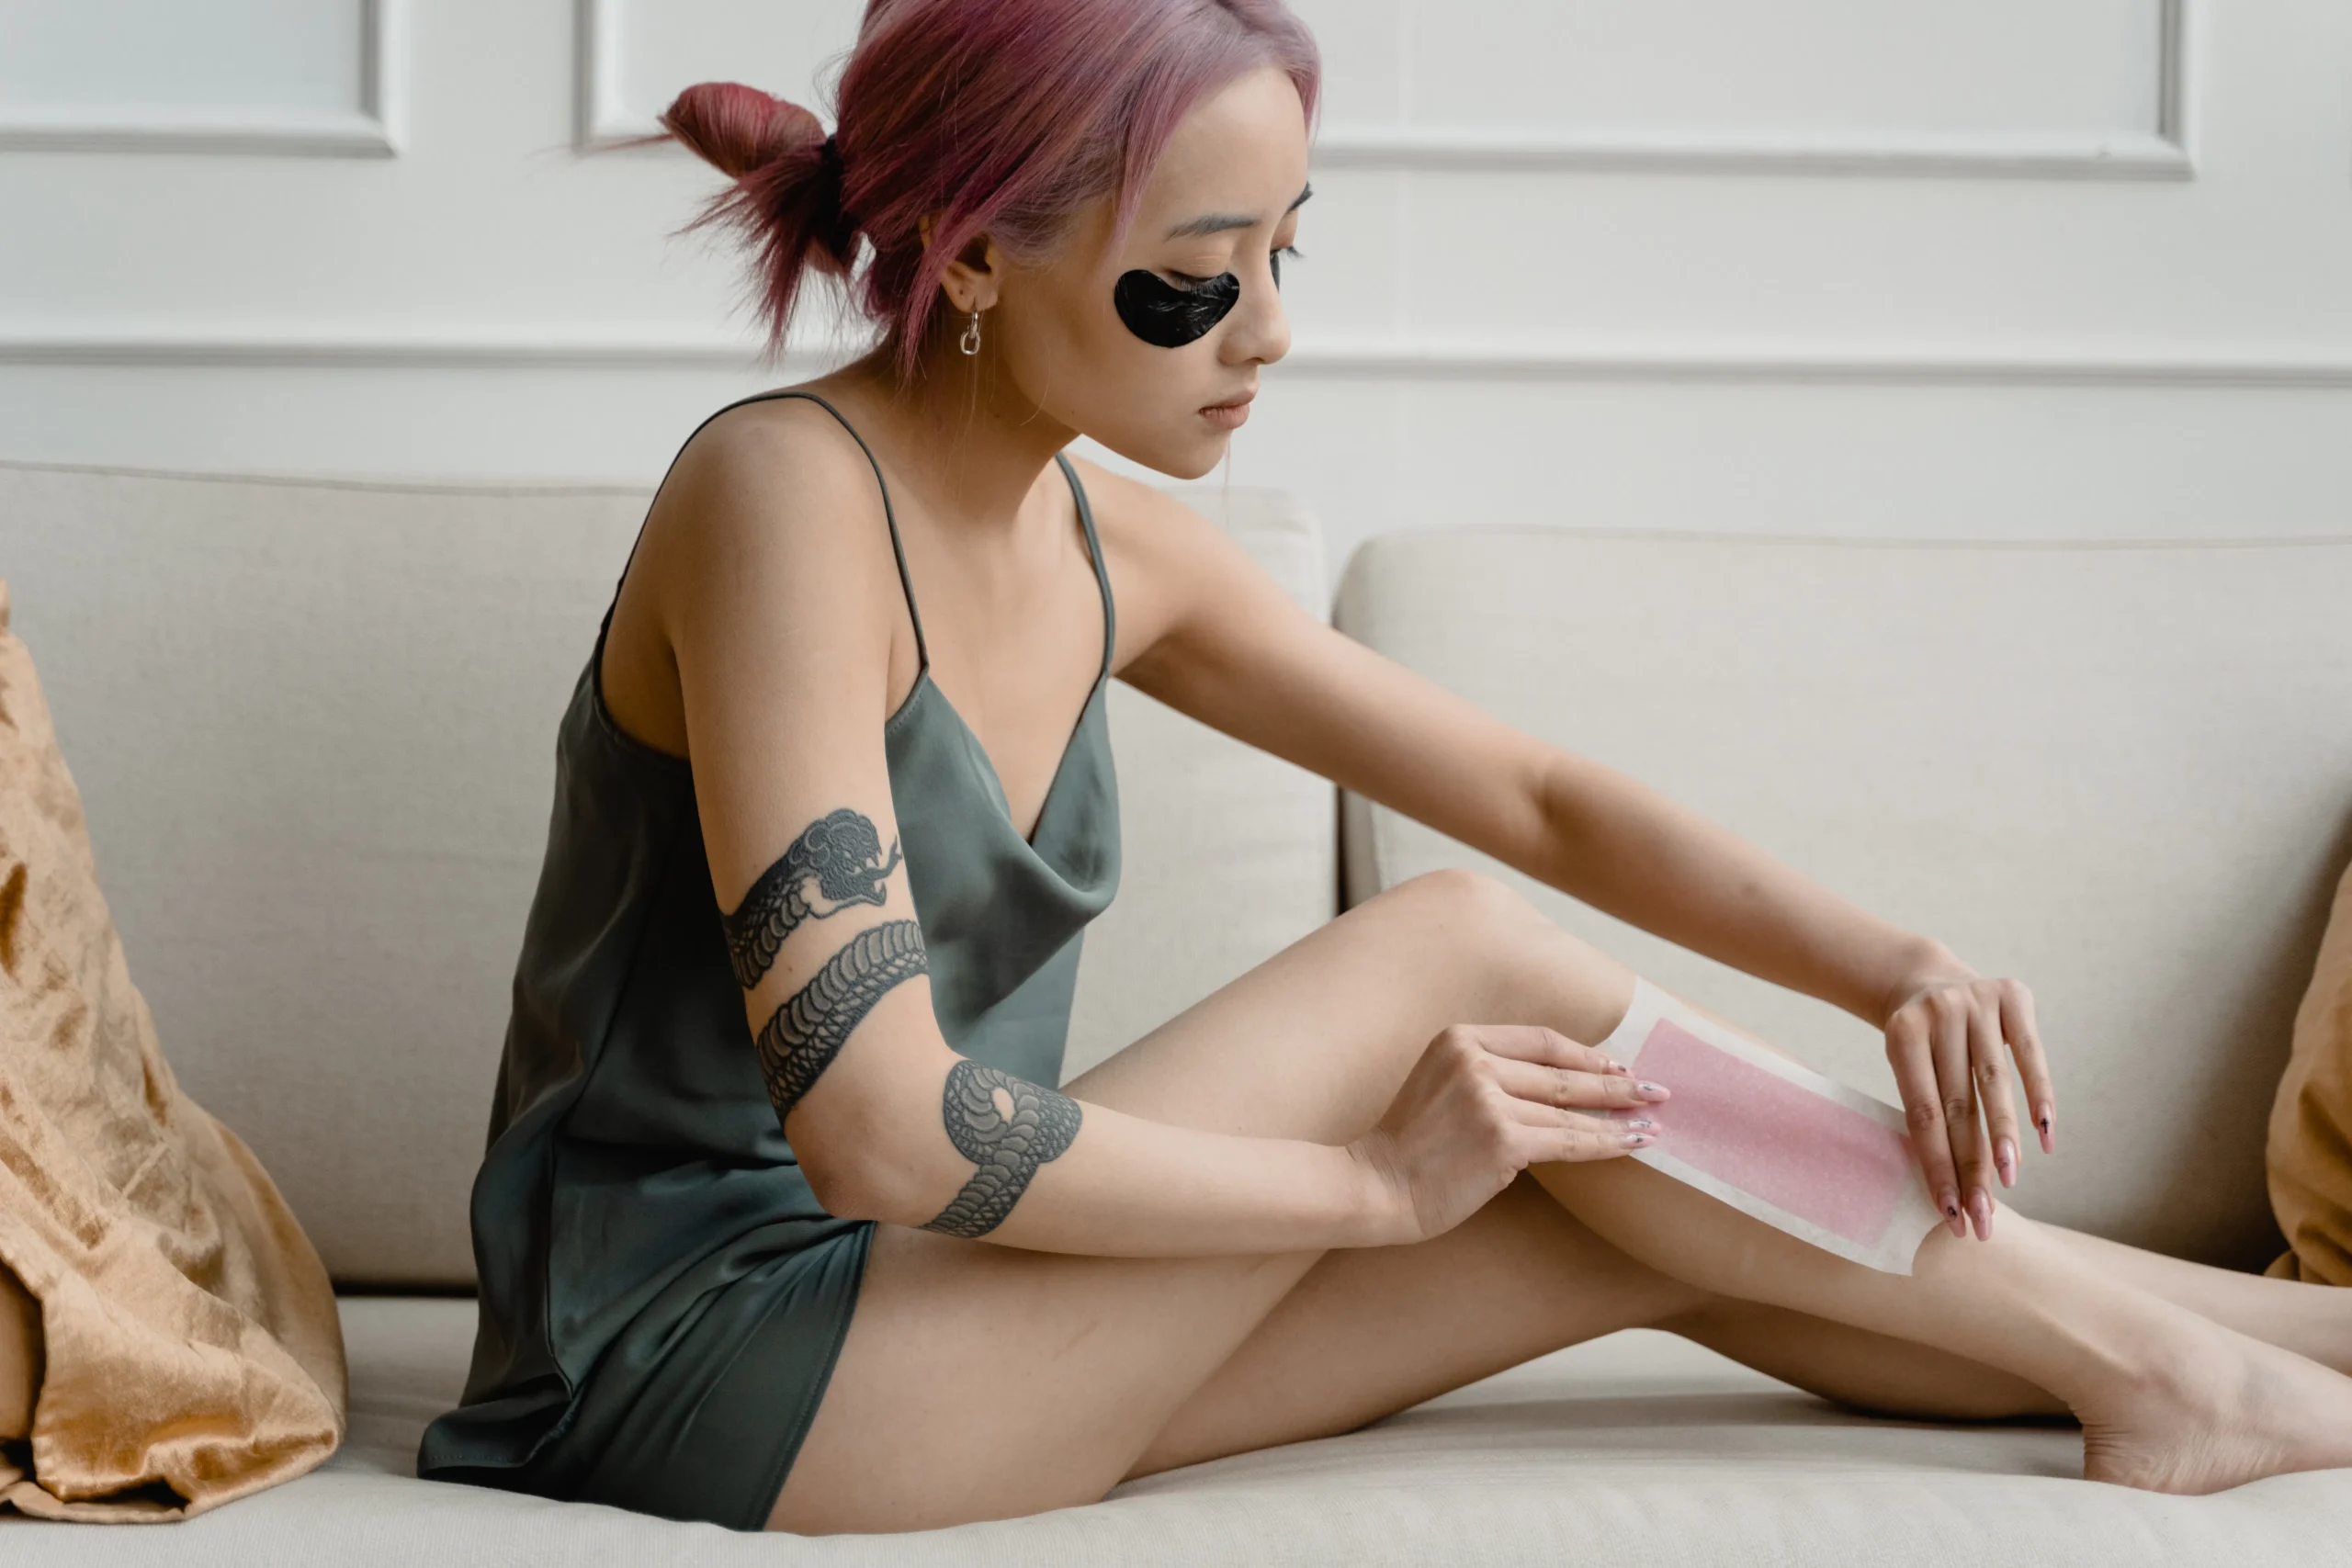
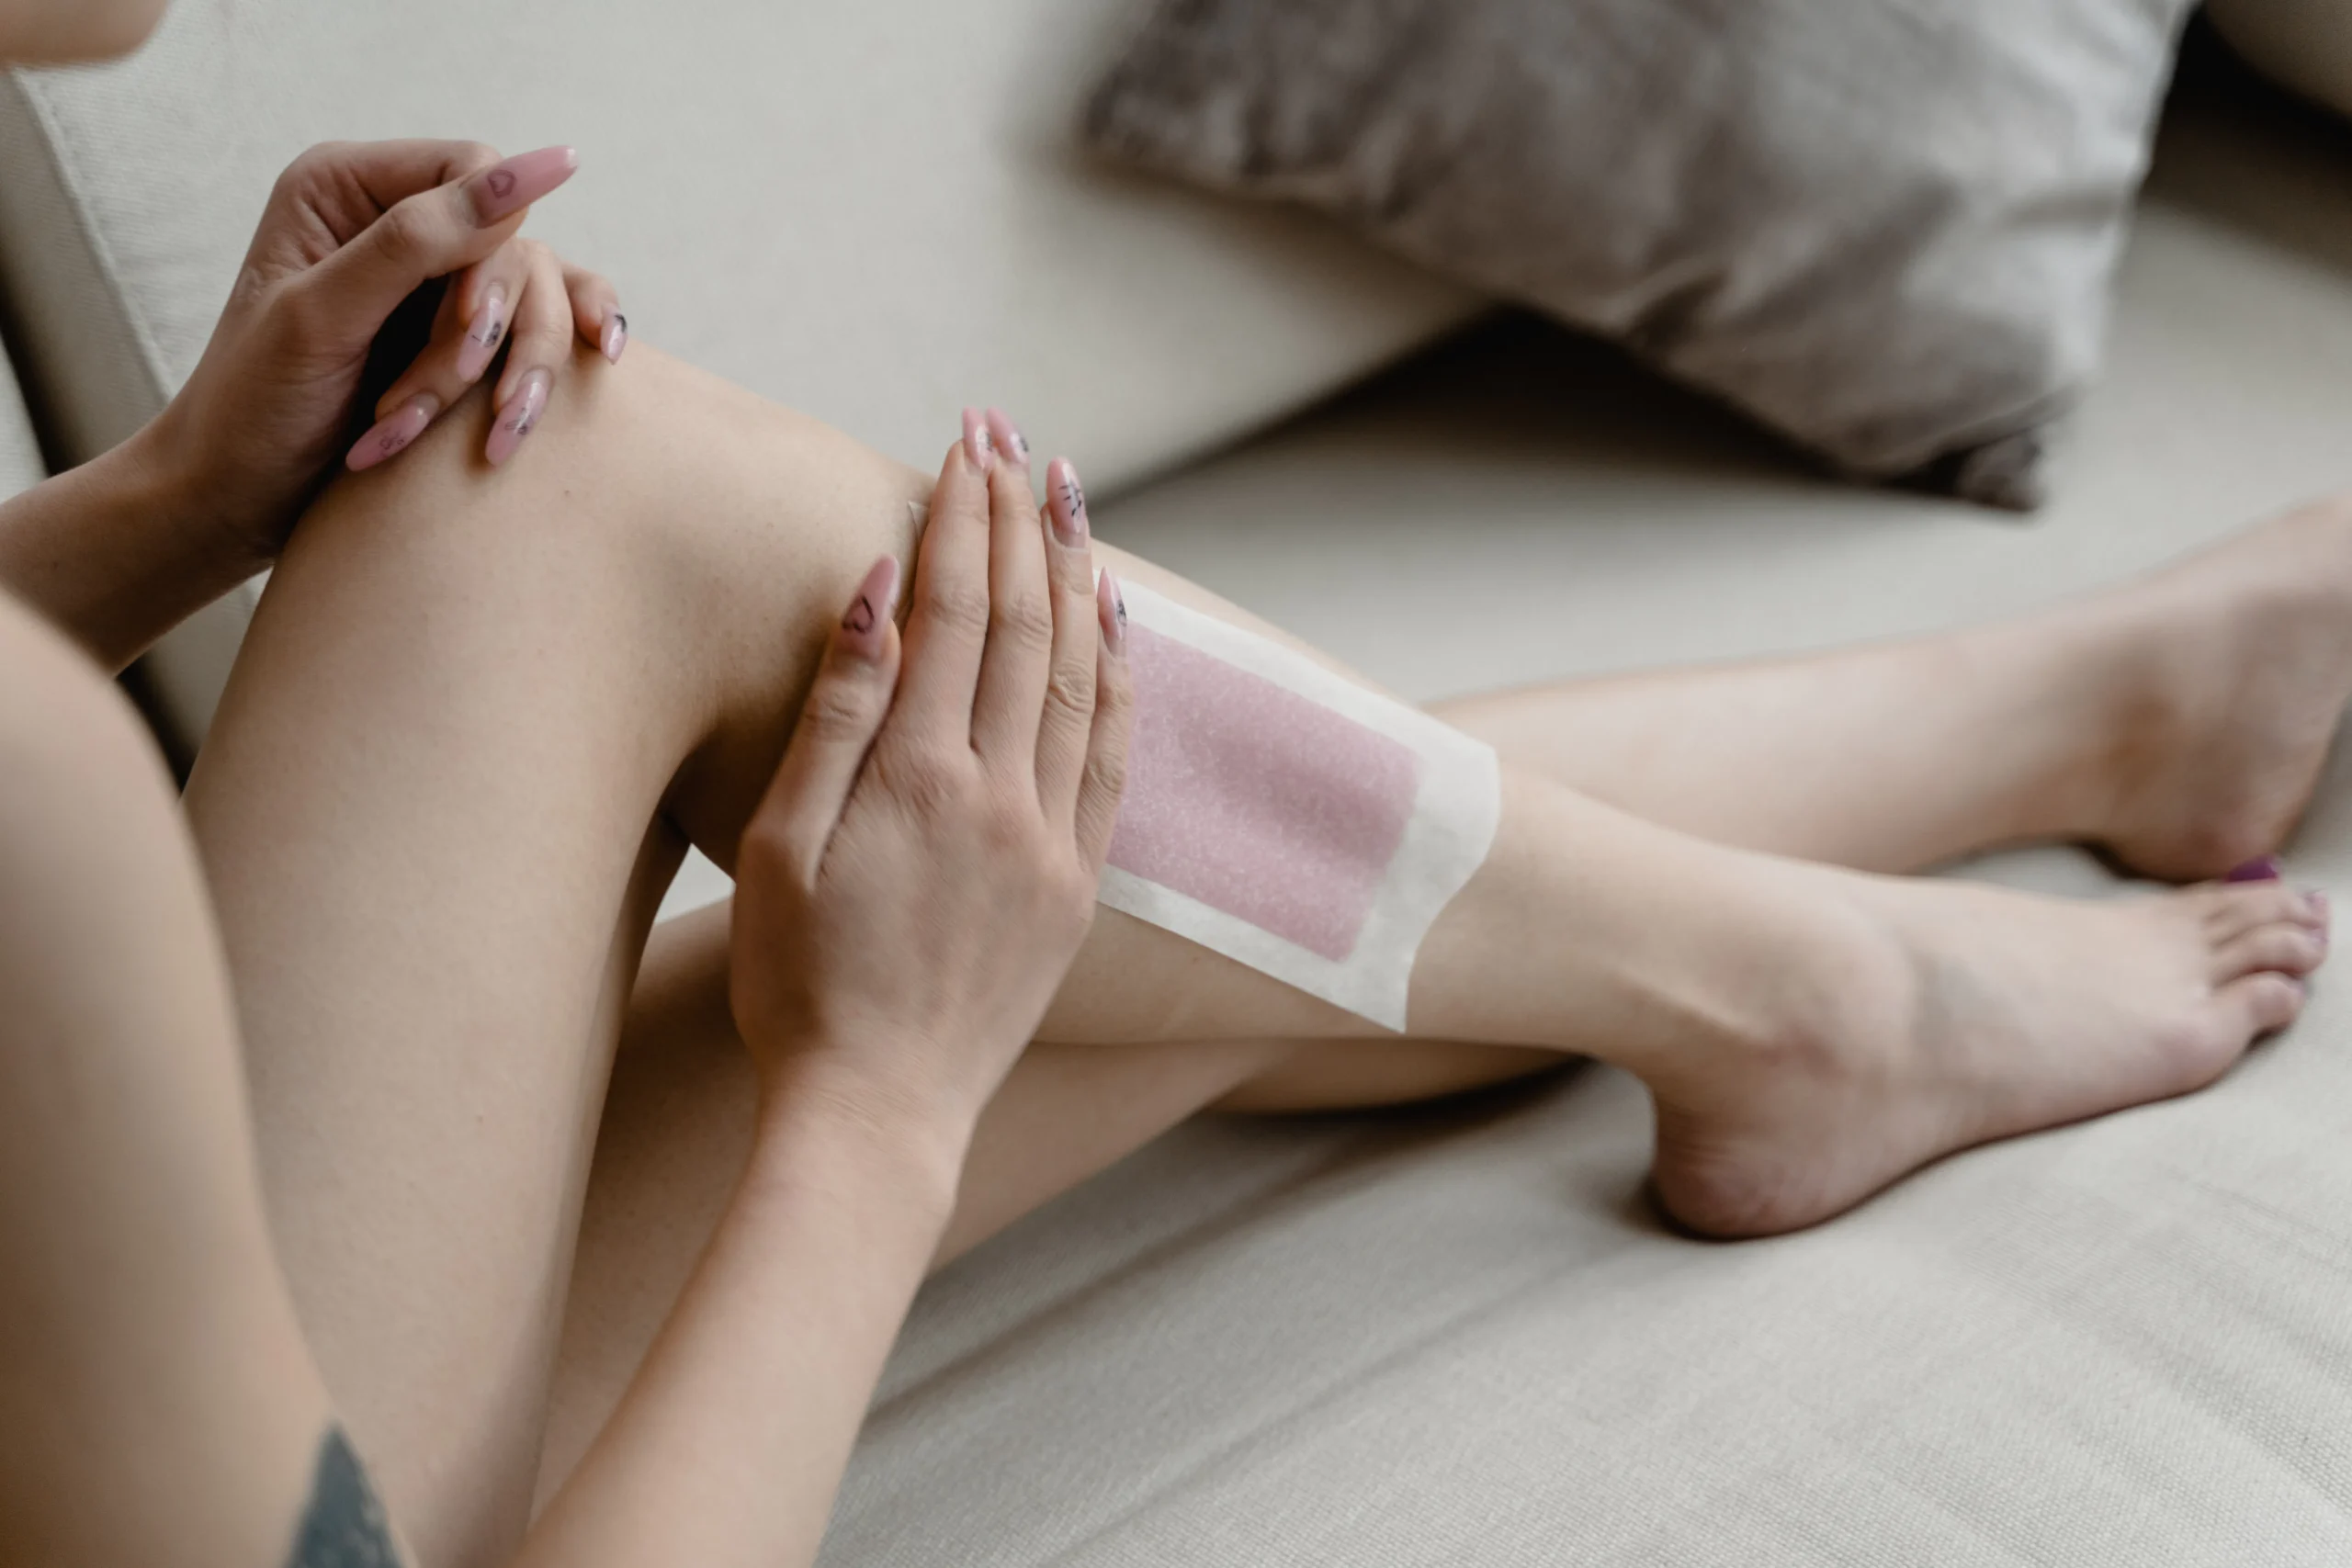
Mastering the Art of At-Home Waxing Techniques
Apply a thin layer of warm wax in the direction of hair growth—think about following the natural flow! Use a spatula or applicator to spread evenly without thick patches—that’s how professional estheticians achieve flawless results. Once set, press down a cloth or fabric strip firmly onto the wax (for soft wax) or apply hard wax directly if using hard-wax formulations.
Hold your skin taut—this minimizes pain—and swiftly pull the strip back in one quick motion against the direction of hair growth. Repeat this process until you’ve tackled all desired areas. Remember: patience and practice make perfect! And never reuse strips or double-dip into containers; contamination increases risk of irritation.
Post-Wax Care: Soothing and Maintaining Smooth Skin
the aftercare phase is just as important as prep—to keep that glow alive! Gently soothe your freshly-waxed skin with calming lotions or oils containing aloe vera or chamomile—they help reduce redness and inflammation.
avoid hot showers, tight clothing, sweat-inducing activities like exercise, or sun exposure for at least 24-48 hours post-wax—it prevents irritation and prolongs your smoothness secret.
to ward off ingrown hairs—which are common enemy in achieving silky-smooth skin—regular exfoliation (using gentle scrubs or chemical exfoliants) is recommended.
Leg Waxing Tips and Warnings for a Flawless Finish
Expert Leg Waxing Tips for Minimizing Pain
to make your experience pain-free—or at least less painful—consider taking an over-the-counter pain reliever about 30 minutes prior to waxing session. Applying a numbing cream designed specifically for skin can further ease discomfort.
during removal—breathe deeply! As you quickly pull off each strip against hair growth while holding your skin taut—this technique reduces pulling sensation.
top tip? Keep calm; relaxation helps minimize muscle tension which can intensify pain.
Avoiding Common Mistakes in At-Home Waxing
don’t attempt to re-use used strips—they harbor bacteria! Never double-dip spatulas into your hot wax pot – contamination leads to breakouts and infections.
evitably avoid waxing over sunburned, irritated damaged skin—as this only exacerbates discomfort—and skip sessions immediately after workouts when pores are open due to sweating.
your best bet? Follow manufacturer guidelines carefully—and when in doubt—consult online tutorials from trusted salons like Amsterdam Beauty Clinic’s expert tips.
Professional Waxing vs. At-Home Waxing: Weighing Your Options
For those who seek precision and longer-lasting results without hassle—the decision between professional vs. DIY waxing boils down to comfort level and budget.
- Professional services offer experienced estheticians who handle tricky areas safely & efficiently; plus they often use premium quality products like laser-assisted treatments that contribute greatly toward reducing hair regrowth over time.Learn more about laser waxing benefits
- At-home options save money; however require practice—and patience—to perfect technique without causing irritation or uneven patches.
Long-term strategies? Regular treatments combined with other effective methods such as laser treatment can significantly reduce hair growth cycles—a game-changer in effective hair removal!
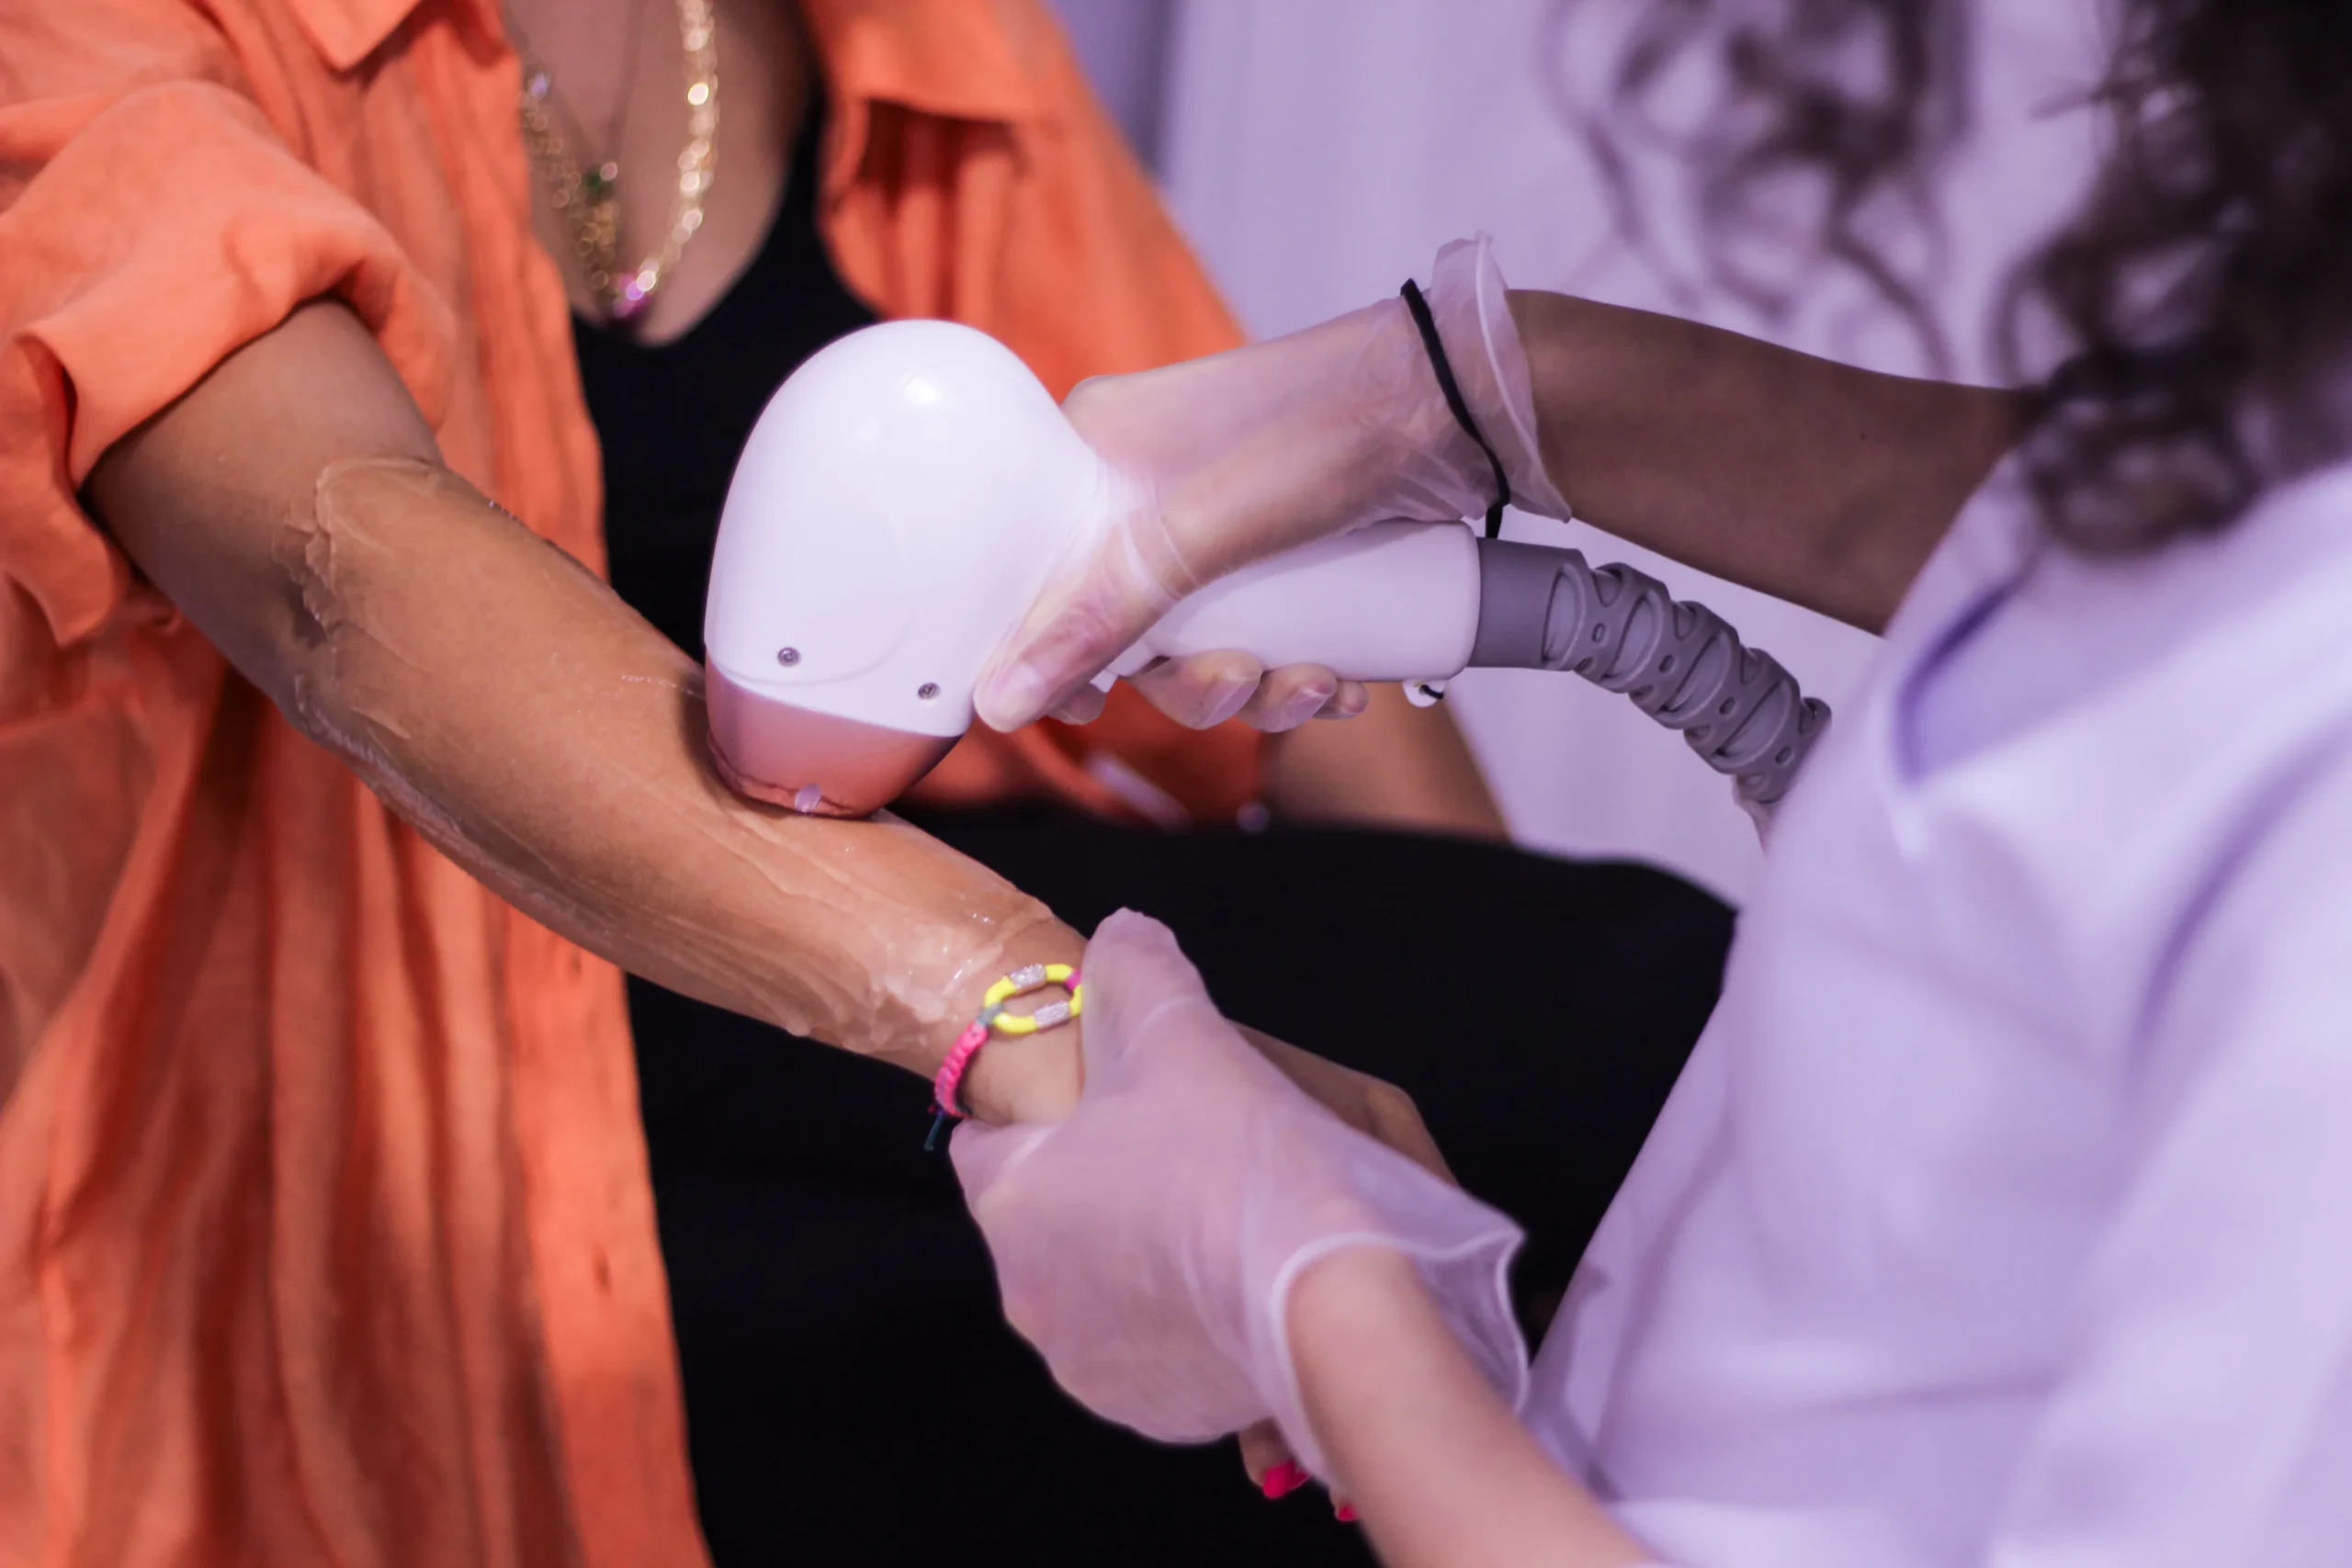
Photo by Orhun Rüzgar ÖZ on Pexels
Conclusion: Embrace the Confidence of Expert Leg Waxing
Achieving irresistibly smooth legs isn’t just wishful thinking—it’s attainable by mastering simple yet effective techniques tailored either for DIY enthusiasts or those preferring professional touch-ups. With proper preparation,
effective pain management strategies,
and consistent post-wax care—including regular exfoliation—you’ll enjoy long-lasting results that boost confidence every time you step out in style!
Ready to elevate your skincare routine? Explore our skin treatments at Amsterdam Beauty Clinic — where we combine innovative technology with natural vegan products ensuring safe & stunning outcomes!
Remember,
your journey toward flawless legs begins now—with expert knowledge guiding every step along the way.