Understanding At-Home Leg Waxing
Thinking about at-home leg waxing? It’s an excellent way to enjoy DIY hair removal that’s cost-effective, convenient, and private. While some may worry about achieving salon-quality results on their own, with the right tools and techniques, you can easily remove unwanted hair and enjoy smooth legs without stepping into a spa.
Benefits of DIY Hair Removal
Opting for DIY hair removal offers numerous advantages. First, it saves you a pretty penny—professional waxing can be pricey, especially if done regularly. Plus, you can do it on your schedule—no need to book appointments or wait in salons. And let’s be honest: waxing in your own space means you’re in control, minimizing embarrassment and maximizing comfort. Want to know more? Check out professional waxing services for a comparison.
Potential Challenges and How to Overcome Them
Of course, at-home leg waxing isn’t without its hurdles. Pain is a common concern—who likes pulling hair out of their skin? But techniques like applying pressure immediately after removing the wax strip or using numbing creams can make it more bearable. Messiness is another issue, but using proper products like wax strips or wax beans designed for home use can keep things tidy. Achieving professional results takes practice, but patience and following proper steps will pay off.
Step-by-Step Instructions for Flawless At-Home Leg Waxing
Ready to get smooth, hair-free legs? Here’s your step-by-step guide to mastering at-home leg waxing.
Preparing Your Skin for Waxing
Start with clean, dry skin. Exfoliating a day before helps remove dead skin cells, preventing ingrown hairs and ensuring better hair removal. Use a gentle scrub and wash your legs thoroughly to eliminate oils and lotions that can interfere with wax adherence.
Choosing the Right Wax: Strips vs. Beans
When it comes to wax strips versus wax beans, which is better? Wax strips are perfect for beginners—they’re easy to use, pre-cut, and mess-free, ideal for sensitive skin waxing. On the other hand, wax beans offer versatility—they can be melted and shaped, suitable for different hair types, and often more cost-effective for larger areas.
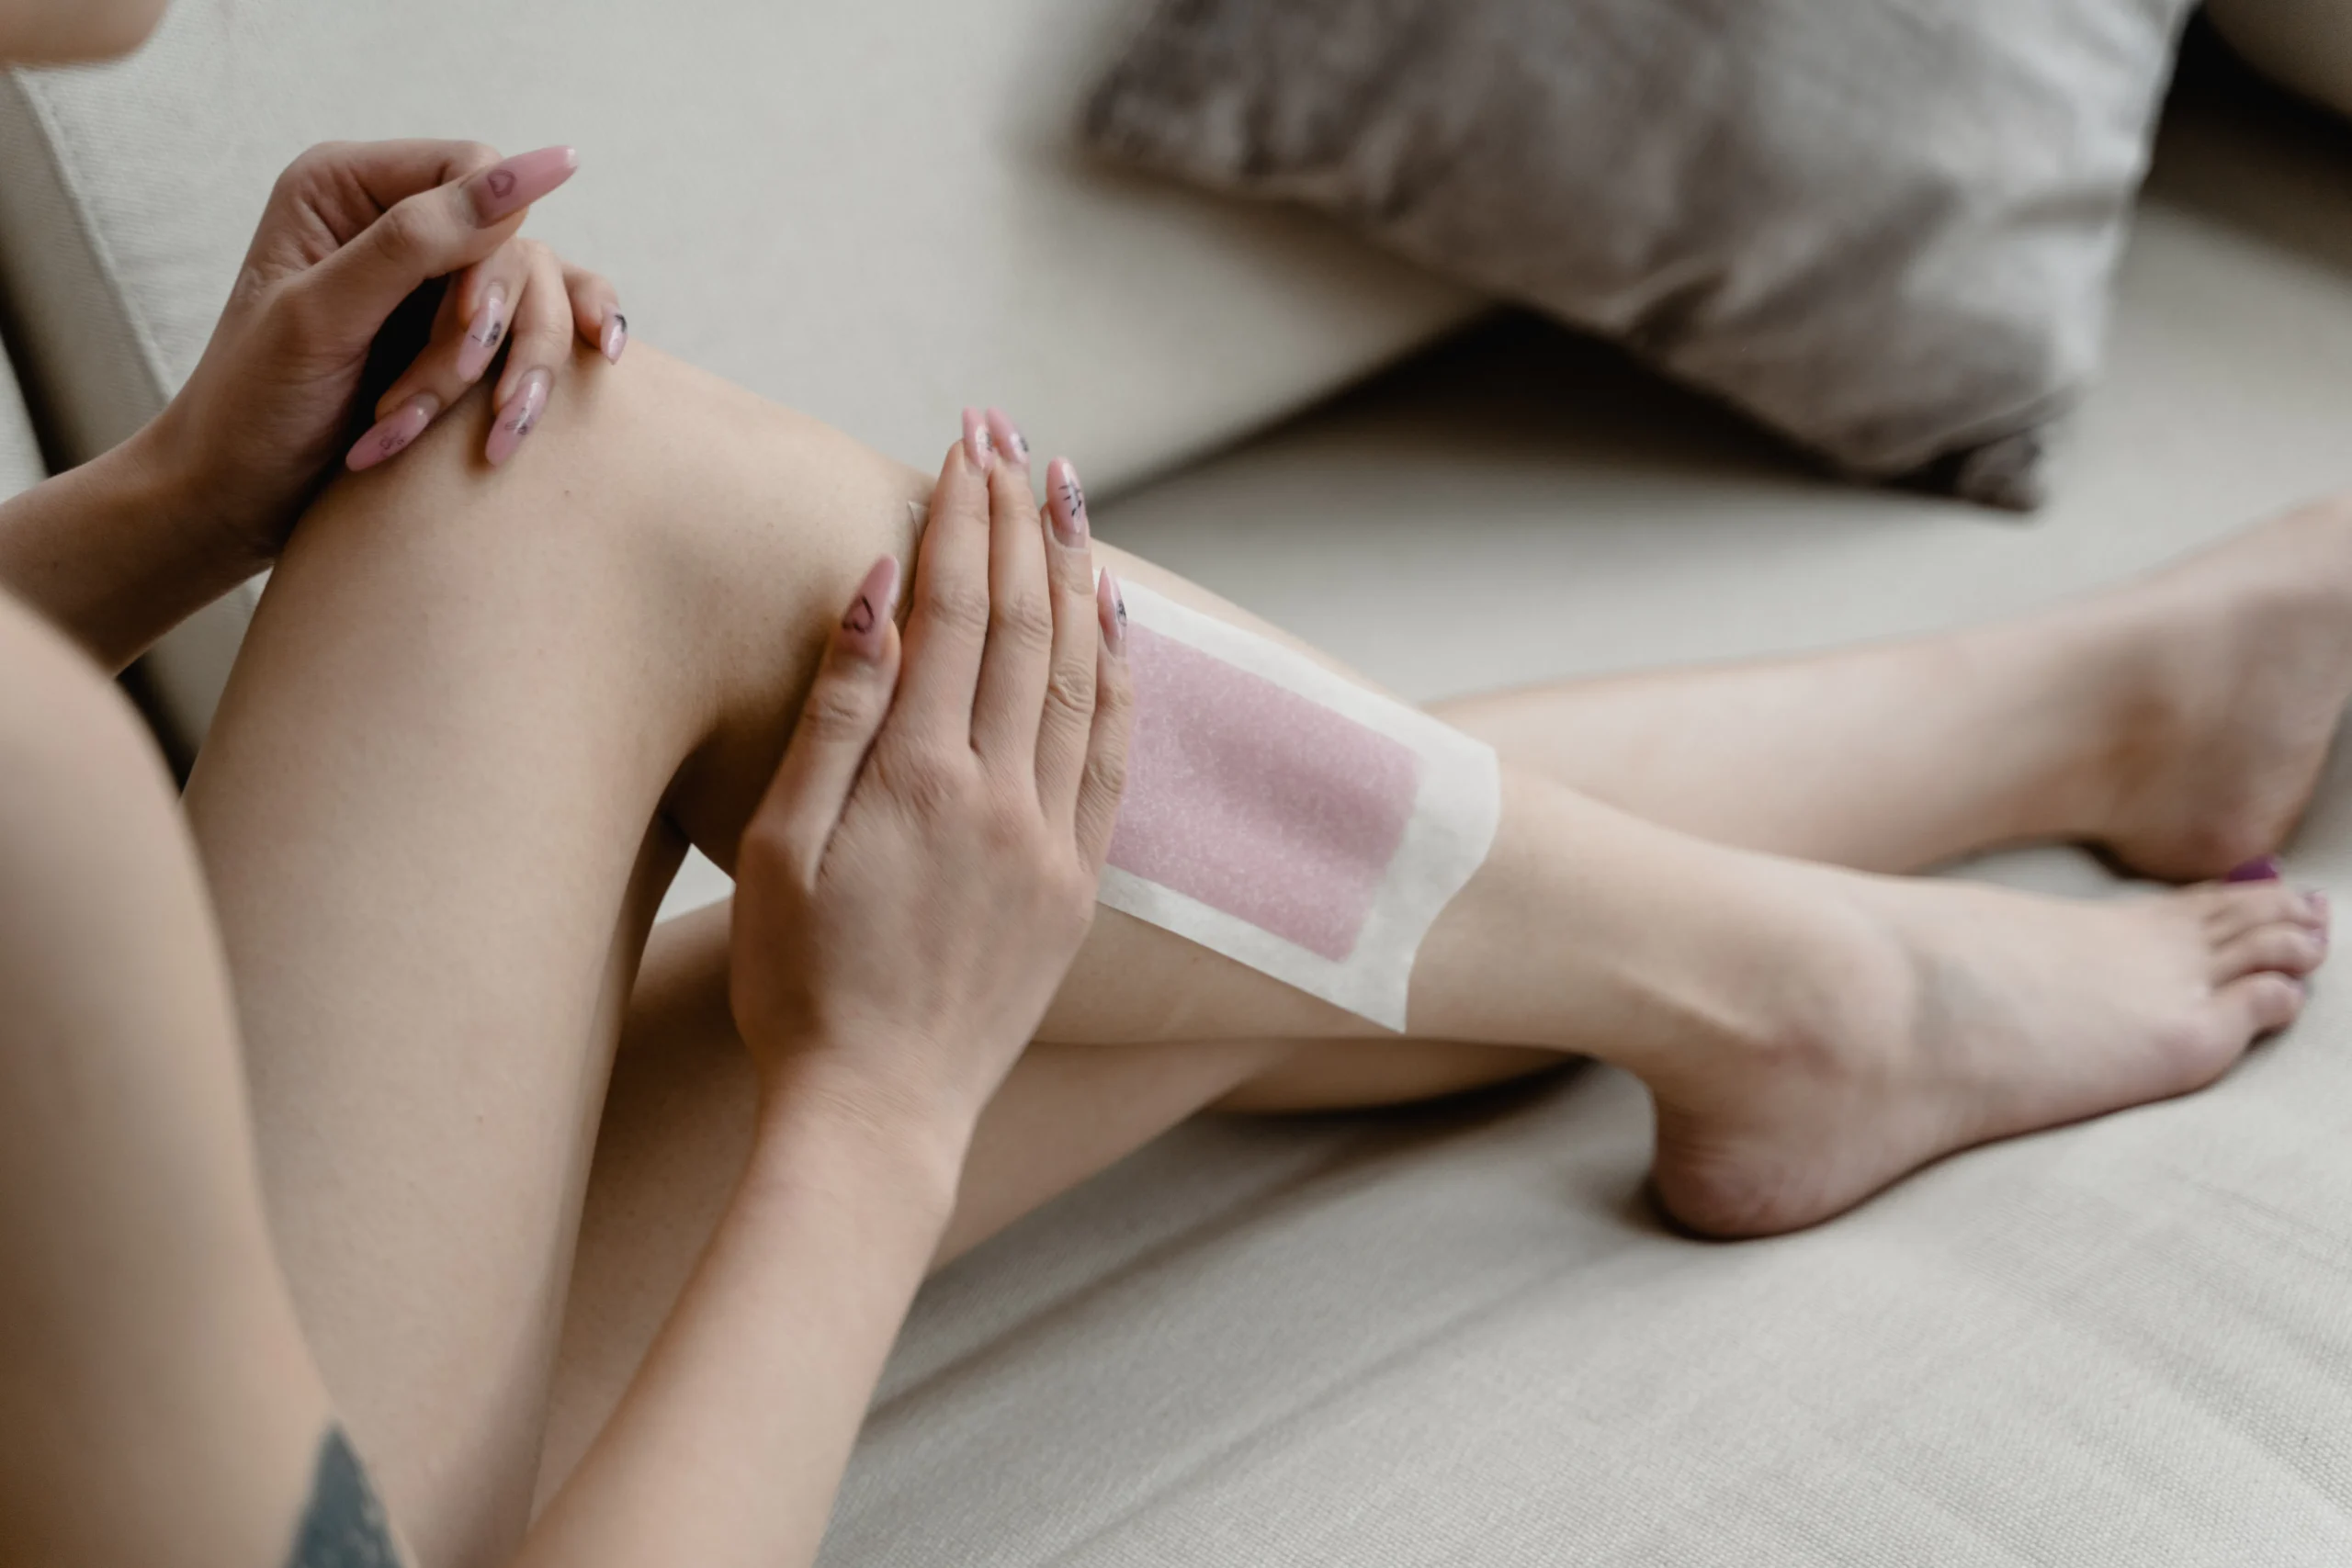
The Waxing Process: A Detailed Walkthrough
- Warm your wax (if using beans) or prepare your strips as instructed.
- Test the wax temperature on a small patch to prevent burns.
- Apply a thin layer of wax in the direction of hair growth.
- For wax strips, press firmly and smooth out. For beans, use a spatula for even coverage.
- Hold your skin tight and pull the strip or wax against the hair growth quickly.
- Use post-wax products to remove residual wax and soothe the skin.

Tips and Warnings for Safe and Effective Leg Waxing
Safety first! Here are essential tips to ensure a smooth, pain-minimized experience.
Minimizing Pain During Waxing
Applying firm pressure immediately after pulling the wax helps reduce discomfort. Numbing creams can also be a game-changer, especially for those with low pain thresholds.
Preventing Ingrown Hairs
Regular exfoliation keeps your pores clear, reducing the risk of ingrown hairs. Post-waxing, use products containing salicylic acid or glycolic acid to prevent blockages and promote smooth skin.
Waxing for Sensitive Skin
If your skin reacts easily, opt for hypoallergenic wax and test it on a small area first. Avoid harsh treatments immediately after waxing and always moisturize to maintain skin health.

Post-Wax Care for Smooth, Lasting Results
The journey doesn’t end at removal—post-wax care is vital for long-lasting smoothness.
Soothing Irritated Skin
Calm redness and irritation with soothing lotions containing aloe vera or chamomile. Cool compresses can also provide relief.
Maintaining Smooth Legs
Keep your skin exfoliated with gentle scrubs, moisturize regularly, and avoid sun exposure immediately after waxing to prevent pigmentation issues.
Conclusion
In summary, at-home leg waxing is a fantastic, affordable hair removal method that offers convenience and impressive results. By following proper preparation, technique, and aftercare, you can enjoy silky, smooth legs every time. Remember, patience and consistency are key—practice makes perfect! Ready to embrace your smoothest skin? Give it a try, and for more expert tips, explore our all services at Amsterdam Beauty Clinic.
FAQ About At-Home Leg Waxing
Is at-home leg waxing suitable for everyone?
While at-home leg waxing is generally safe, it may not be ideal for those with very sensitive skin, dermatitis, or active skin infections. Always do a patch test first and consult with a dermatologist if unsure.
How long does at-home leg waxing last compared to shaving?
Waxing typically lasts several weeks—about 3 to 4—since it removes hair from the root, whereas shaving results are usually short-lived, lasting just a few days.
What are the best wax types for beginners?
Wax strips are often recommended for beginners due to their ease of use and minimal mess. They provide a safer, more controlled experience for those new to leg hair removal at home.
Embrace the freedom of DIY hair removal with confidence! With the right tools and tips, achieving smooth skin has never been easier. For additional guidance and professional options, visit Amsterdam Beauty Clinic.”