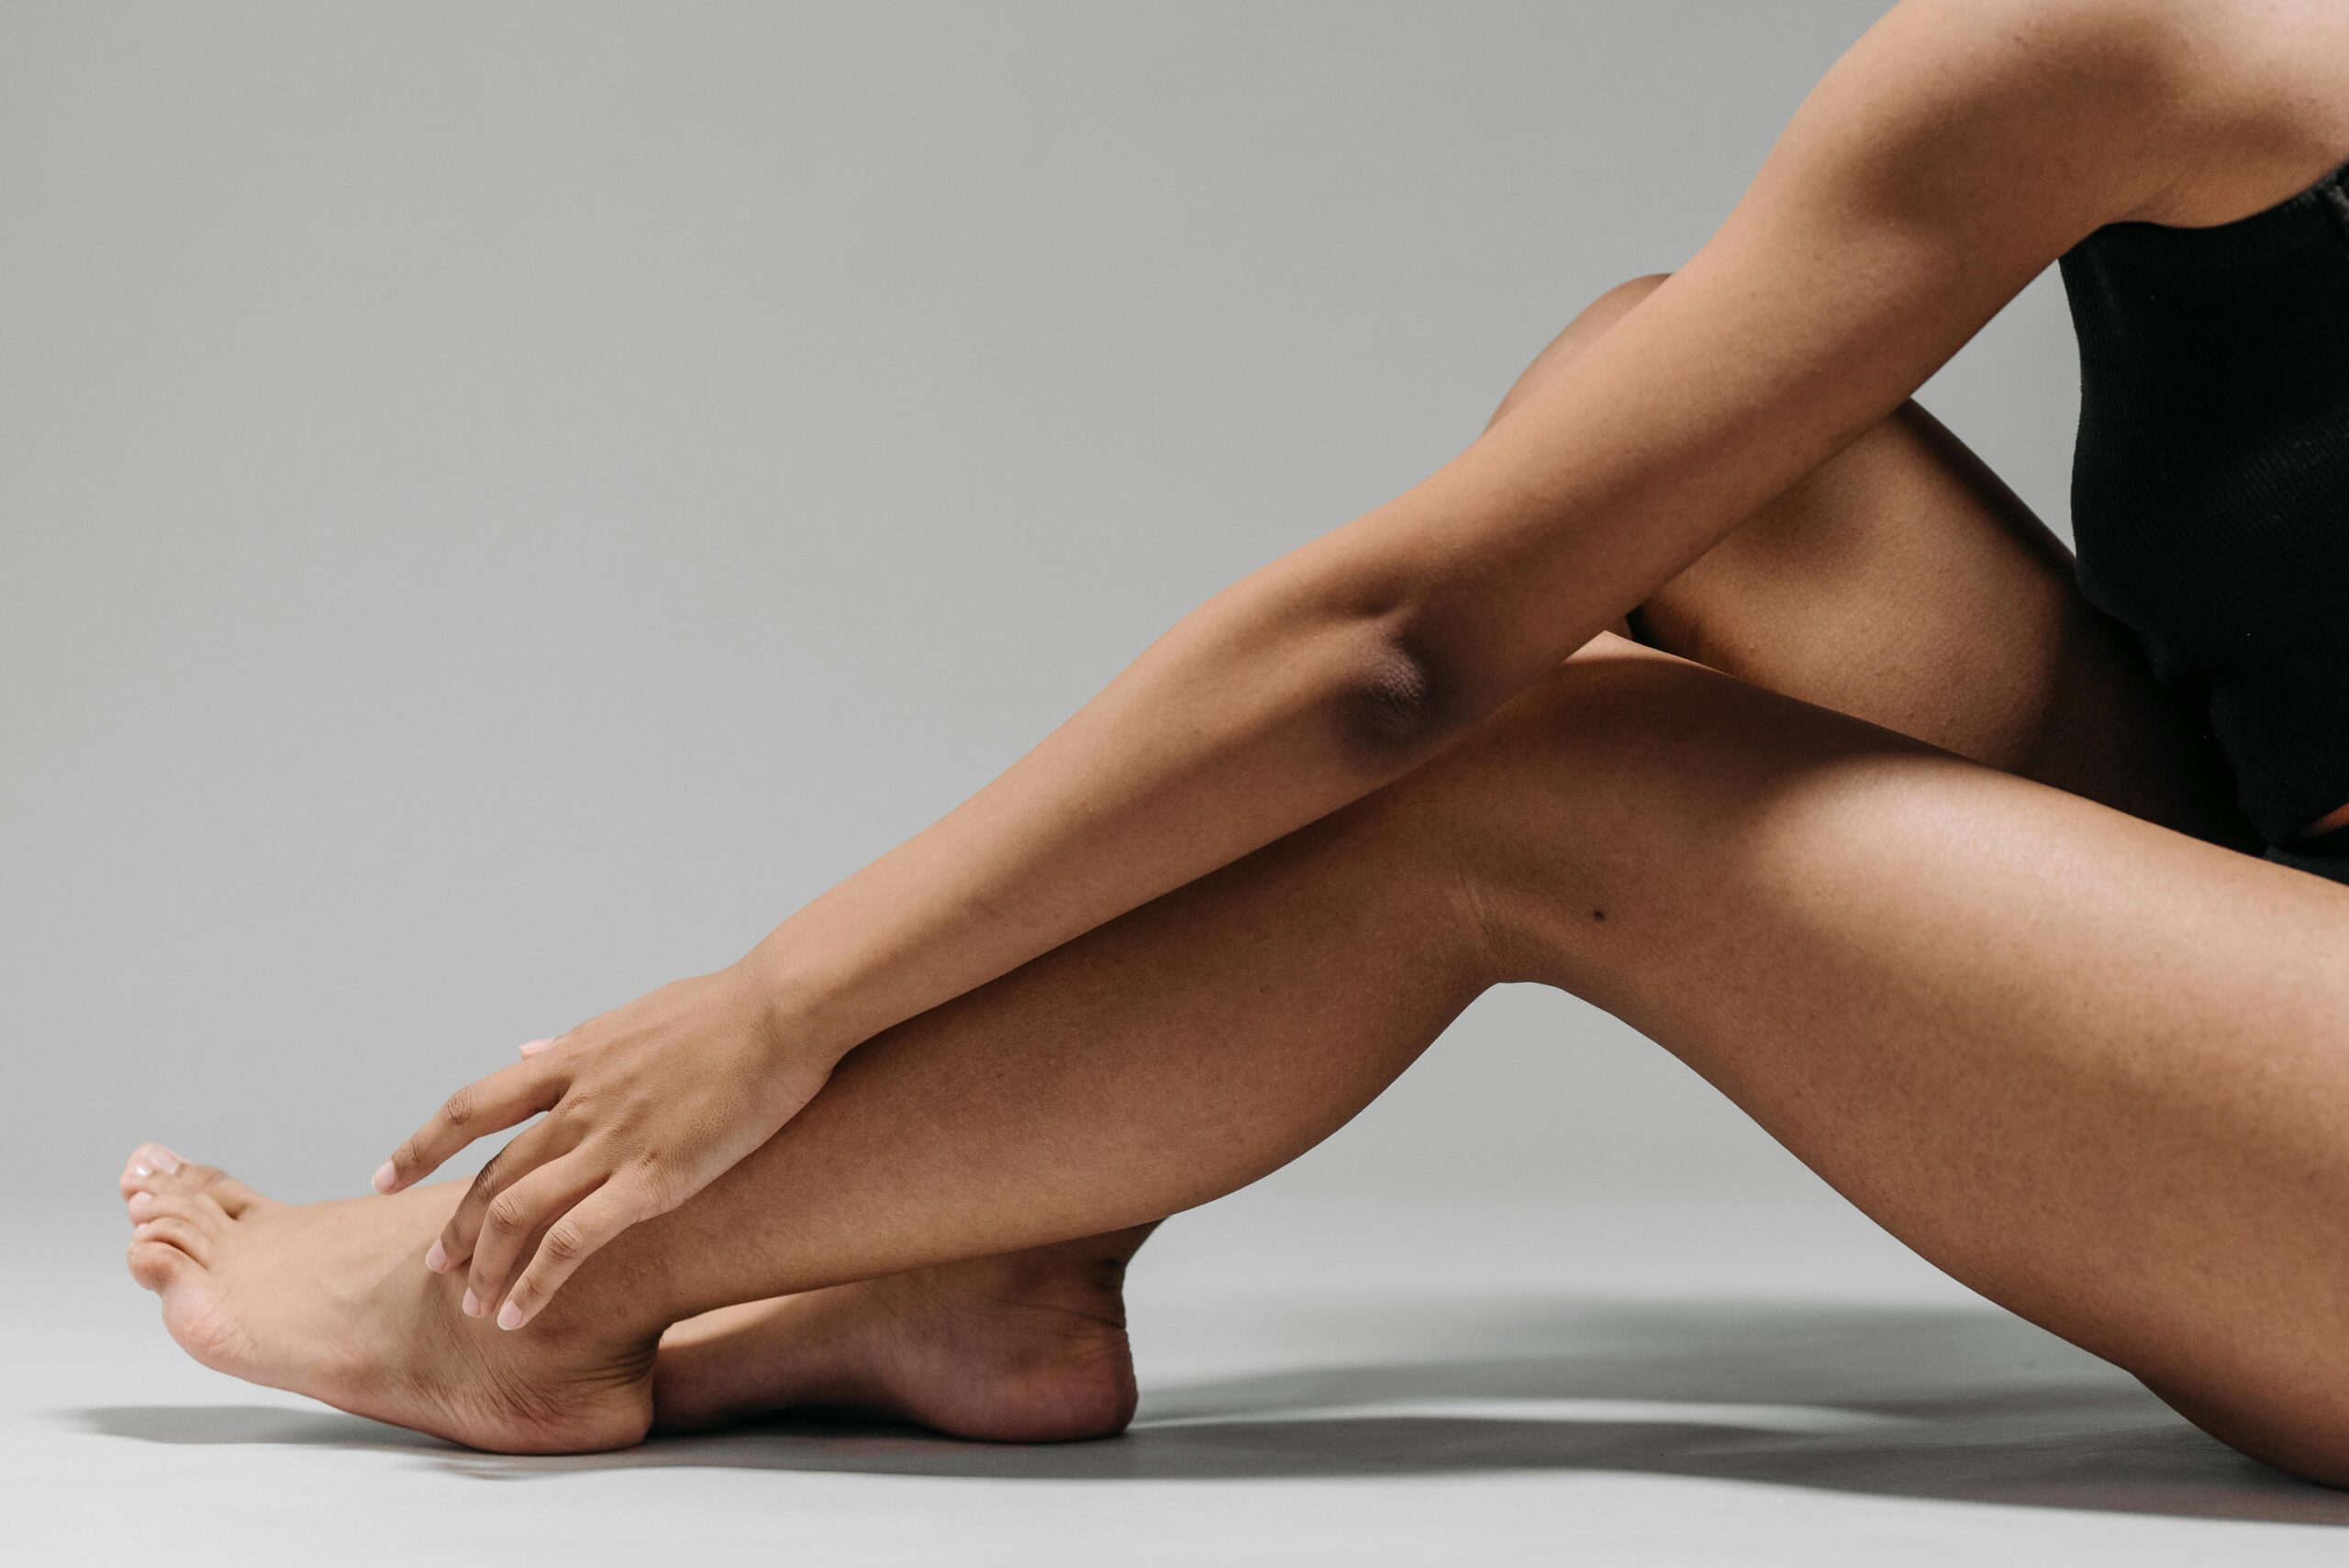
Understanding the Leg Waxing Process for Smooth Skin
Leg waxing is a favored method for those craving long-lasting, smooth legs without the daily hassle of shaving. But, did you know that mastering the leg waxing process and following proper aftercare can make all the difference? Proper technique ensures not only flawless results but also minimizes discomfort and skin irritation.
Benefits of Leg Waxing Over Other Leg Hair Removal Methods
Compared to shaving, waxing at home or professionally, offers the advantage of removing hair from the root, leading to longer-lasting smoothness. Plus, with regular waxing, hair tends to grow back finer over time. This makes waxing an excellent choice for anyone aiming for consistently smooth skin without the frequent upkeep of shaving or hair removal creams for legs. Want to explore more about different hair removal methods? Check out Effortless hair removal explained for insights.
Preparing for a Leg Waxing Session
Preparation is key! Ensuring your skin is ready helps reduce pain and prevents ingrown hairs. Your hair should be about 1/4 to 3/4 of an inch long—if it’s longer, trim it to avoid unnecessary discomfort. Also, cleanse your legs thoroughly and avoid applying lotions or oils on the day of waxing. This creates an ideal surface for the wax to grip effectively.
Step-by-Step Instructions for the Leg Waxing Process
Achieving perfect legs after waxing involves a careful process. Follow these steps for a smooth, professional finish at home:
Gathering Supplies for Waxing at Home
Before you start, gather all your supplies. Whether you prefer ready-made wax strips or a hot wax kit like the Tress Wellness all-in-one hair removal waxing kit, having everything at hand makes the process smoother. Internal links to easy leg waxing can help you choose the best approach.
Step 1: Preparing Your Skin
Start by cleansing your legs with a gentle, alcohol-free cleanser to remove oils and dirt. Pat dry thoroughly. Exfoliating 24-48 hours prior helps prevent strawberry legs and ingrown hairs, creating a smooth canvas.
Step 2: Applying the Wax
Apply the wax in the direction of hair growth for a cleaner pull. Use a spatula or applicator for a thin, even layer. For soft wax, press a strip over the wax and smooth it down. For hard wax, let it cool and harden before removal.
Step 3: Removing the Hair
Hold your skin taut and quickly pull the strip or hardened wax in the opposite direction of hair growth. Keep the strip close to your skin and pull parallel to the leg to reduce pain. Remember, a swift, confident motion yields the best results.
Step 4: Cleaning Up
Remove any residual wax with a post-wax cleanser or natural options like baby oil. Applying a soothing product afterward helps calm the skin and reduces redness.
Post-Waxing Care: Essential Tips for Maintaining Smooth Legs
The secret to long-lasting smoothness is in aftercare. Proper post waxing care prevents irritation, ingrown hairs, and strawberry legs.
Moisturizing for Hydrated Skin
Use a fragrance-free moisturizer with soothing ingredients such as aloe vera or chamomile. Hydrated skin stays smooth longer and reduces dryness.
Exfoliating to Prevent Ingrown Hairs
Begin gentle exfoliation 2-3 days after waxing and continue twice weekly. This helps prevent clogged pores and keeps your skin silky.
Avoiding Irritants
Steer clear of hot baths, saunas, and tight clothing for at least 24-48 hours post-wax. These can cause irritation and redness.
Treating Strawberry Legs
Regular exfoliation combined with products containing salicylic acid or glycolic acid can help treat clogged pores and achieve those flawless legs.
Warnings and Precautions for Leg Waxing
Safety first! Always do a patch test before your first wax session to check for allergic reactions. If you’re on medications like retinoids or have recently taken isotretinoin, avoid waxing as your skin may be too sensitive.
Professional tips: If visiting a salon, ensure they use high-quality wax like Nova Wax, and communicate your comfort needs. Proper technique, such as laying strips carefully, makes a difference.
Conclusion: Long-Term Leg Hair Removal Solutions
Achieving perfect legs after waxing is a combination of the right technique, proper preparation, and consistent aftercare. With regular maintenance, you’ll enjoy beautifully smooth legs that boost your confidence. Explore our comprehensive body treatments at Amsterdam Beauty Clinic to complement your hair removal routine and unlock your most radiant skin.
Frequently Asked Questions (FAQs)
Q1: How long should my leg hair be for waxing?
A: For optimal results, your leg hair should be about 1/4 to 3/4 of an inch long. If it’s longer, trimming will make the process less painful and more effective.
Q2: How often should I exfoliate after waxing my legs?
A: Start exfoliating 2-3 days after waxing and continue twice weekly to prevent ingrown hairs and maintain smooth skin.
Q3: What should I do if I get ingrown hairs after waxing?
A: Regular exfoliation, using products with salicylic acid, and wearing loose clothing help. Persistent issues may require consultation with a dermatologist.
Q4: Can I use hair removal cream instead of waxing?
A: Yes, hair removal creams like Veet Gel Cream are an alternative. However, results typically don’t last as long as waxing, and some skin types may react to the chemicals.
Q5: How can I soothe my skin immediately after waxing?
A: Applying a cold compress or aloe vera gel can reduce redness and irritation. Avoid scratching or touching the area to prevent infection.
Experience the best in waxing and skin treatments by visiting Amsterdam Beauty Clinic. Let our experts help you achieve and maintain that perfect, smooth skin you deserve!